
168
Лестница в небо: кастомизируем WLED
От идеи и попыток использования стандартной прошивки до сборки своей с увеличенным количеством управляющих пинов, расширенным web-интерфейсом, api для отладки, своей логикой для управления подсветкой и даже демкой на jsfiddle.
Задание
Задача у нас следующая — есть наполовину уличная лестница (остекленная веранда), на которой хочется сделать "лестницу в небо" - поочередная подсветка ступеней со стороны идущего человека. Условия работы соответствующие - зимой мороз, летом жара, днем подсветка бесполезна из-за естественного освещения.
Готовое решение
На самом деле в доме на внутренней лестнице уже есть подсветка с простой анимацией, но реализована она на готовом контроллере, на обычных лентах - там пришлось тянуть отдельные провода к каждой ступени.
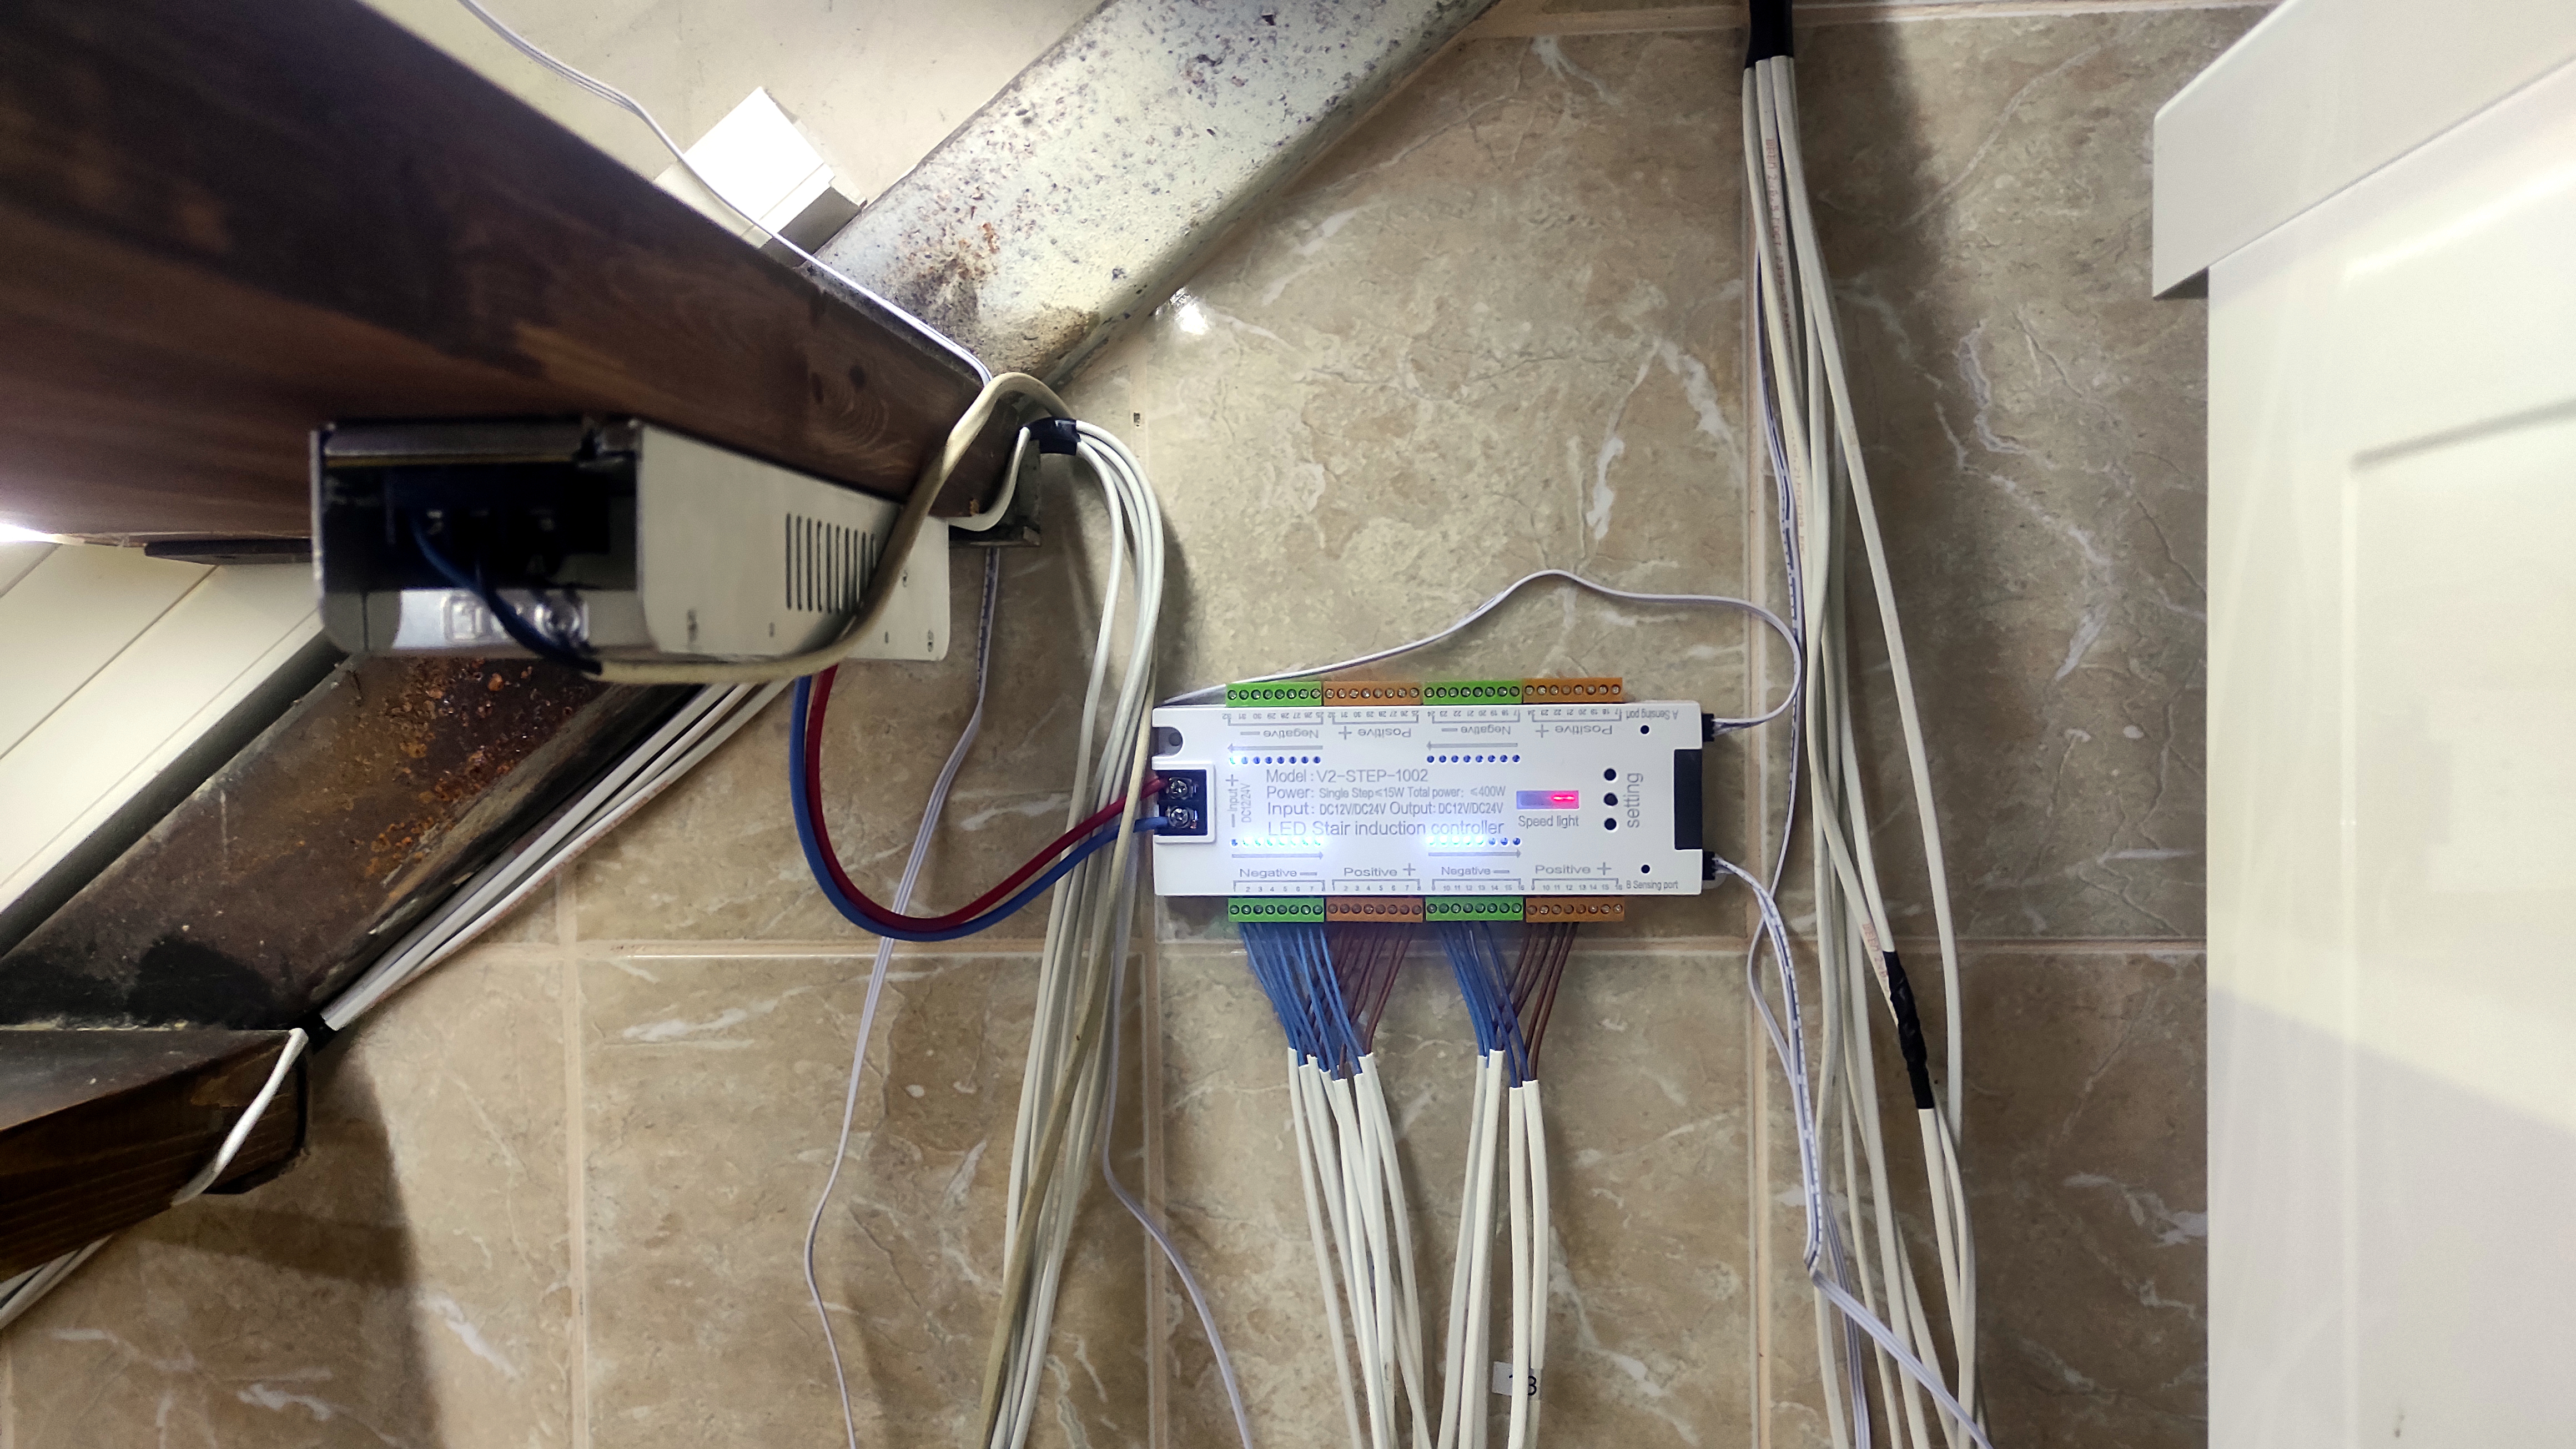
На этот раз хотелось большего, поэтому требования были составлены следующим образом:
- многоцветность,
- наличие готовых эффектов,
- отключение подсветки при достаточном естественном освещении,
- ступени должны загораться и снизу вверх и сверху вниз, причём анимация не должна прерываться и идти с 2 сторон, если движение одновременно зафиксировано с обоих сторон.
Стоимость первого и второго решения мы ещё посчитаем и сравним ближе к концу.
Базовая прошивка wled
Wled это готовая прошивка для работы с адресными светодиодами, которая помимо своей прямой функции содержит также http api, web интерфейс, поддержку взаимодействия с внешними системами (например, mqtt) и даже синхронизацию разных wled устройств.
Также wled это целая экосистема, имеющая интеграции и плагины, пожалуй, ко всем распространённым системам умного дома, причём, довольно неплохие. Home assistant, например, автоматически распознает устройства wled в сети и умеет обновлять их прошивку по воздуху.
Перейдём ближе к нашей задаче: wled из коробки уже как будто поддерживает все необходимое:
- группы светодиодов под каждую ступень,
- настройка анимации включения / выключения групп с таймингами,
- поддержка 2 входных пинов (для wemos d1 mini / esp8266), на которые можно повешать кнопки/переключатели/датчики движения,
- триггеры на изменение значений пинов для запуска анимации.
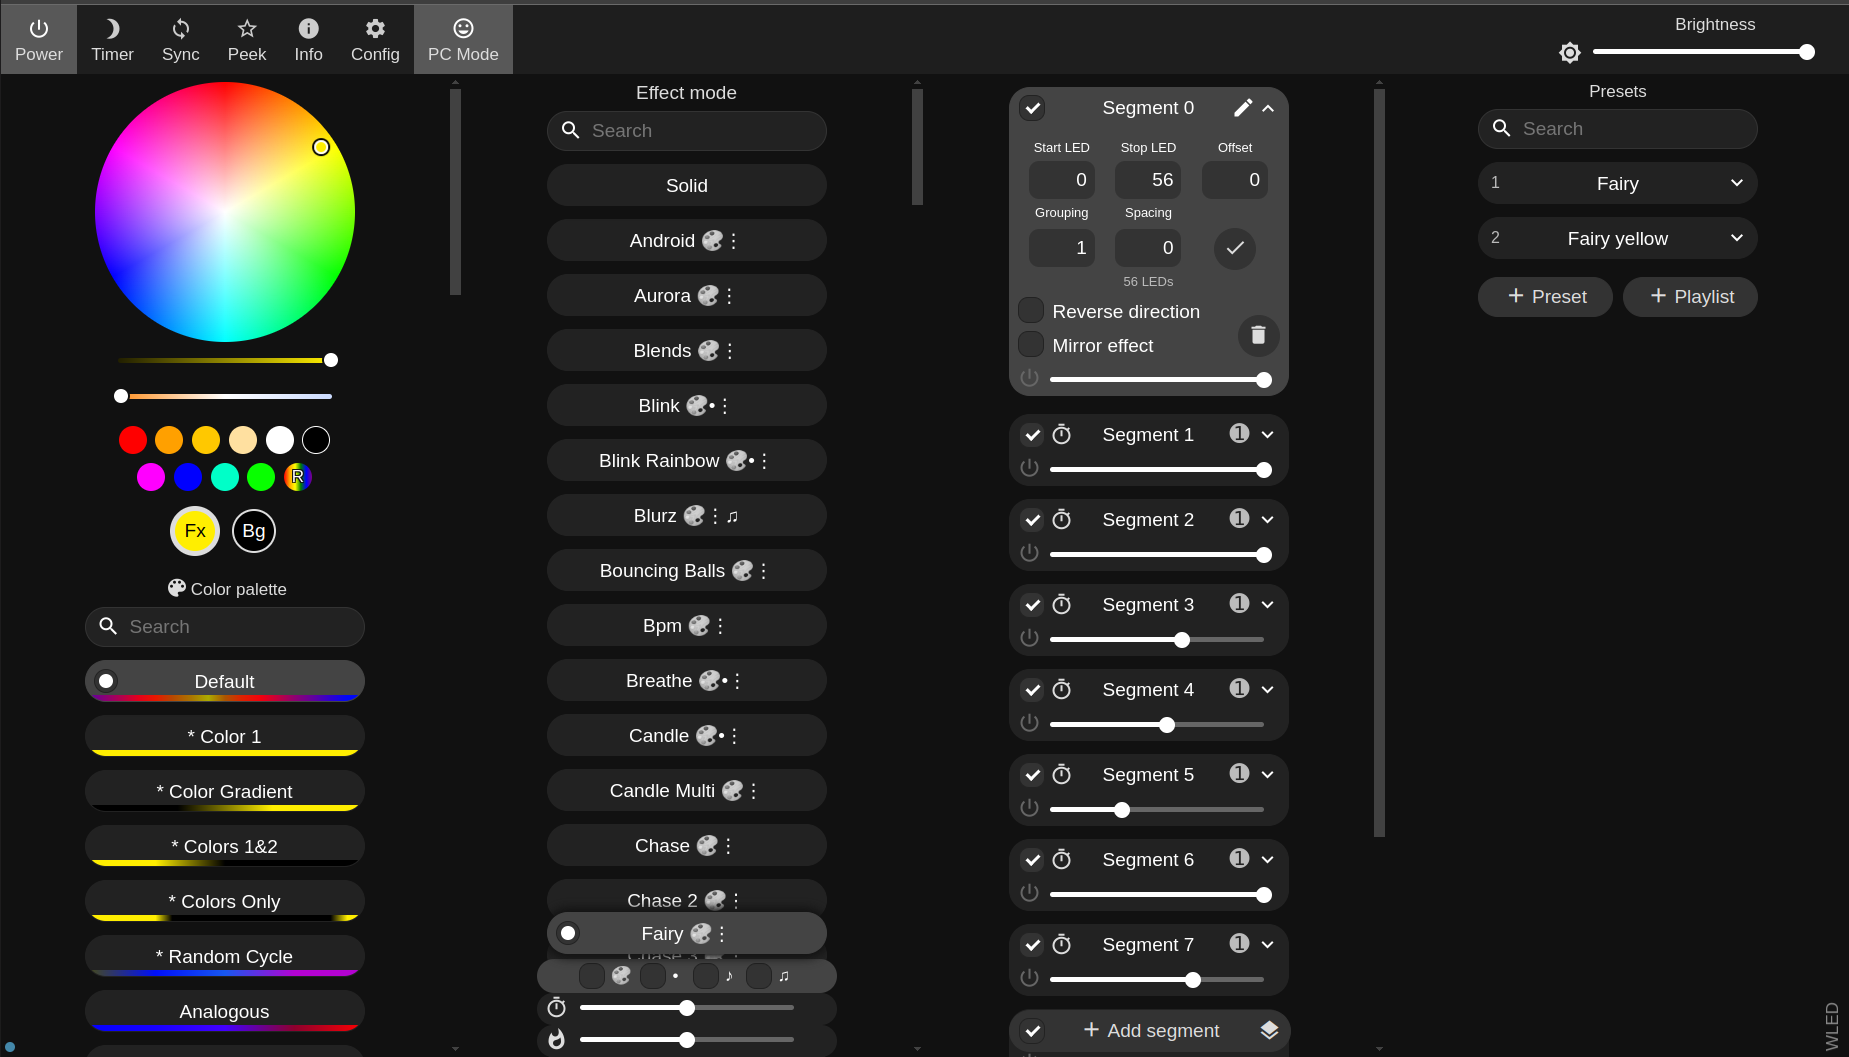
Собственно, работает это как-то так (здесь я с ноута подключен к WiFi точке доступа wled и запускаю анимацию в ручном режиме из web-интерфейса):
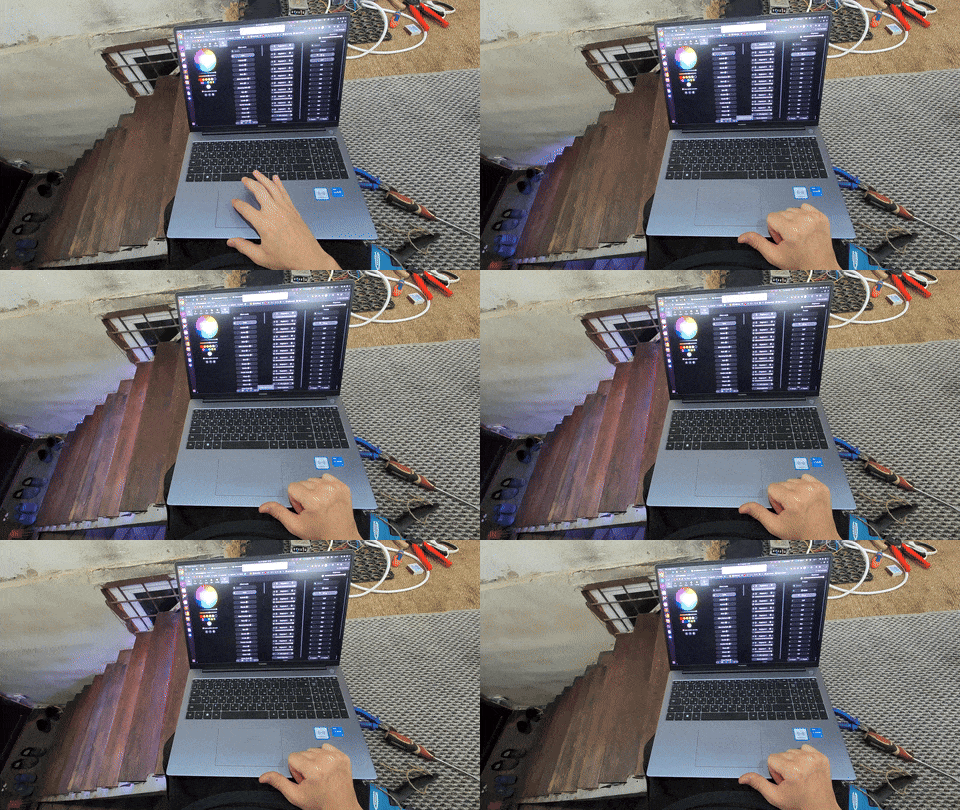
Выглядит отлично, но на практике не все так радужно:
- при каждом срабатывании датчика анимация запускается заново,
- параллельно 2 анимации работать не могут,
- штатно в прошивке под ESP8266 доступно только 2 входных пина, датчик освещённости уже не подключить,
- даже при расширении количества доступных пинов датчик освещённости привязать некуда, сложные условия или хотя бы банальный if с проверкой пары значений написать нельзя (и настроить в интерфейсе, соответственно, тоже).
Проблему с датчиком освещённости можно решить установкой реле освещения на питание всего устройства (на мой взгляд костыль, но в целом рабочий), но даже так анимация меня совсем не устраивает - при любой настройке датчиков и таймингов корректная работа возможна только в идеальных условиях - однократное срабатывание одного датчика.
Будем постепенно решать эти проблемы.
Расширение количества входов (кнопок)
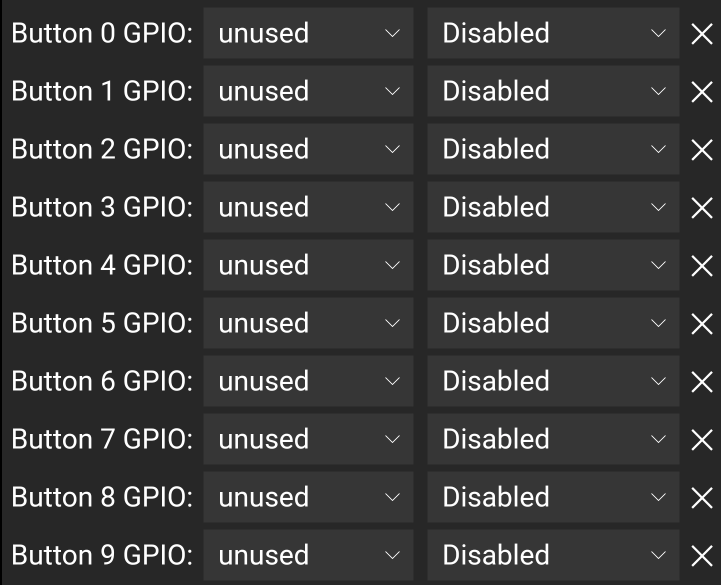
По умолчанию подшивка wled для wemos d1 mini допускает только 2 входных порта, несмотря на то, что контроллер и плата содержат куда большее количество свободных пинов.
К счастью, эта проблема легко поправима - нужно всего лишь указать флаг WLED_MAX_BUTTONS с требуемым количеством пинов и собрать прошивку.
Сборка прошивки wled
А вот тут начинаются сложности, если вы ранее не сталкивались с такой схемой билда, опыт прошивки arduino тут не поможет. Впрочем, все описано в официальной инструкции. Вам только нужен будет некоторый софт - git, vs code, platformio extension, docker, node, wsl в windows-системе. Также несколько ребутов и вероятно не работающая кнопка build, которая судя по некоторым issues может работать рандомно и собирать бинарник не с первого раза.
Если вы не хотите собирать прошивку сразу для всех поддерживаемых платформ - нужно будет также раскомментировать строку в конфиге с d1_mini и закомментировать строку выше с перечислением всех поддерживаемых платформ.
Далее нужно дописать ключ -D WLED_MAX_BUTTONS=10 в build_flags для расширения числа доступных "кнопок".
У меня в итоге все собралось через test, первый этап которого включает в себя build и выдает нужный бинарник прошивки.
Кастомизация wled
Раз уж мы все равно выяснили, что стандартными функциями не обойтись - давайте взглянем, что wled предлагает для кастомизации: вот тут инструкция по реализации своих скриптов (usermod'ов), в рамках которых можно и gui расширить, и api написать, и с пинами микроконтроллера на C++ поработать.
Изначально я и начал писать этот код по инструкции, пока случайно в недрах репозитория не обнаружил набор целой кучи уже готовых usermod'ов, о которых официальная дока ничего не говорит.
А тем временем здесь есть очень много всего:
- animated_staircase - usermod для лестницы с 2 датчиками движения (без датчика освещённости и без параллельных анимаций),
- замер заряда батарейки, если у вас автономный проект,
- возможность конфигурирования ИК-пультов через json,
- подключение и ШИМ-регулирование оборотов вентилятора,
- управление через микрофон.
Мой usermod и его описание можно найти в репозитории, все необходимые пояснения есть в readme и в коде. Стиль кода (или его отсутствие) - следствие реализации на основе чужого решения (и в целом общего подхода написания usermod'ов), после получения рабочего варианта заняться рефакторингом не довелось.
И все же, несмотря на удобный и быстрый по меркам микроконтроллеров процесс прошивки, отлаживать баги на физическом устройстве и схеме оказалось трудоёмко. Я честно пытался это сделать, но после пары десятков итераций попросил chatGPT (на тот момент ещё 4 версии) весь текущий код конвертировать в демку на html/css/js и отлаживал логику уже там.

Демку можно потыкать тут - jsfiddle.
Финальная логика работы следующая:
- каждый датчик независимо запускает включение ступеней со своей стороны.
- через
on_time_msпосле последнего срабатывания датчика запускается выключение ступеней (всегда в 1 сторону). - повторные срабатывания датчиков влияют только на время выключения, анимация повторно не запускается.
- при этом пины и задержки задаются в интерфейсе, а в api отдаются состояния датчиков.
- к отдельному пину подключается датчик освещенности (логический модуль, выдающий высокий или низкий уровень), который отключает подсветку при дневном освещении.
Для включения usermod в прошивку достаточно его заинклюдить в /wled00/usermods_list.cpp:
#include "../usermods/usermod_stairs.h":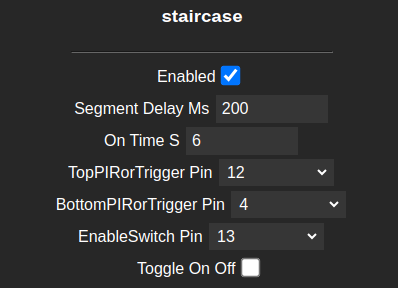
Схема подключения
Здесь небольшое лирическое отступление по поводу схемы подключения.
Все участки ленты мы подключаем последовательно, но при этом питания, особенно в варианте с 5v лентой, будет катастрофически не хватать и лента в лучшем случае будет терять яркость от начала к концу. По этой причине необходимо подводить питание еще и в промежуточные точки ленты (у меня это каждые 2 ступени - пустил силовой провод по одной из сторон лестницы).
Также здесь стоит сказать, что разработчики WLED позаботились о безопасности и в прошивке есть софтовый расчет максимальной потребляемой мощности лентой на выбранных режимах и по умолчанию выставлено ограничение по максимально возможной мощности ленты, рассчитанный исходя из прямого подключения ленты к пинам контроллера. При превышении этого значения контроллер будет пропорционально снижать яркость диодов в зависимости от используемого эффекта.
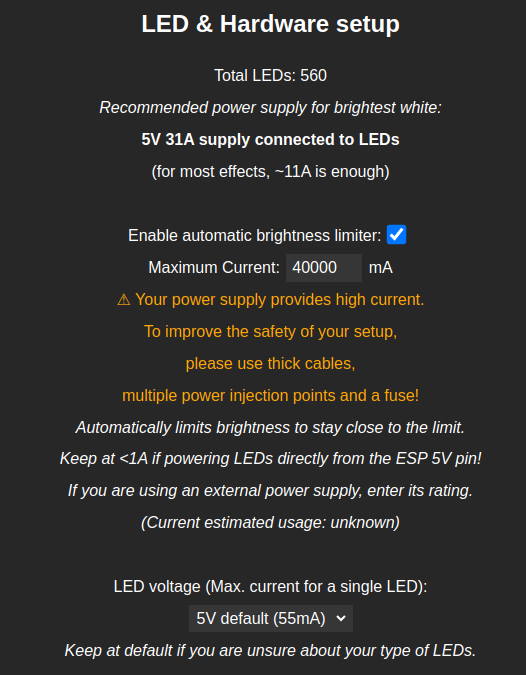
Если у вас лента запитана по всем канонам, а не напрямую от контроллера - это значение нужно установить равным максимальному (номинальному?) току, который выдает ваш блок питания, или вовсе убрать ограничение.
Общую схему подключения можно изобразить примерно в таком виде:

Несмотря на то, что ESP работает на 3.3 В, а лента питается / управляется 5 В - прямое соединение работает корректно, отчасти из-за небольшого расстояния между контроллером и первым участком ленты. Если в вашем случае это расстояние велико и возникают сбои, а также если лента питается другим напряжением и не может быть подключена напрямую (12 В) - в схему нужно добавить преобразователь уровней согласно официальным рекомендациям.
Как видно, проводов здесь нужно гораздо меньше, чем в случае с готовым контроллером.
Результат
Финальный результат выглядит так:
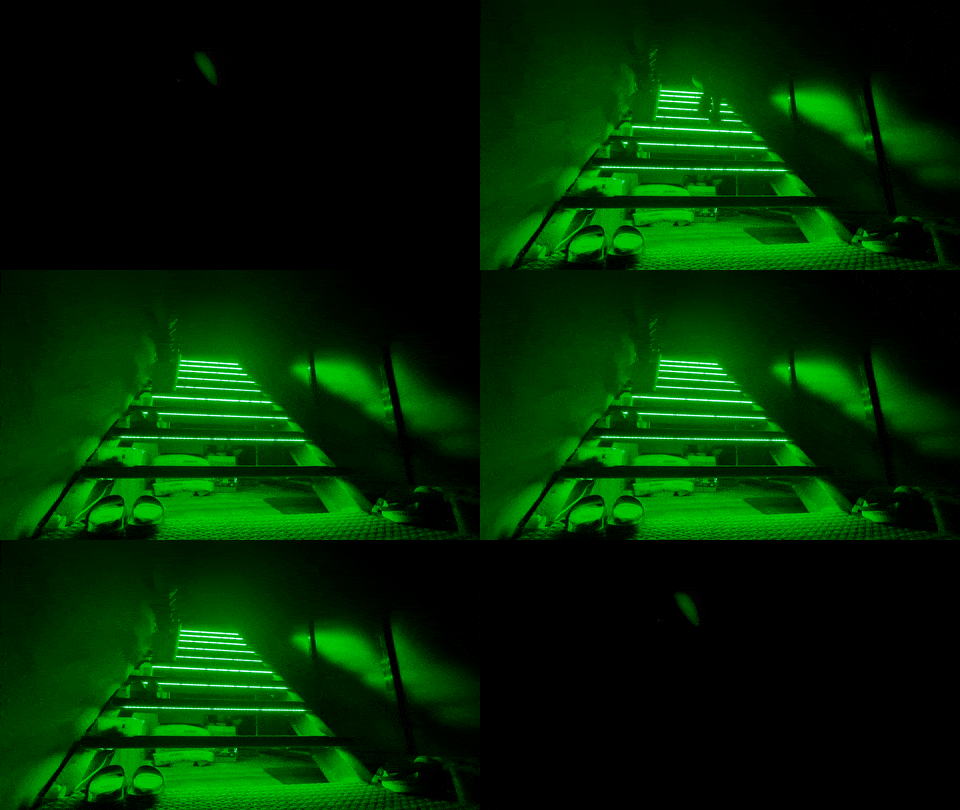
Я остановился на одной из анимаций, которая лишь слегка меняет интенсивность свечения отдельных диодов, чтобы выглядело динамично, но в то же время не мешало в процессе эксплуатации.
Впрочем, можно выбрать любой эффект вплоть до использования различных анимаций под каждую ступень. Например, вот более динамичный режим:

Также usermod можно отключить и управлять подсветкой штатными средствами - вдруг ваша лестница находится в центре дома и вы захотите устроить вечеринку с цветомузыкой.
Необходимые комплектующие и бюджет
Здесь и далее ссылки на комплектующие на поиск али, без рефералок.
| Комплектующее | Стоимость |
|---|---|
| Wemos d1 mini | 140 ₽ |
| Адресная светодиодная лента 60led/m 5 В ip65 | ~2000 ₽ |
| Блок питания 200 Вт 5 В | ~1300 ₽ |
| 2 датчика движения HC-SR 501 | ~130 ₽ |
| 1 датчик освещённости | ~80 ₽ |
| Провода силовые и сигнальные | ~1000 ₽ |
| Стяжки и оплетка проводов для эстетики | 500 ₽ |
| Корпуса для датчиков и микроконтроллера | Опционально, я напечатал |
Т.е. суммарные затраты составили примерно 5150 ₽.
Готовое решение
Обещал также сравнение готового решения и описанной реализации.
На текущий момент появилась 2 версия контроллера с поддержкой датчика освещённости, у меня стоит первая версия без оного.
| Комплектующее | Стоимость |
|---|---|
| Контроллер с датчиками | от 2000 до 4000 ₽ |
| Одноцветная светодиодная лента | ~2000 ₽ |
| Блок питания можно взять немногим менее мощный, но вольтажом до 24v (должен соответствовать ленте) | ~1000 ₽ |
| Провода - нужно больше метраж, но меньшего сечения, считаем что стоимость драматически не отличается | 1000 ₽ |
| Стяжки, оплетка для эстетики | 500 ₽ |
Общая сумма минимум 6500 ₽ (без поддержки датчика освещенности).
Как видно, небольшая экономия выходит только за счёт блока питания и датчиков. Контроллер же стоит на порядок дороже используемого нами.
Выводы
При более широких возможностях описанной реализации готовое решение все равно уступает и в цене, и в удобстве монтажа.
Да, здесь не учтена стоимость разработки, но у описанного устройства скорее хоббийная природа - мне попросту был интересен процесс, каким бы затратным он не оказался по итогу.
Если у вас остались вопросы или есть замечания/предложения - милости прошу в комментарии.
Полезные ссылки
Эту же статью также можно найти на хабре.
Комментариев пока нет
-

Универсальный AI Telegram Bot
Хотите в пару действий запустить собственного AI бота для Telegram? -

Анализ истории просмотров Youtube
Задумывались, сколько времени вы проводите за просмотром видео? Давайте считать. -

Image2model с tripo3d и Blender
Иногда хочется, чтобы нарисованный или сгенерированный персонаж стал настоящим -

Локальный эмулятор Telegram
Писали ли вы когда-нибудь телеграм ботов? -

Реанимируем основание вешалок
Есть дома пара вешалок с плечиками, на которых удобно располагается одежда для… -

Ложемент для столовых приборов
Органайзинг - одна из сфер, куда я периодически пытаюсь приложить руку. На этот…