235
Проект смотритель. Часть 11. Home assistant
Эта статья является частью цикла
- Проект смотритель. Часть 1. Начало
- Проект смотритель. Часть 2. Дизайн
- Проект смотритель. Часть 3. Фоторезист
- Проект смотритель. Часть 4. Шасси
- Проект смотритель. Часть 5. Гусеницы
- Проект смотритель. Часть 6. Моделирование и печать
- Проект смотритель. Часть 7. Железо
- Проект смотритель. Часть 8. Софт
- Проект смотритель. Часть 9. Зарядная станция
- Проект смотритель. Часть 10. Bluetooth
- Проект смотритель. Часть 11. Home assistant
- Codex написал WASD управление для Смотрителя
Проект в том числе позиционируется как удаленный мониторинг, но как его сделать, если устройство доступно только из внутренней сети? Вариант в лоб - пробросить доступ к устройству вовне (роутер и белый IP, туннель на сервер, сторонний сервис), но придется самостоятельно решать вопросы с безопасностью. Устройства умного дома, а тем более DIY устройства редко с этим заморачиваются, а зря.
Мы пойдем по пути встраивания устройства в существующую экосистему - у меня есть Home Assistant с публичным доступом (через свой VPS) - на него перекинем вопросы с безопасностью, нужно только реализовать интеграцию.
Казалось бы - у нас уже есть готовый html интерфейс робота с запросами, есть куча передовых ИИ, которые могут делать что угодно - интеграция даже без глубоких знаний python и home assistant не должна доставить проблем?

Прокси
Изначально я пошел по пути проксирования web-интерфейса робота в интерфейс Home Assistant. В результате совместной разработки получилась интеграция с следующими возможностями:
- добавление и установка через HACS (пользовательский репозиторий);
- для добавления интеграции нужно указать IP-адрес робота во внутренней сети;
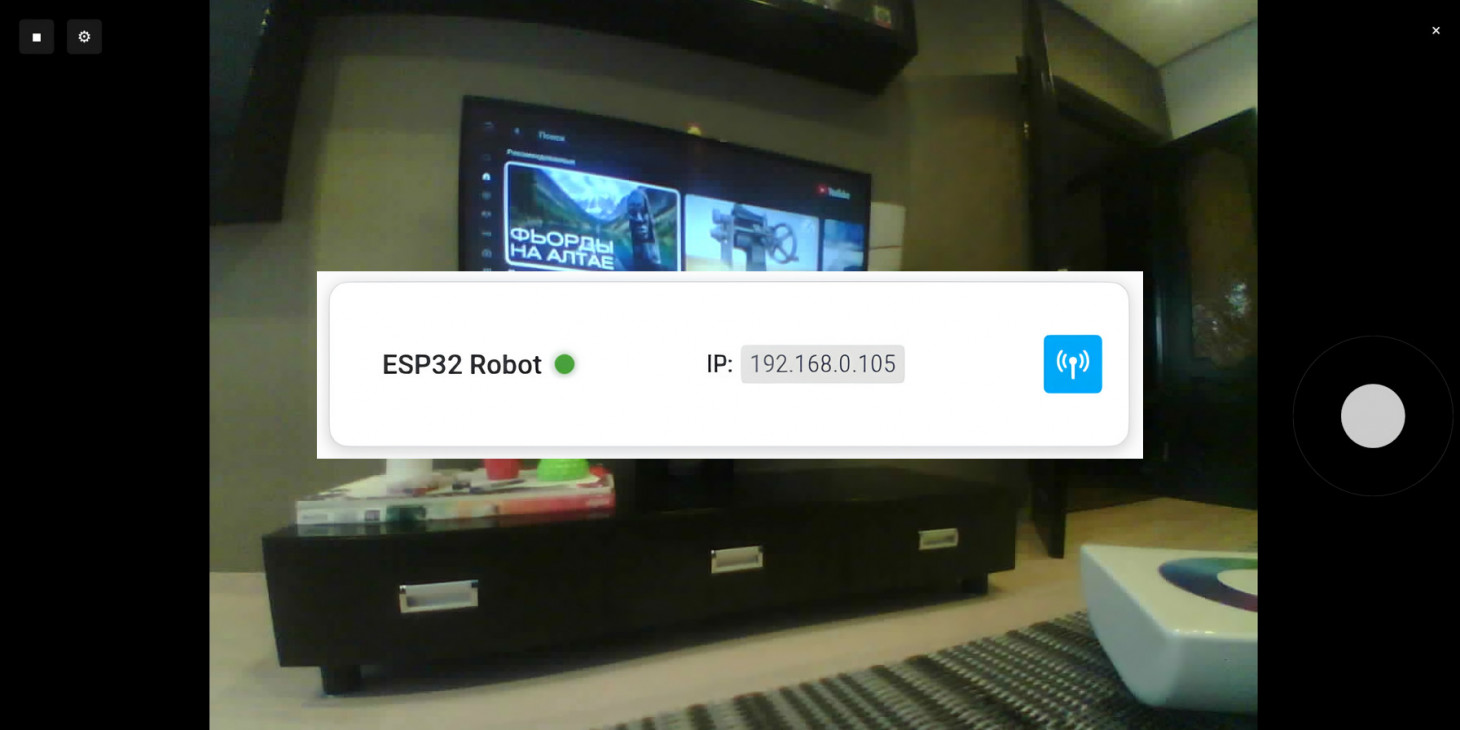
- добавляется lovalace-карточка (ui Home Assistant), которая показывает статус робота (в сети или нет) и кнопку открытия интерфейса;
- в iframe открывается стандартный web-интерфейс робота, все запросы заворачиваются в самописный прокси.
Из интересного по реализации - сам прокси, который добавляет свой js-код при открытии оригинальной страницы в iframe, чтобы переопределить все url, к которым осуществляются запросы. Чем-то похоже на встраивание рекламы в незащищенный http трафик некоторыми мобильными операторами.
И все бы ничего, но мне так и не удалось ни пробросить механизм аутентификации Home Assistant через iframe, ни использовать long-lived токен (документация умалчивает как его можно проверять, все найденные инструкции оказались недоступны в актуальной версии) или короткоживущий authSig в контексте прокси (подписанный токен уникален для каждого url, этот вариант не очень подходит для iframe, который сам к себе делает кучу запросов).
IoT, конечно, не может похвастаться идеальной безопасностью, но в своем решении я не смог себе позволить не закрыть дыру в безопасности. Любой находчивый пользователь не просто смог бы посмотреть трансляцию камеры, но и поездить по дому.
Второй подход
Из уже работающего решения пришлось выкинуть почти все, что было написано, кроме проверки статуса, и реализовать свой интерфейс в home assistant, который без iframe взаимодействует с сервером. Такую интеграцию можно считать нативной, используется штатный механизм аутентификации, т.к. без iframe браузер прокидывает в запросы заголовки авторизации (если запросы посылать не обычным fetch, а через api hass).
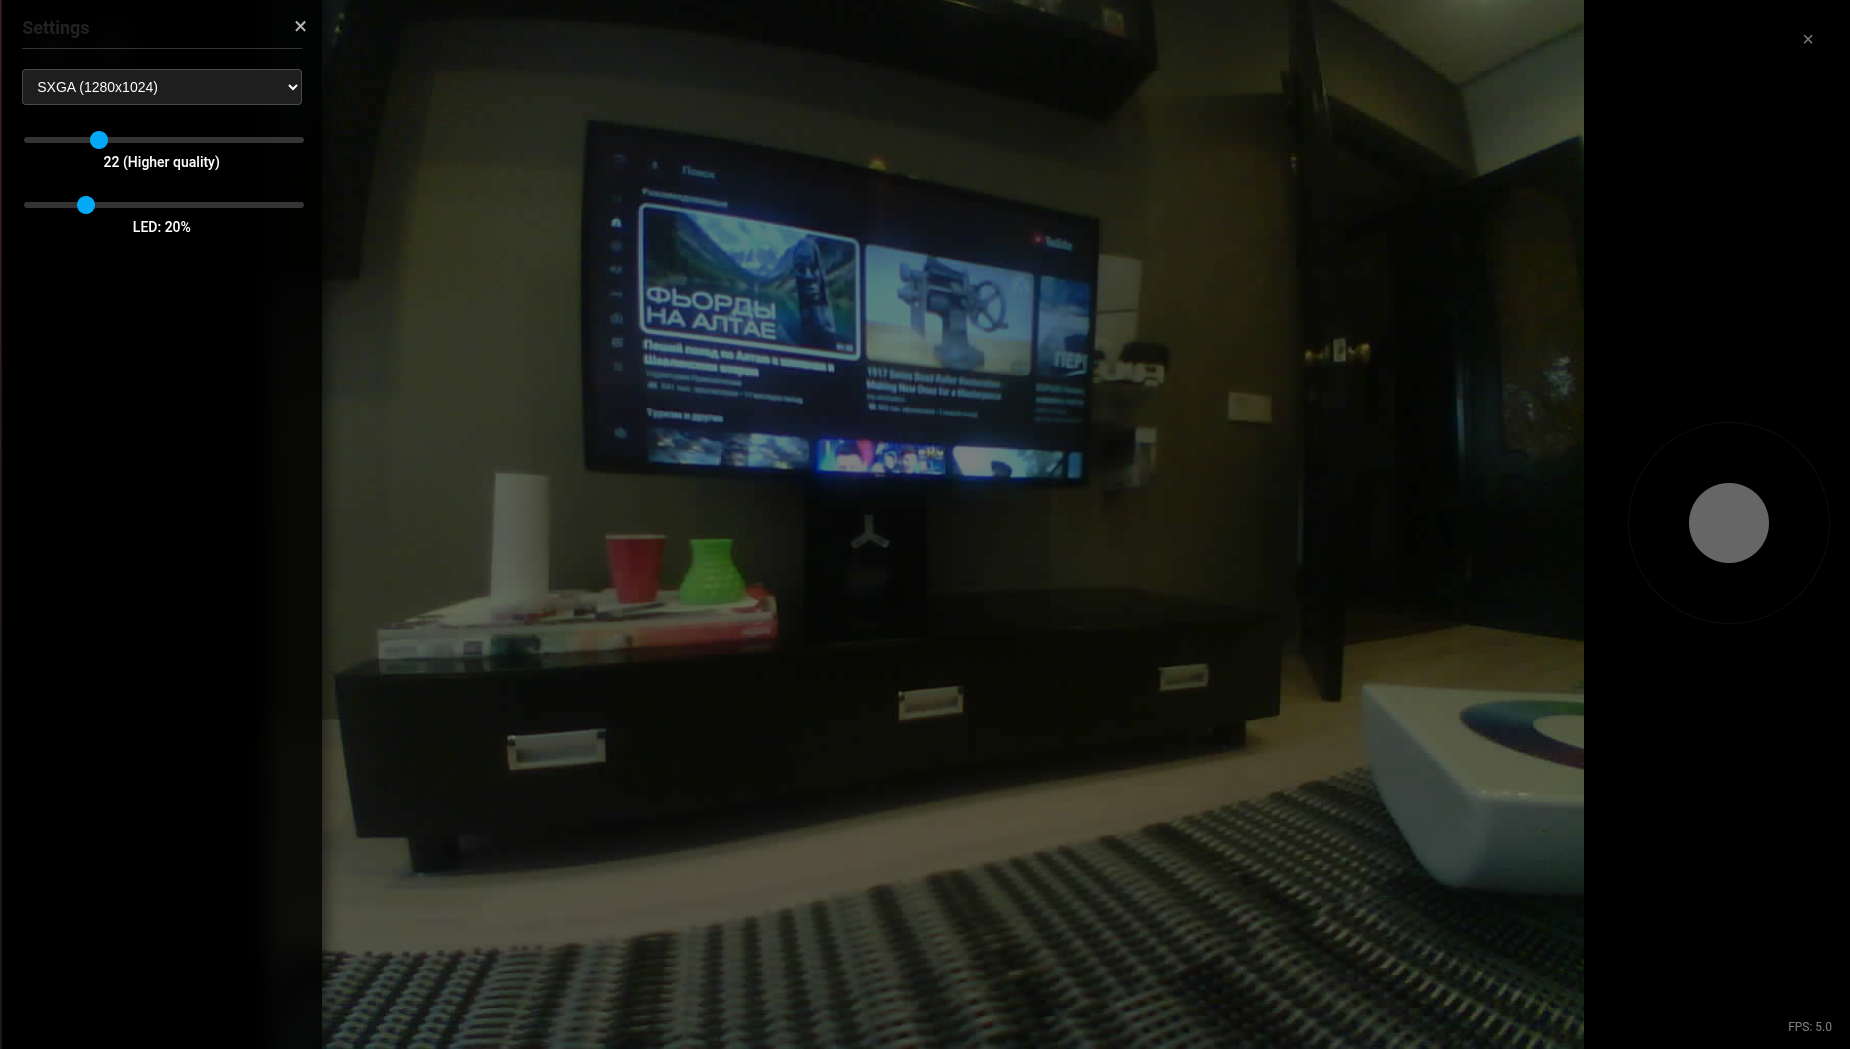
Но авторизация через заголовки работает не везде - использовать в img.src для стрима такую ссылку не выйдет, на этот случай у вендора есть механизм подписанных ссылок. Т.е. вы через websockets в карточке получаете подписанную короткоживущую ссылку (добавляется параметр authSig) и подставляете в контейнер для стриминга видео - подпись проверяется 1 раз при получении запроса и дальше стрим может жить вечно, после перехода по ссылке подпись инвалидируется, так что ссылка получается одноразовой. Штатные компоненты трансляции видео с камер работают по этой же схеме.
Актуальная версия интеграции умеет не все - нет работы с BT, нет переключения режима между джойстиком и слайдером и нет отдельного включения отображения FPS - он отображается всегда.

И в копилку неочевидных решений - чтобы добавить лого для своей кастомной интеграции в hass - нужно отправить PR в специально созданный для этого отдельный репозиторий brands. Поэтому моя интеграция пока иконкой не обзавелась, хотя она даже отрисована - впоследствии добавлю.
Установка
Чтобы добавить в home assistant интеграцию - нужен установленный hacs.
Через него добавляете пользовательский репозиторий - https://github.com/positron48/hass-caretaker.
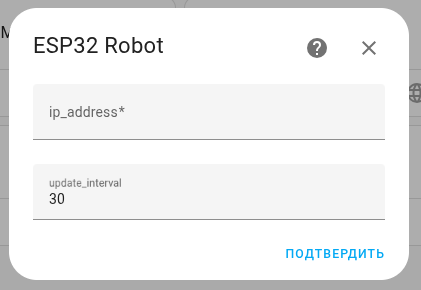
Далее в списке интеграций добавляете интеграцию esp32-robot, при этом нужно ввести IP адрес робота и период обновления статуса для сенсора hass (и отображения на карточке, соответственно):
Далее можно добавить в дашборд карточку esp32-robot и иметь возможность отслеживания статуса, а также интерфейс управления роботом и стриминг видео.
Комментариев пока нет
-

Продолжаем печать после отключения
Печать идет больше суток и в процессе пропадает свет. Знакомо? -

Как я работу в 2026 году менял + бонус
После 10 лет в e-commerce я вышел на рынок -

Goback - простые бэкапы
Решил тут наконец заняться бэкапами. И без самописных утилит не обошлось. -

Проект Наблюдатель
Проект приурочен к хеллоуину - это статуя одноглазого ктулху с механизированным… -

Универсальный AI Telegram Bot
Хотите в пару действий запустить собственного AI бота для Telegram? -

Анализ истории просмотров Youtube
Задумывались, сколько времени вы проводите за просмотром видео? Давайте считать.