564
Проект смотритель. Часть 6. Моделирование и печать
Эта статья является частью цикла
- Проект смотритель. Часть 1. Начало
- Проект смотритель. Часть 2. Дизайн
- Проект смотритель. Часть 3. Фоторезист
- Проект смотритель. Часть 4. Шасси
- Проект смотритель. Часть 5. Гусеницы
- Проект смотритель. Часть 6. Моделирование и печать
- Проект смотритель. Часть 7. Железо
- Проект смотритель. Часть 8. Софт
- Проект смотритель. Часть 9. Зарядная станция
- Проект смотритель. Часть 10. Bluetooth
- Проект смотритель. Часть 11. Home assistant
- Codex написал WASD управление для Смотрителя
Моделирование тоже является одной из сфер, которые мне интересны. Но в отличие от многих остальных - практики здесь очень мало, как говорит моя девушка - котик наплакал.
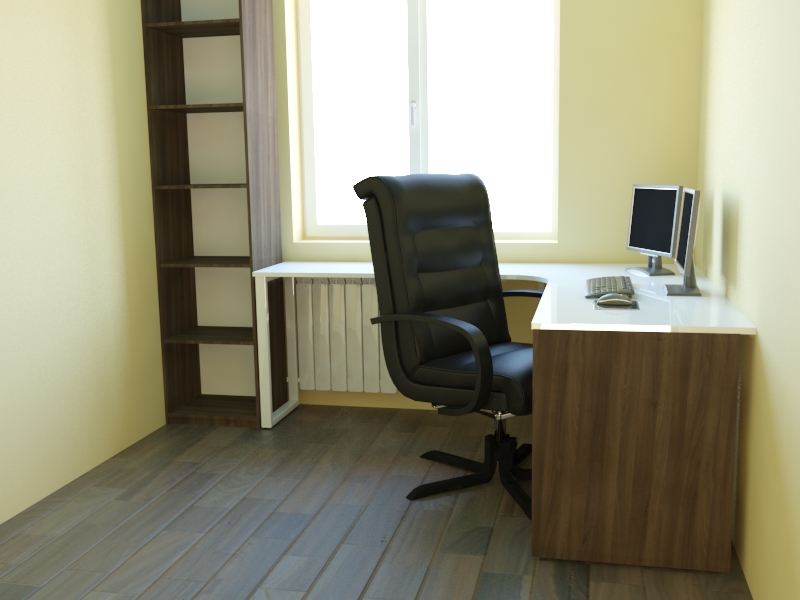
Было несколько попыток подойти к сфере через 3д макс - рисовал проект квартиры и даже рендерил. Например, в далеком 2016 проектировал себе стол с шкафом в кабинет:
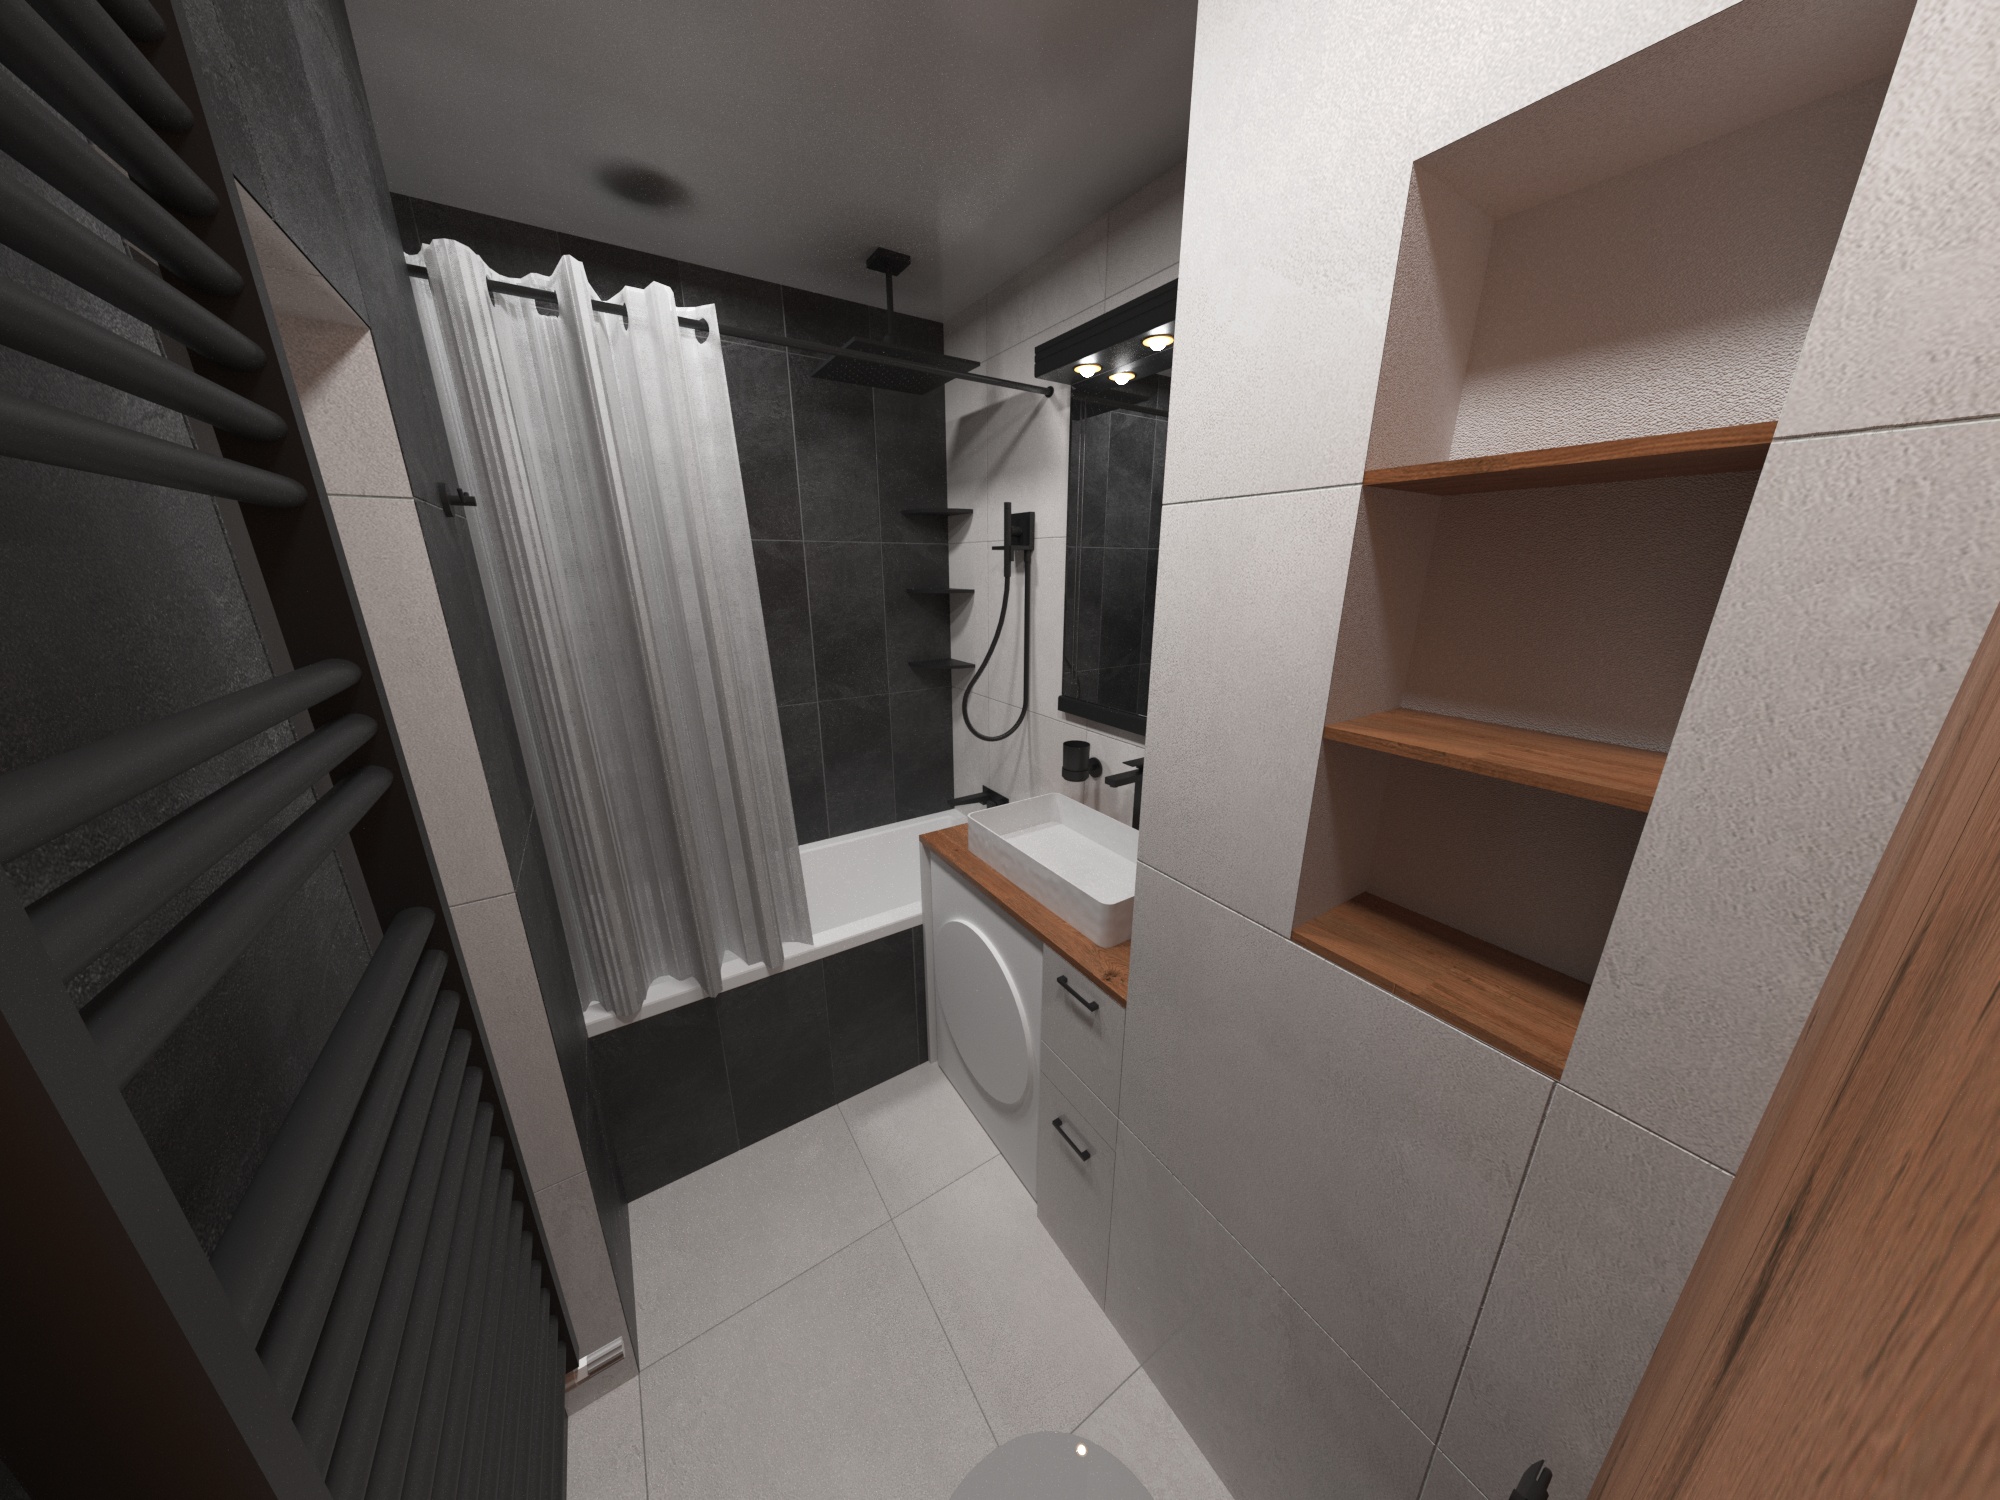
Ещё делал дизайн проект санузла, но там уже основное моделирование было в более простом sketchup, 3д Макс выступал в качестве движка для рендера, зато результат удалось сделать более реалистичным (это уже 2022 год).
Бленлер тоже ставил и что-то делал, но скорее всего дальше простых уроков дело не ушло, поэтому придётся изучать все заново.
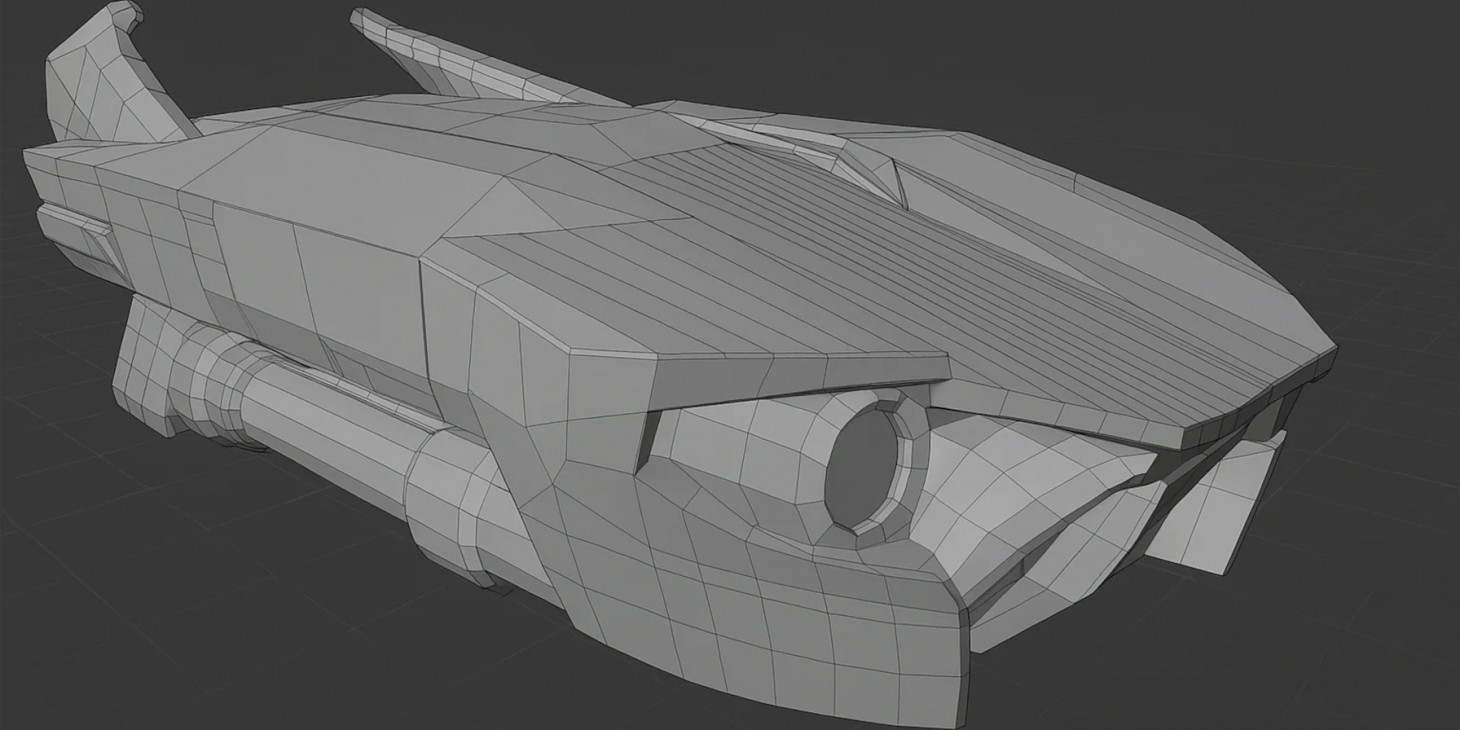
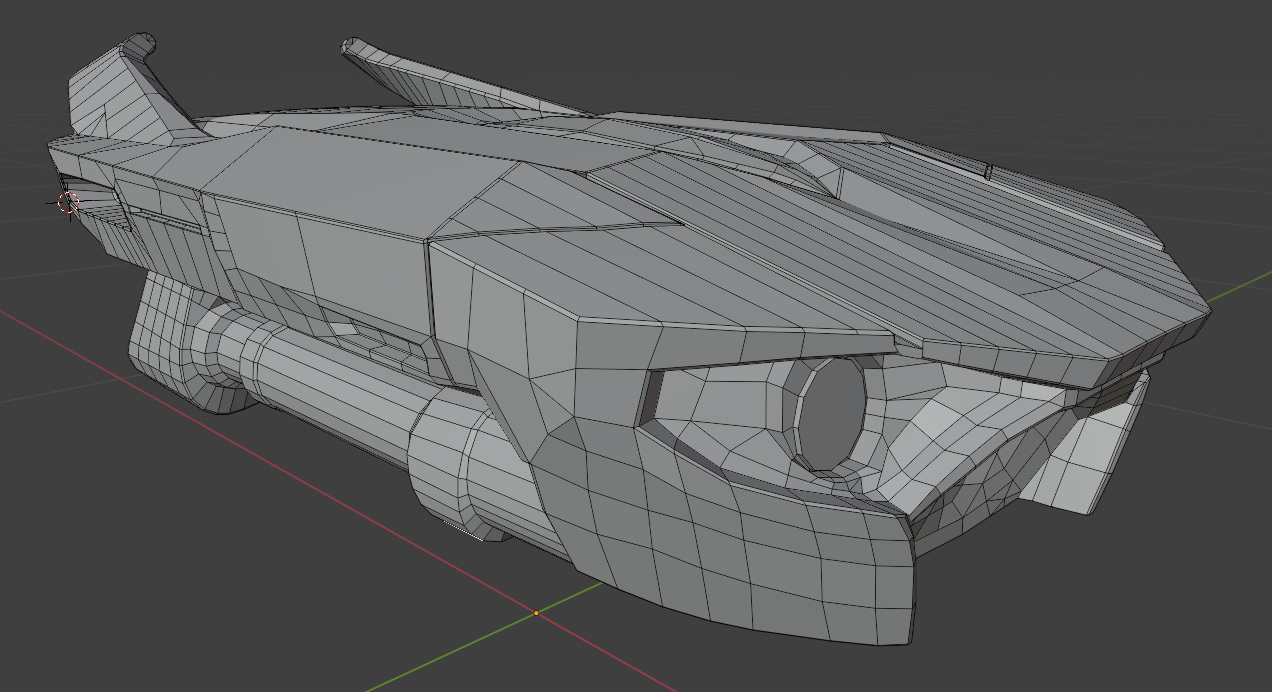
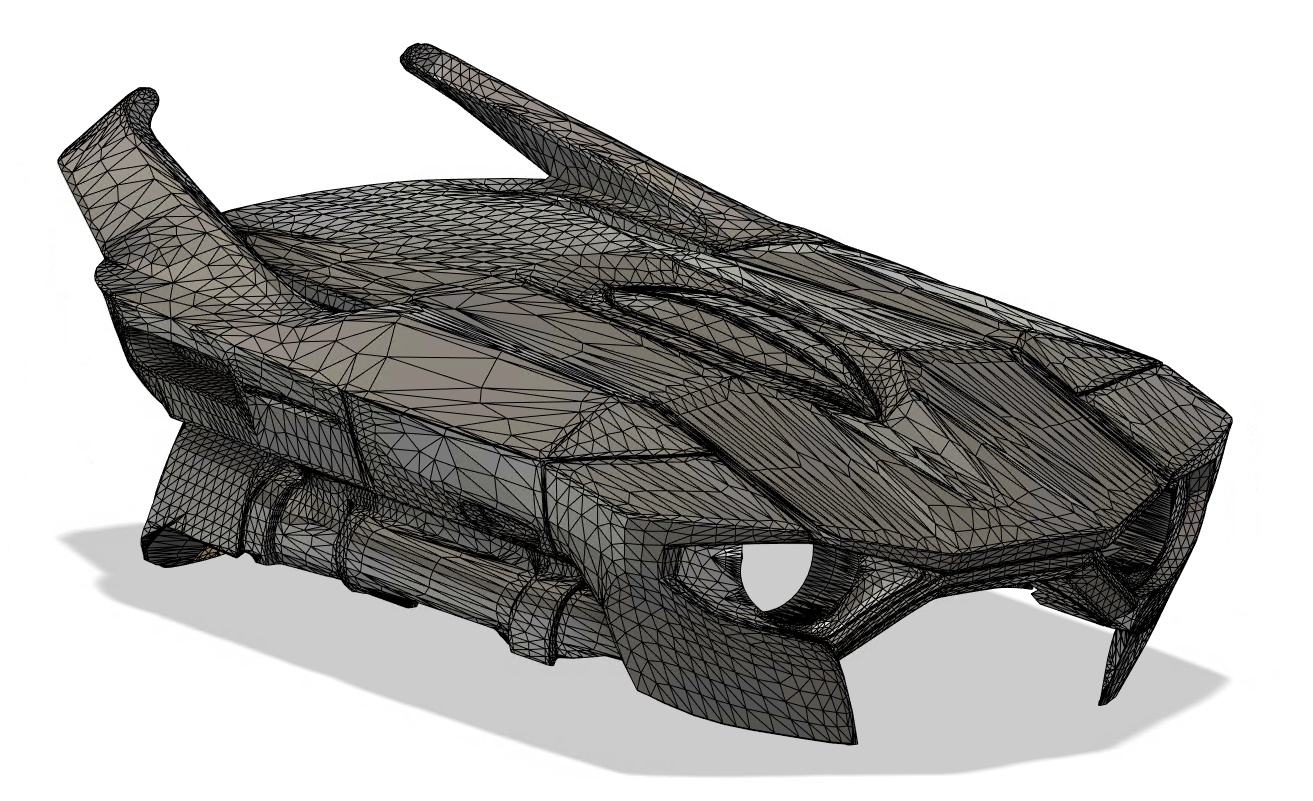
Благо модель у нас уже есть (если так можно выразиться, конечно, с той сеткой, что дают 3д генераторы):
Примерный масштаб под габариты содержимого я уже подогнал на основе этой модели во Fusion 360:
Задача - сделать ретопологию модели меньшим количеством полигонов.
Статья не является уроком по блендеру, поэтому только вкратце опишу процесс:
- Импортируем готовую модель
- Настраиваем привязку курсора у геометрии модели
- Накидываем модификатор для зеркального отображения (если хотим симметричную модель)
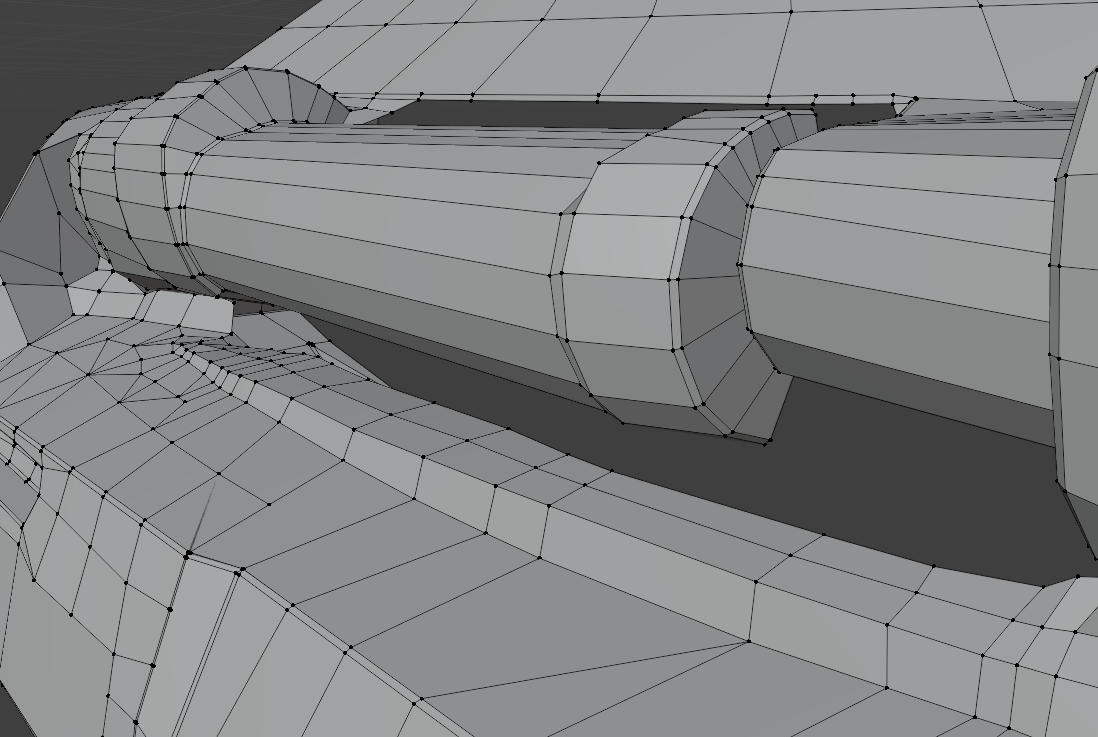
- Долго, нудно и муторно "обрисовываем" нашу кривую модель полигонами
- Делаем небольшие фаски там, где хотим оставить более грубые формы
- Сглаживаем модель до приемлемого нам уровня
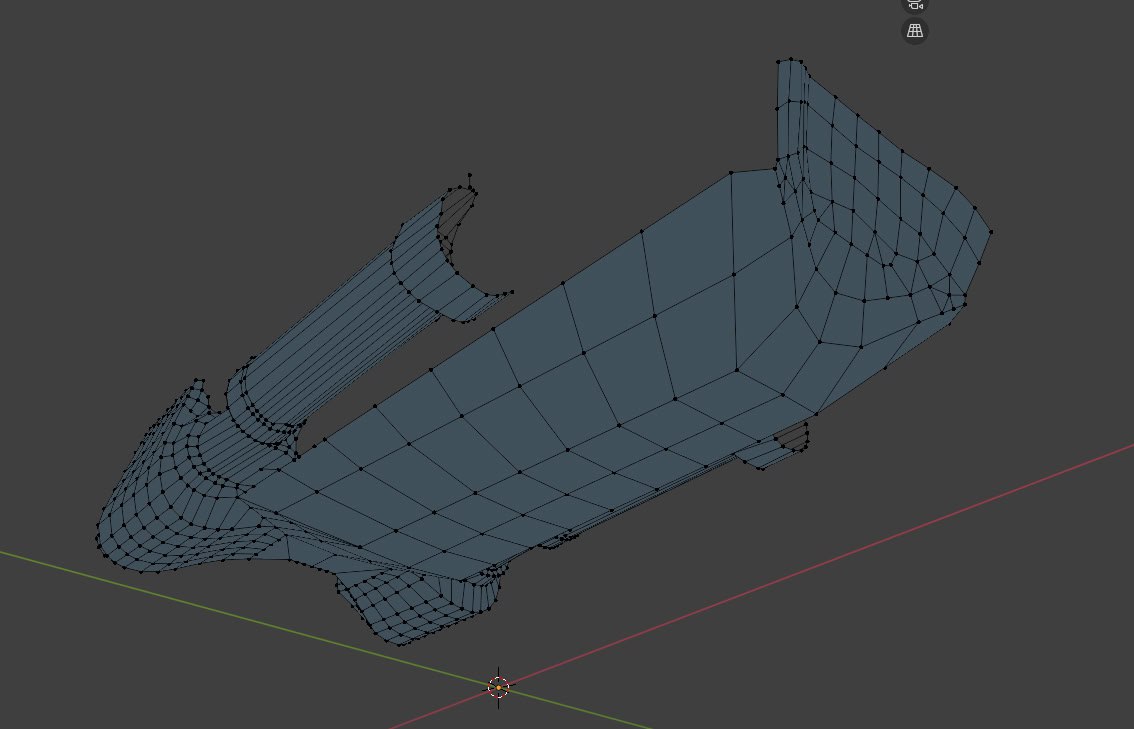
Самое сложное - правильно формировать полигон, чтобы сетка была ровной, равномерной с примерно одинакового размера полигонами. Это будет важно далее, при сглаживании модели
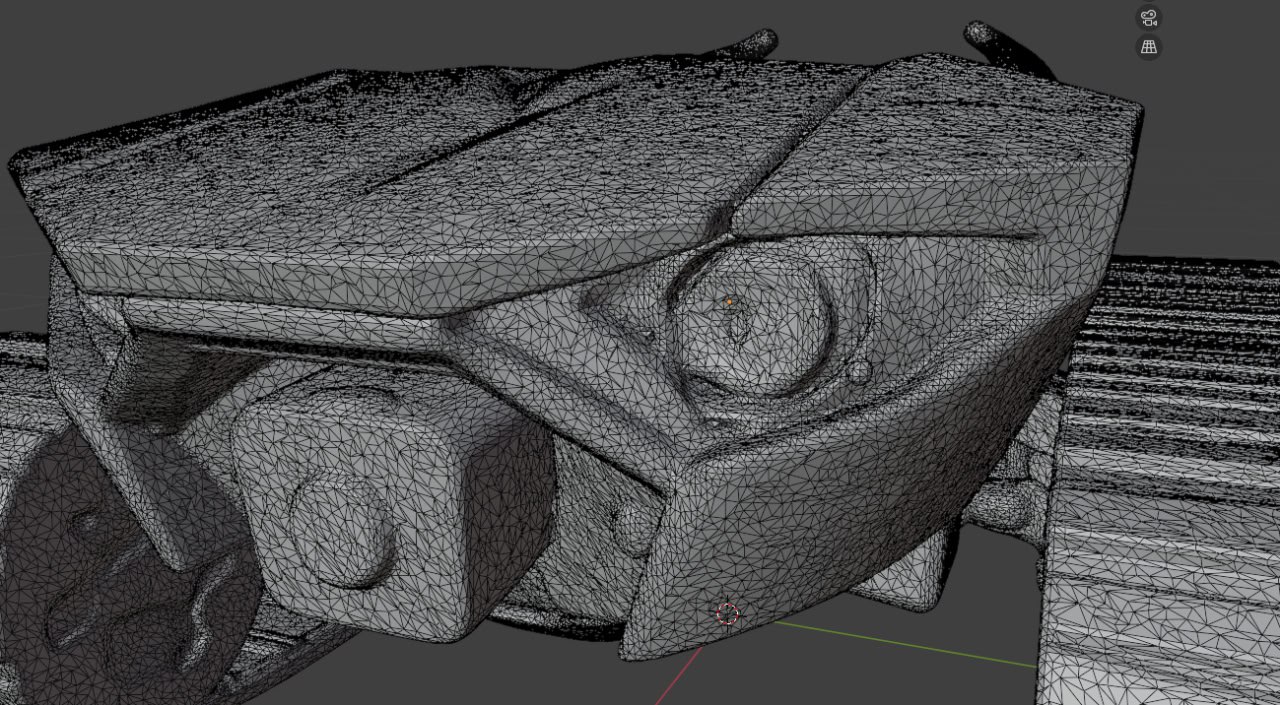
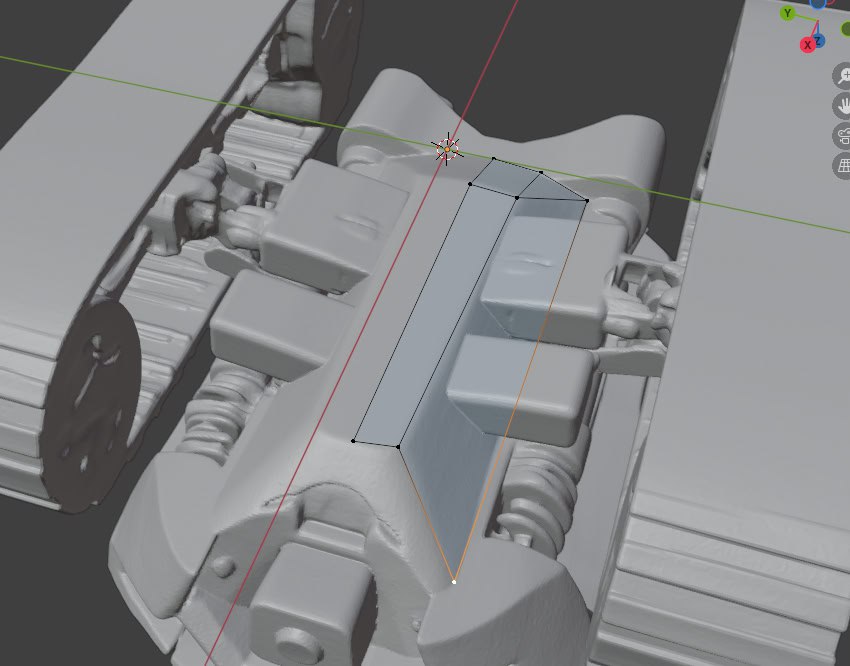
У меня не очень хорошо получились некоторые места (надеюсь кровь из глаз не пойдёт) :
Как можете заметить, я слишком детально прорисовал даже те места, которые не должно быть видно - это мне ещё аукнется. Применяем сглаживание:
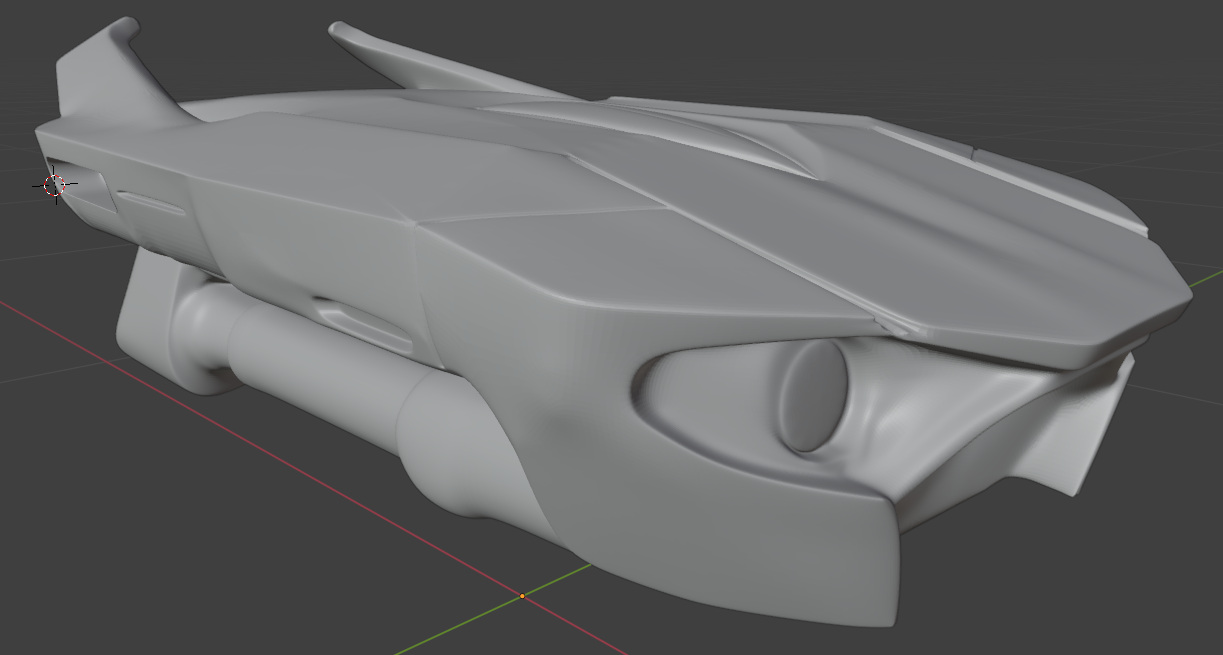
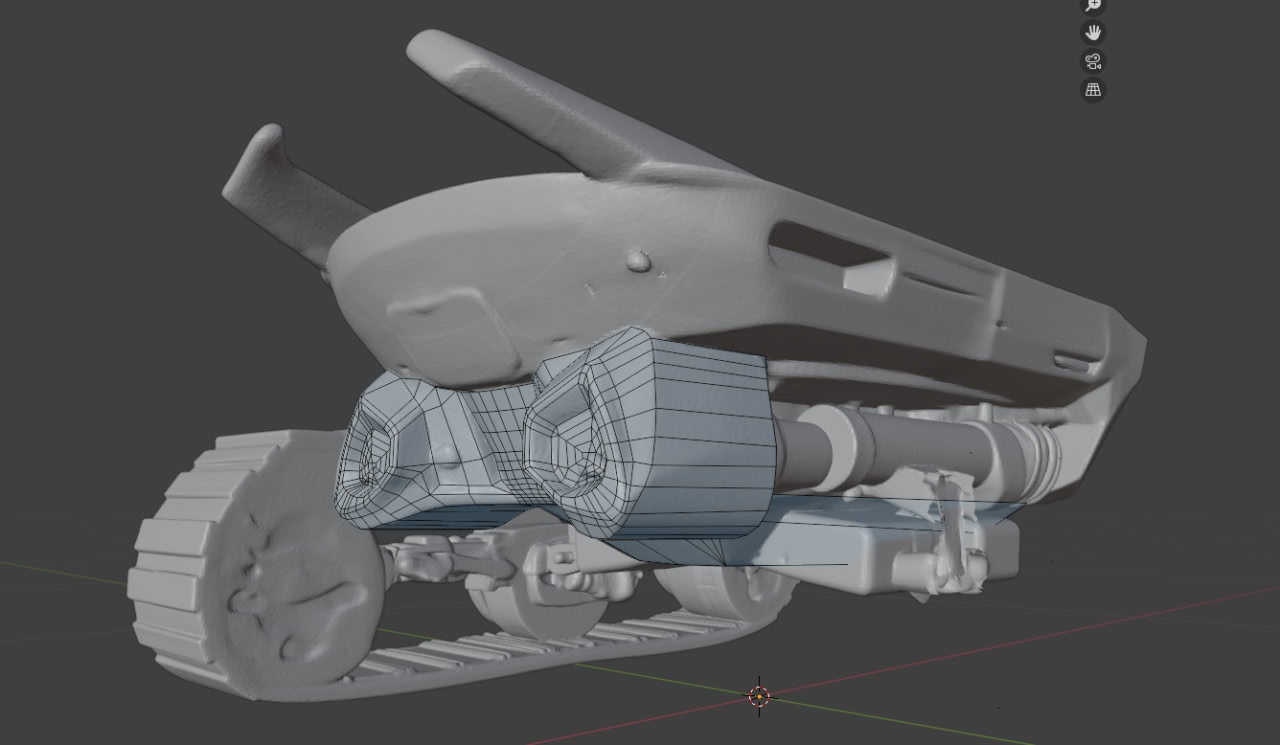
Ну и сравнение ретопологии с оригинальной моделью:
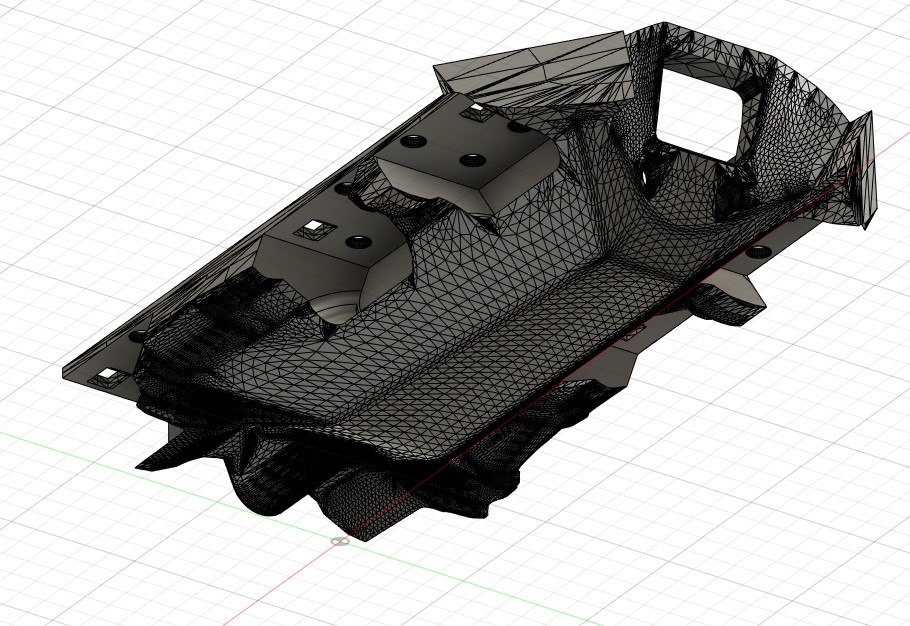
Экспортируем в stl - импортируем во Fusion 360 как меш - конвертируем сетку в твердое тело - булевой операцией вырезаем наши кронштейны. Не забываем сделать зазор по всем плоскостям (я на этом подгорел и 2 раза переделывал). И получаем дырки в некоторых местах, которые никуда не годятся..
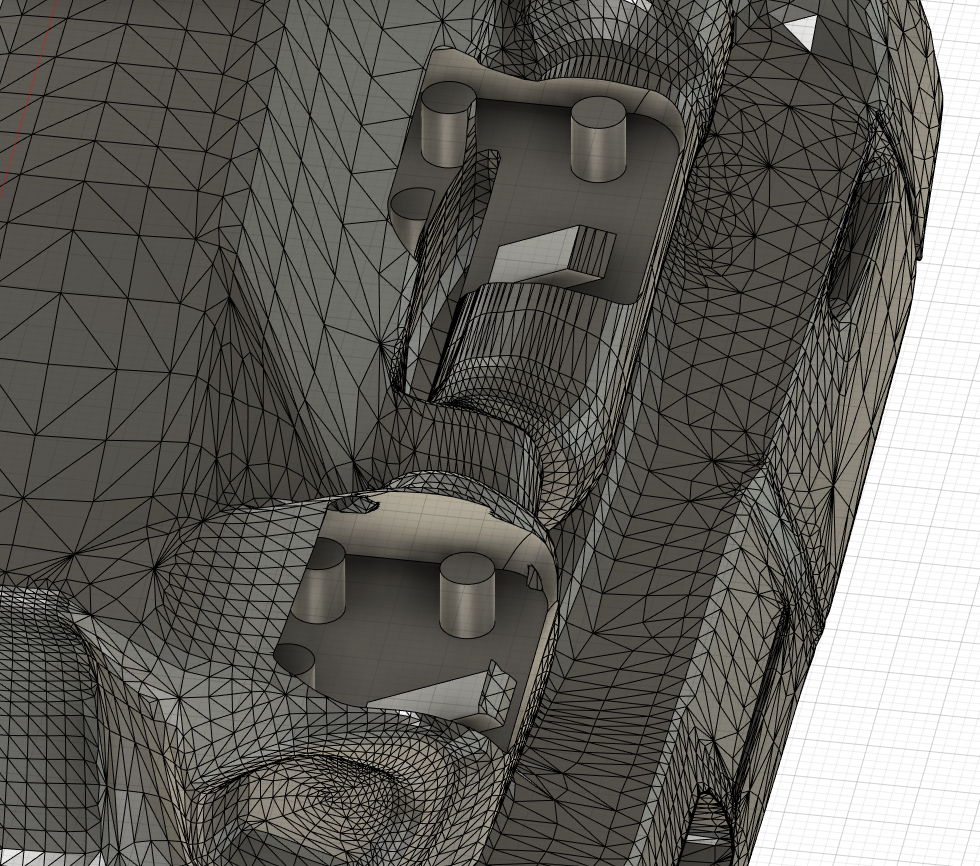
Возвращаемся в Бленлер, отменяем сглаживание, двигаем руками вершины полигонов таким образом, чтобы попытаться эти дырки закрыть (то ещё мероприятие делать это вслепую).
Дальше повторяем все шаги заново. Это весьма не быстрый процесс - конвертация такой сложной модели в твердое тело и дальнейшая работа с ними достаточно медленные. Через несколько итераций получаем модель, которая нас устраивает.
Попутно ещё пришлось перемоделить боковые стороны, чтобы все поместилось. Удалил полигоны и нарисовал новые заново.
Далее уже во Fusion 360 обычными скетчами, выдавливаниями и фасками я освободил внутри модели место для всех компонентов. Проще было это сделать инструментом создания полости, но Fusion на моей модели такую операцию не осилил а Блендер из-за кривой сетки в местах фасок выдавал дикие артефакты, которые править руками не было никакого желания.
Также я разделил модель на 2 части - верхнюю и нижнюю.
Распечатал это все на fdm принтере.
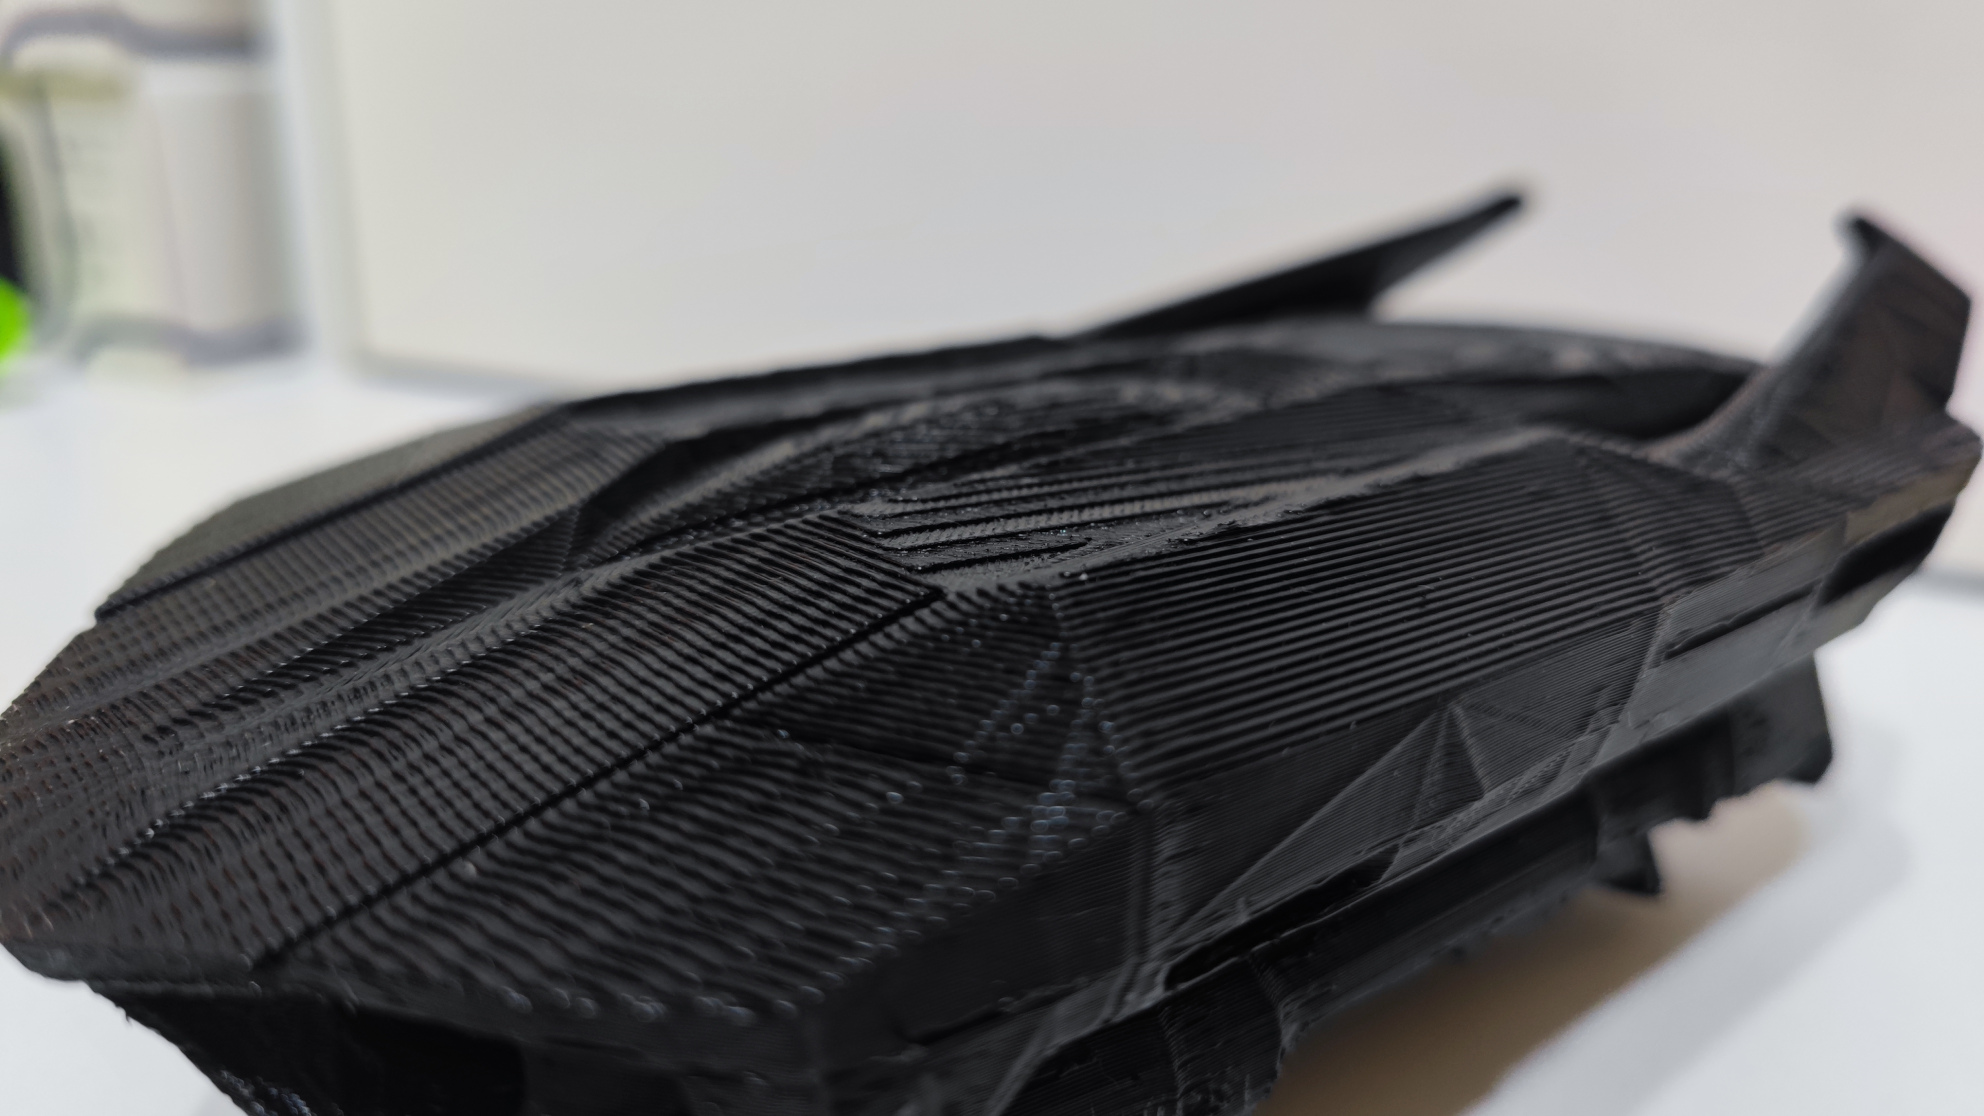
Результат настолько далёк от финишного и настолько был проблемным в плане отделения поддержек, что я решился попробовать sla печать. Модель должна выдерживать какие-никакие нагрузки, а sla из-за физических параметров смолы достаточно хрупок. Также я был уверен, что смола даёт большую усадку, причём неравномерную, и опасался проблем с подгонкой. Но вопреки опасения тестовая печать калибровочного куба показала отсутствие какой бы то ни было усадки.
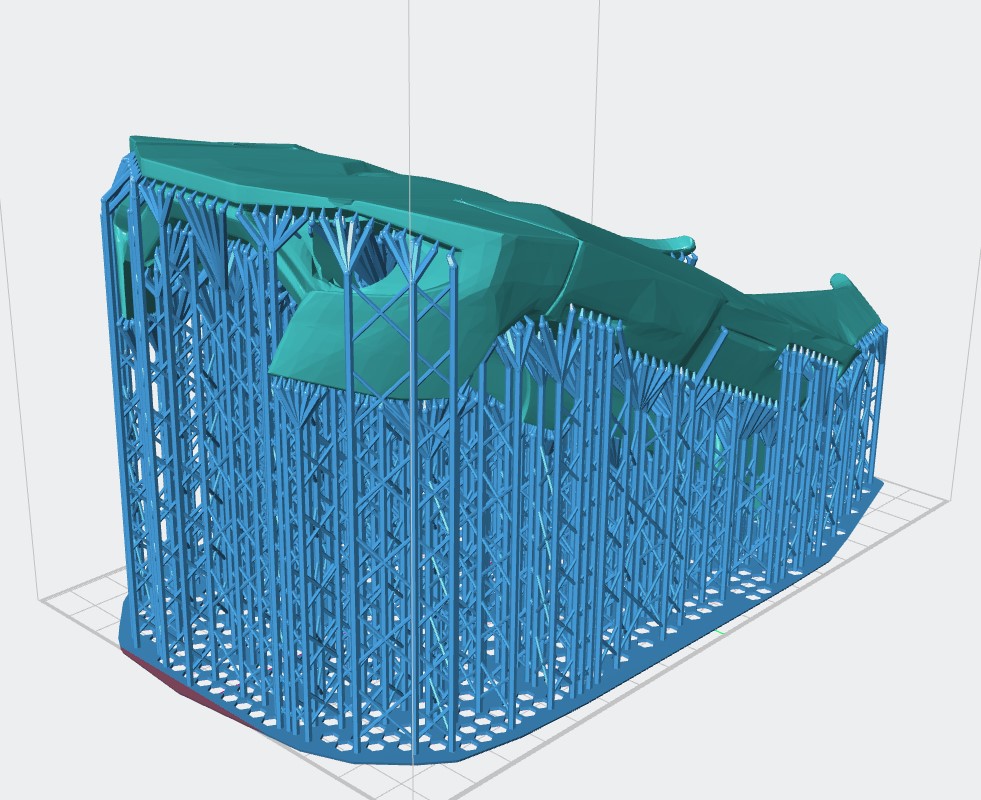
Крышка в длину не поместилась на столе, так что пришлось повернуть, вот так оно печаталось (что-то вроде 8 часов):
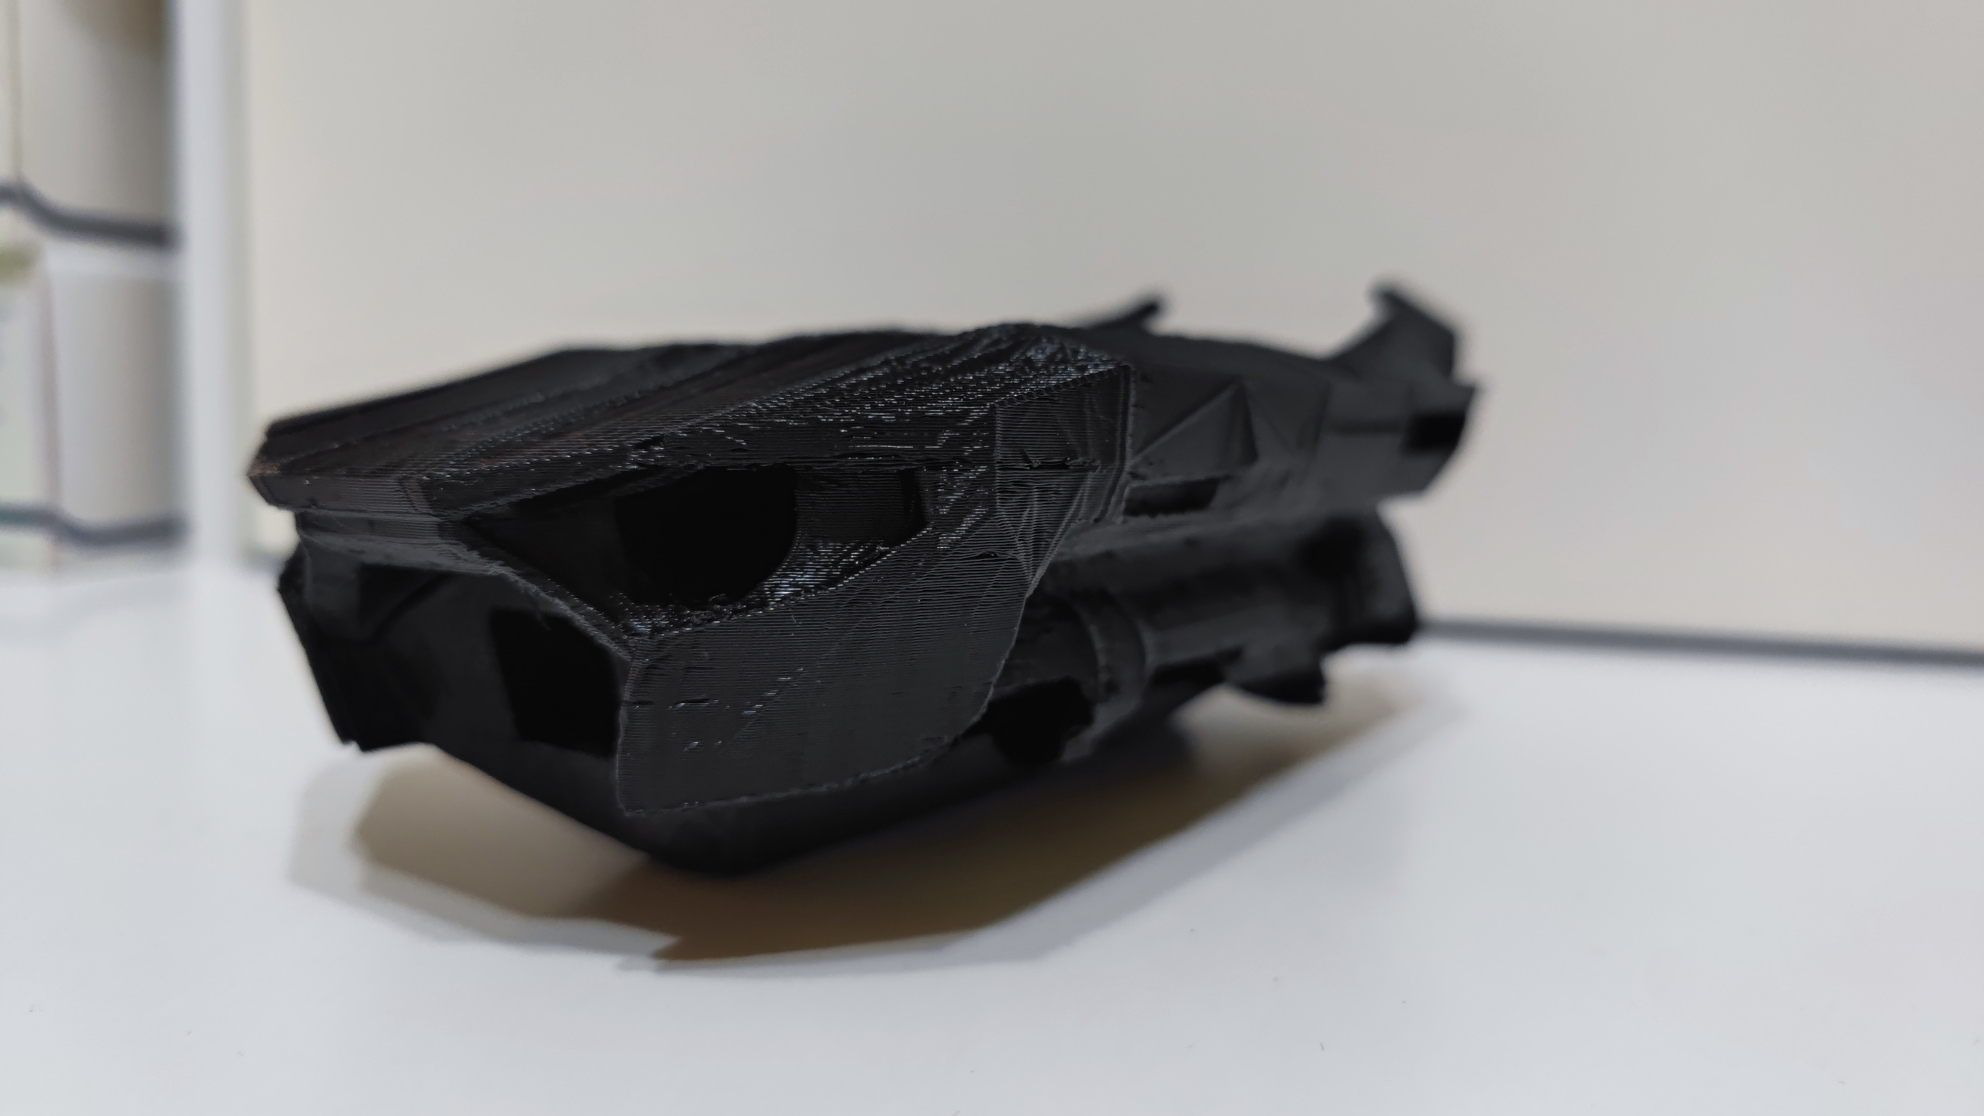
При этом с первой попытки мне не хватило смолы и получился такой терминатор, что даже хотел его оставить:
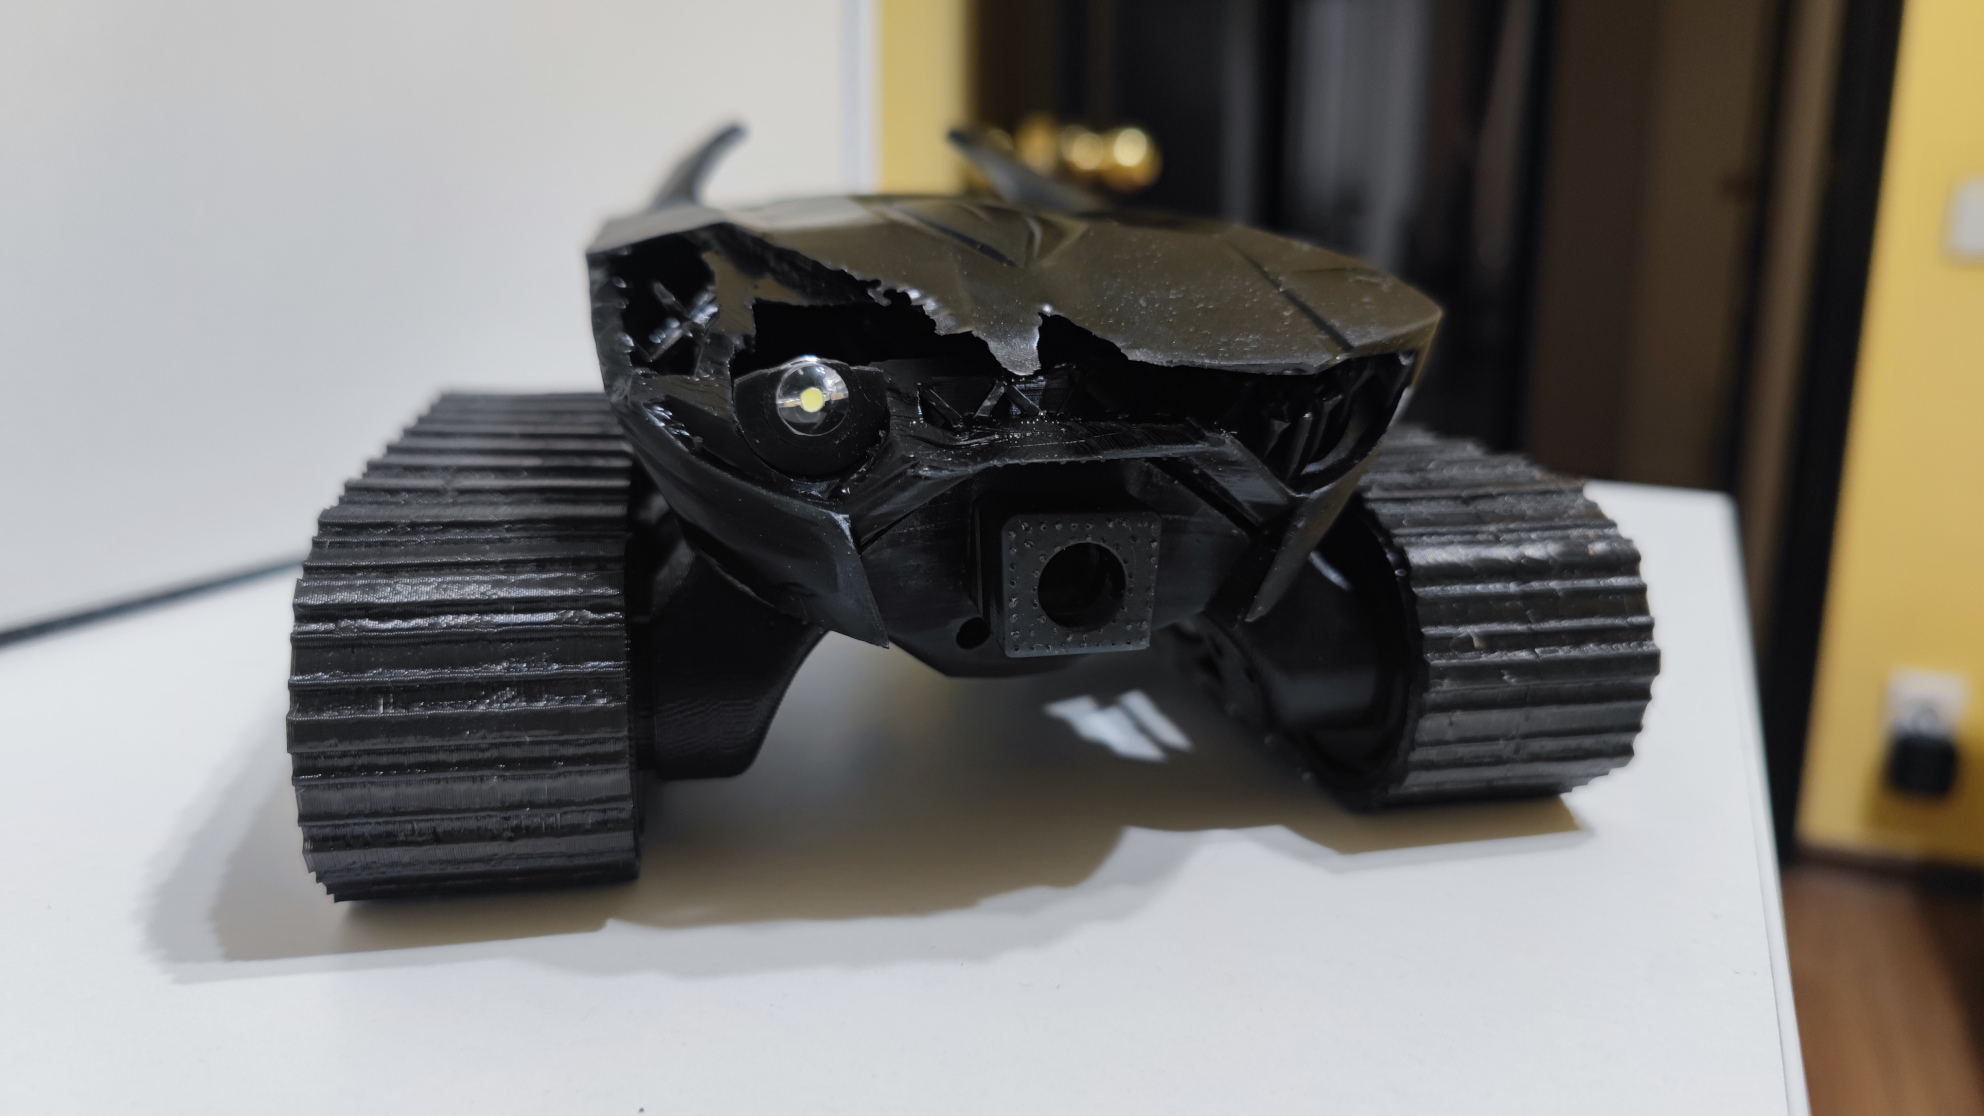
Но потом все же перепечатал, а эту оставил на эксперименты. Печатал abs-like смолой, результат удивил прочностью, хоть один угол у первой версии и отломился - но скорее из-за недостаточных зазоров, с новым версиями я был более аккуратен.
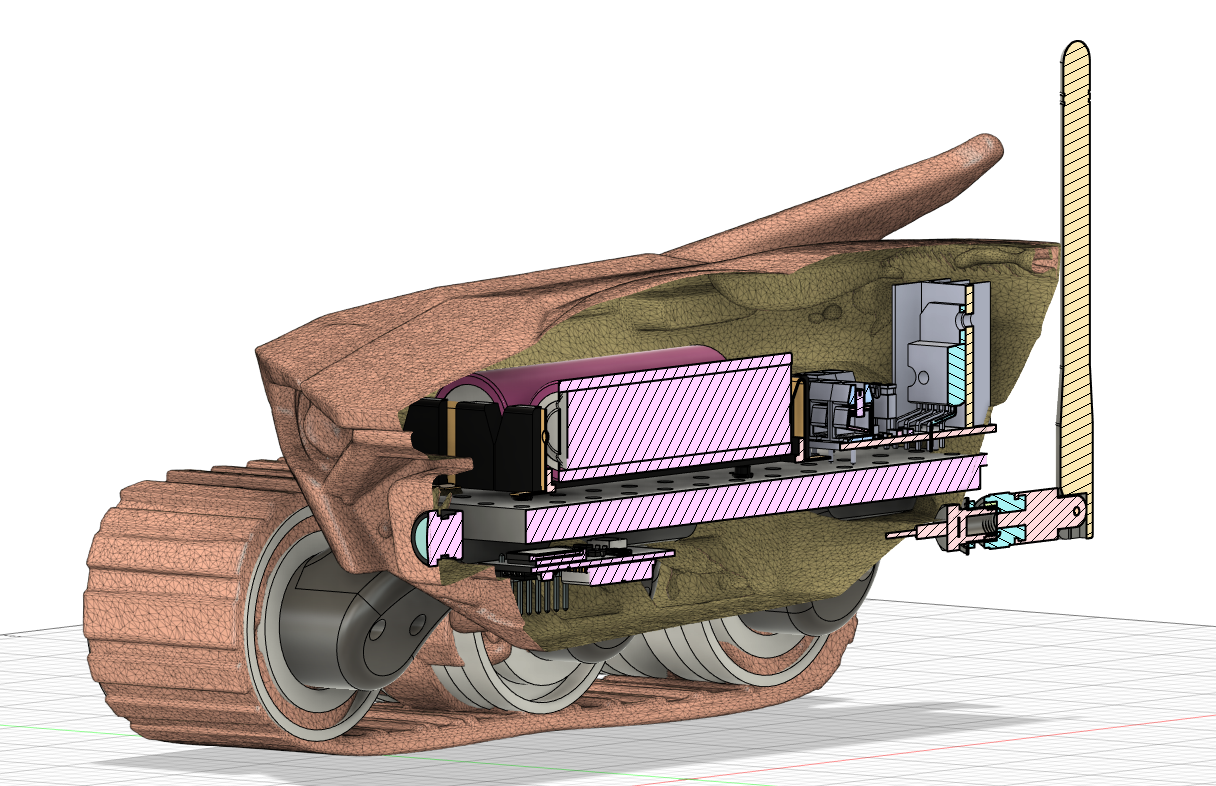
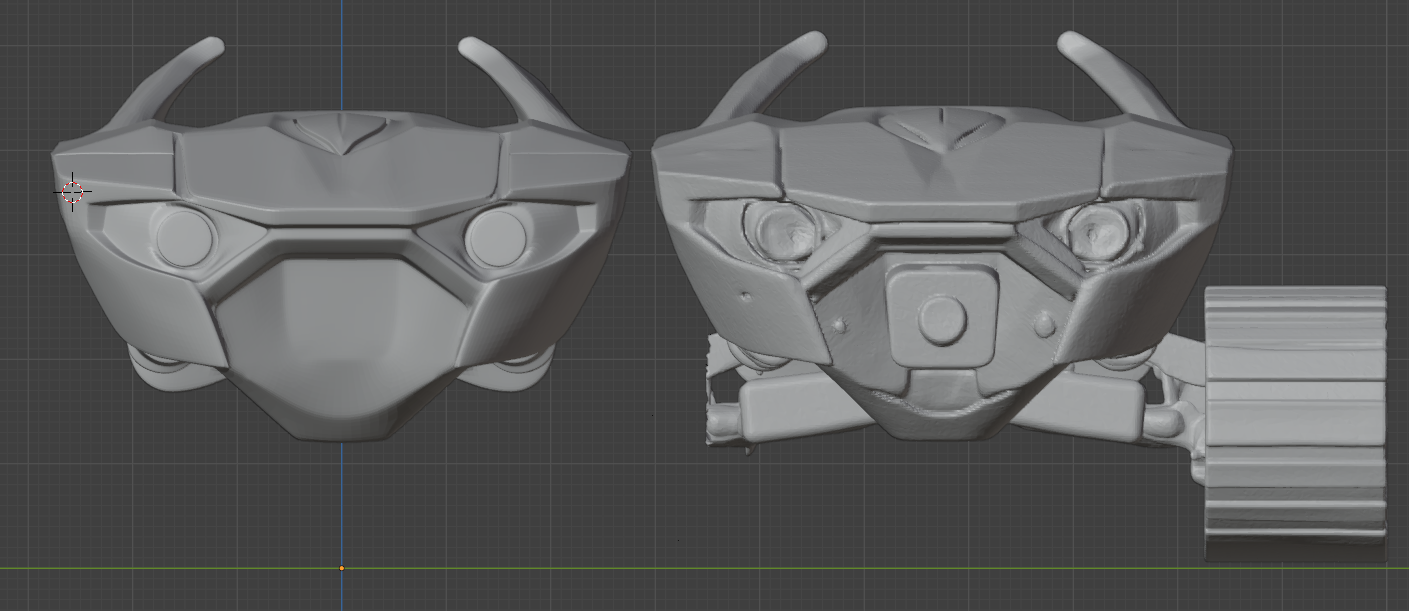
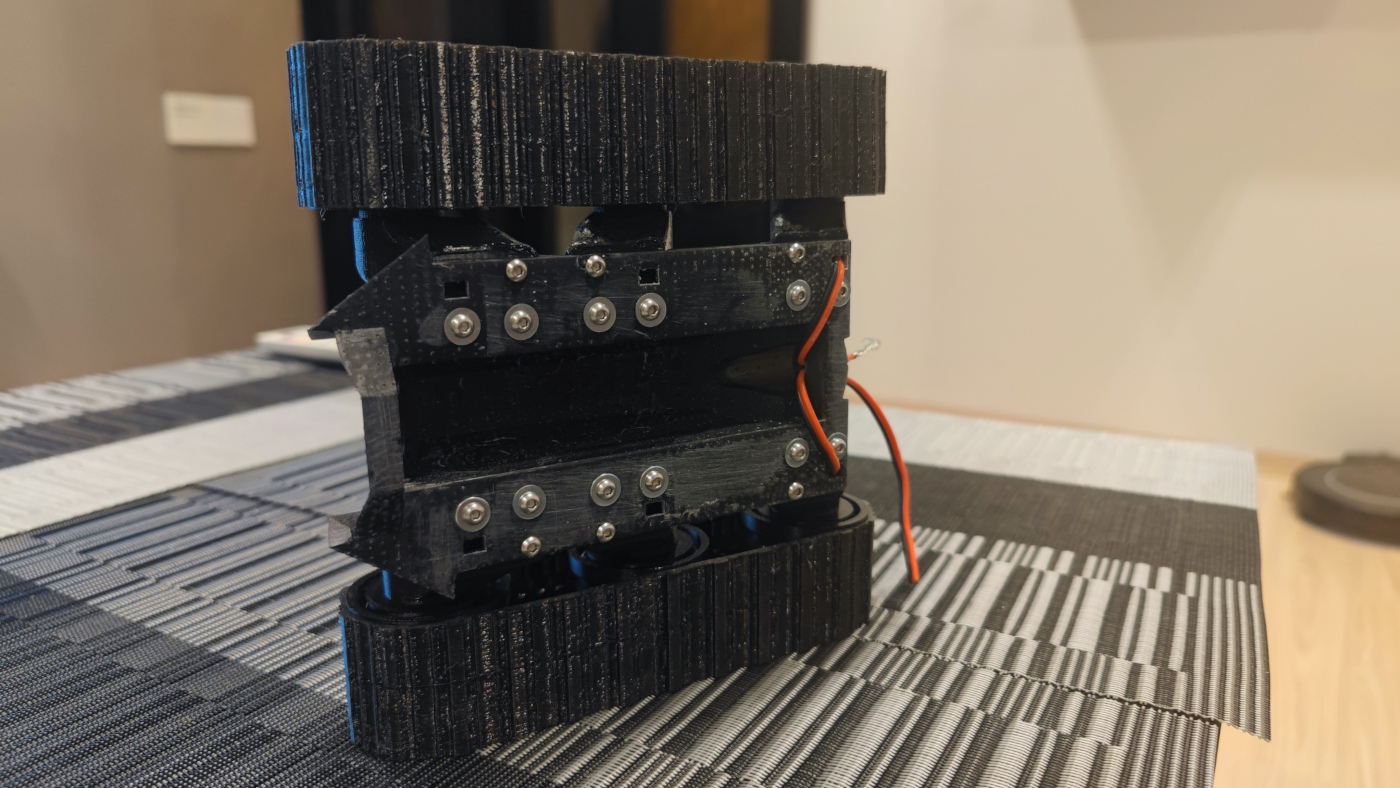
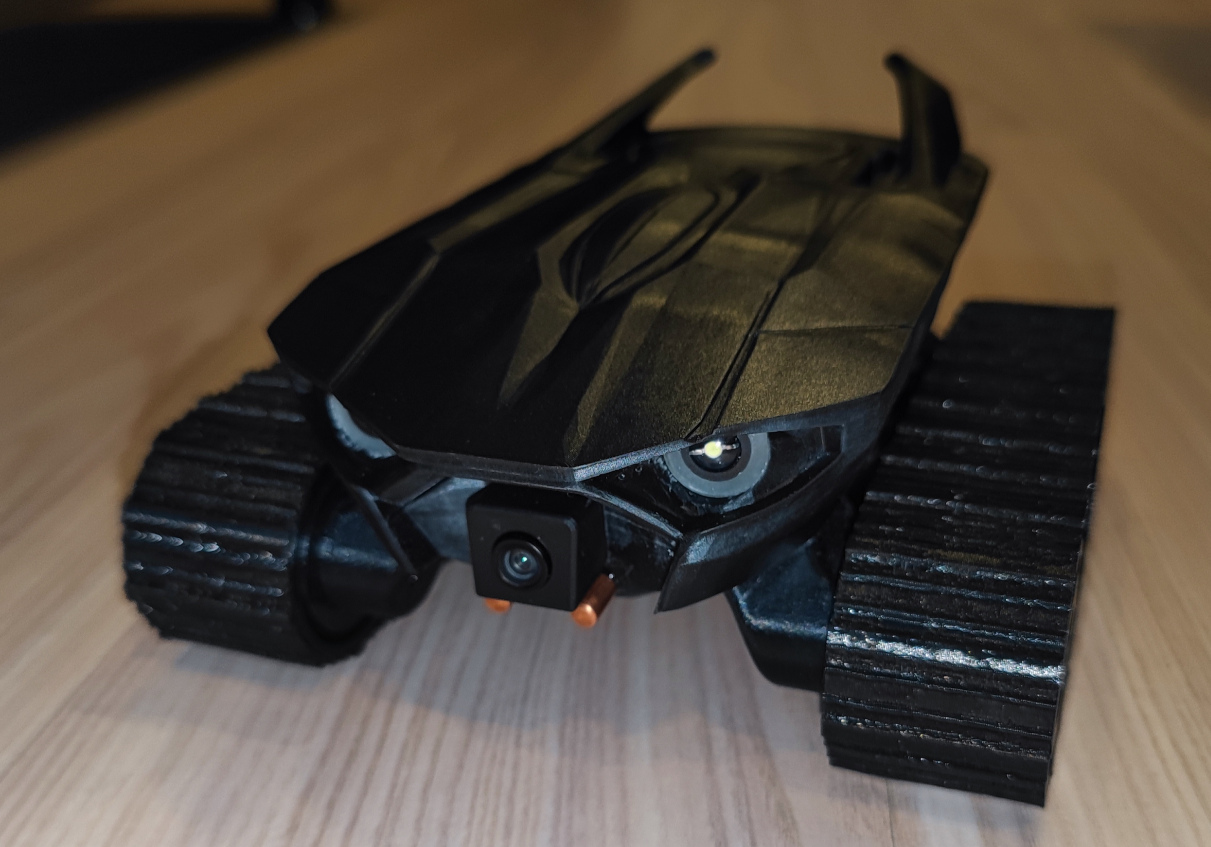
Где-то ближе к последним я также спроектировал все необходимые вырезы и под электронику - глаза, светодиоды, камеру, стержни для внешней зарядки и вот это все.
Как можете заметить - глаза и бокс камеры это также отдельные детали.
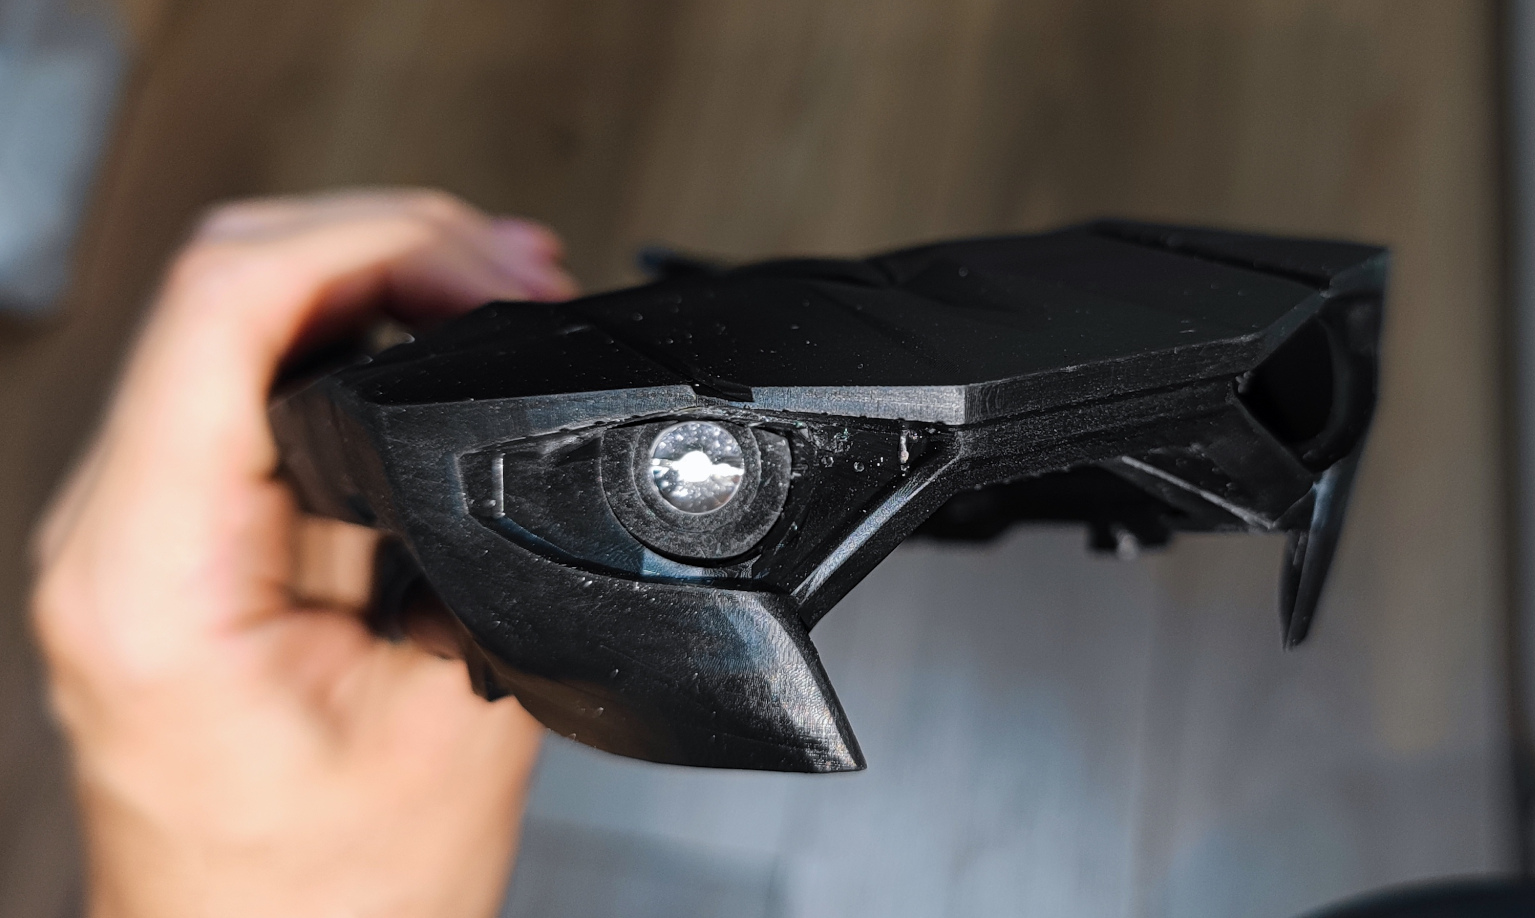
Про качество говорить не приходится - фотополимерная печать даёт почти финальное качество поверхности под покраску.
Комментариев пока нет
-

Продолжаем печать после отключения
Печать идет больше суток и в процессе пропадает свет. Знакомо? -

Как я работу в 2026 году менял + бонус
После 10 лет в e-commerce я вышел на рынок -

Goback - простые бэкапы
Решил тут наконец заняться бэкапами. И без самописных утилит не обошлось. -

Проект Наблюдатель
Проект приурочен к хеллоуину - это статуя одноглазого ктулху с механизированным… -

Универсальный AI Telegram Bot
Хотите в пару действий запустить собственного AI бота для Telegram? -

Анализ истории просмотров Youtube
Задумывались, сколько времени вы проводите за просмотром видео? Давайте считать.