33
Эпоксидная столешница: шаг за шагом
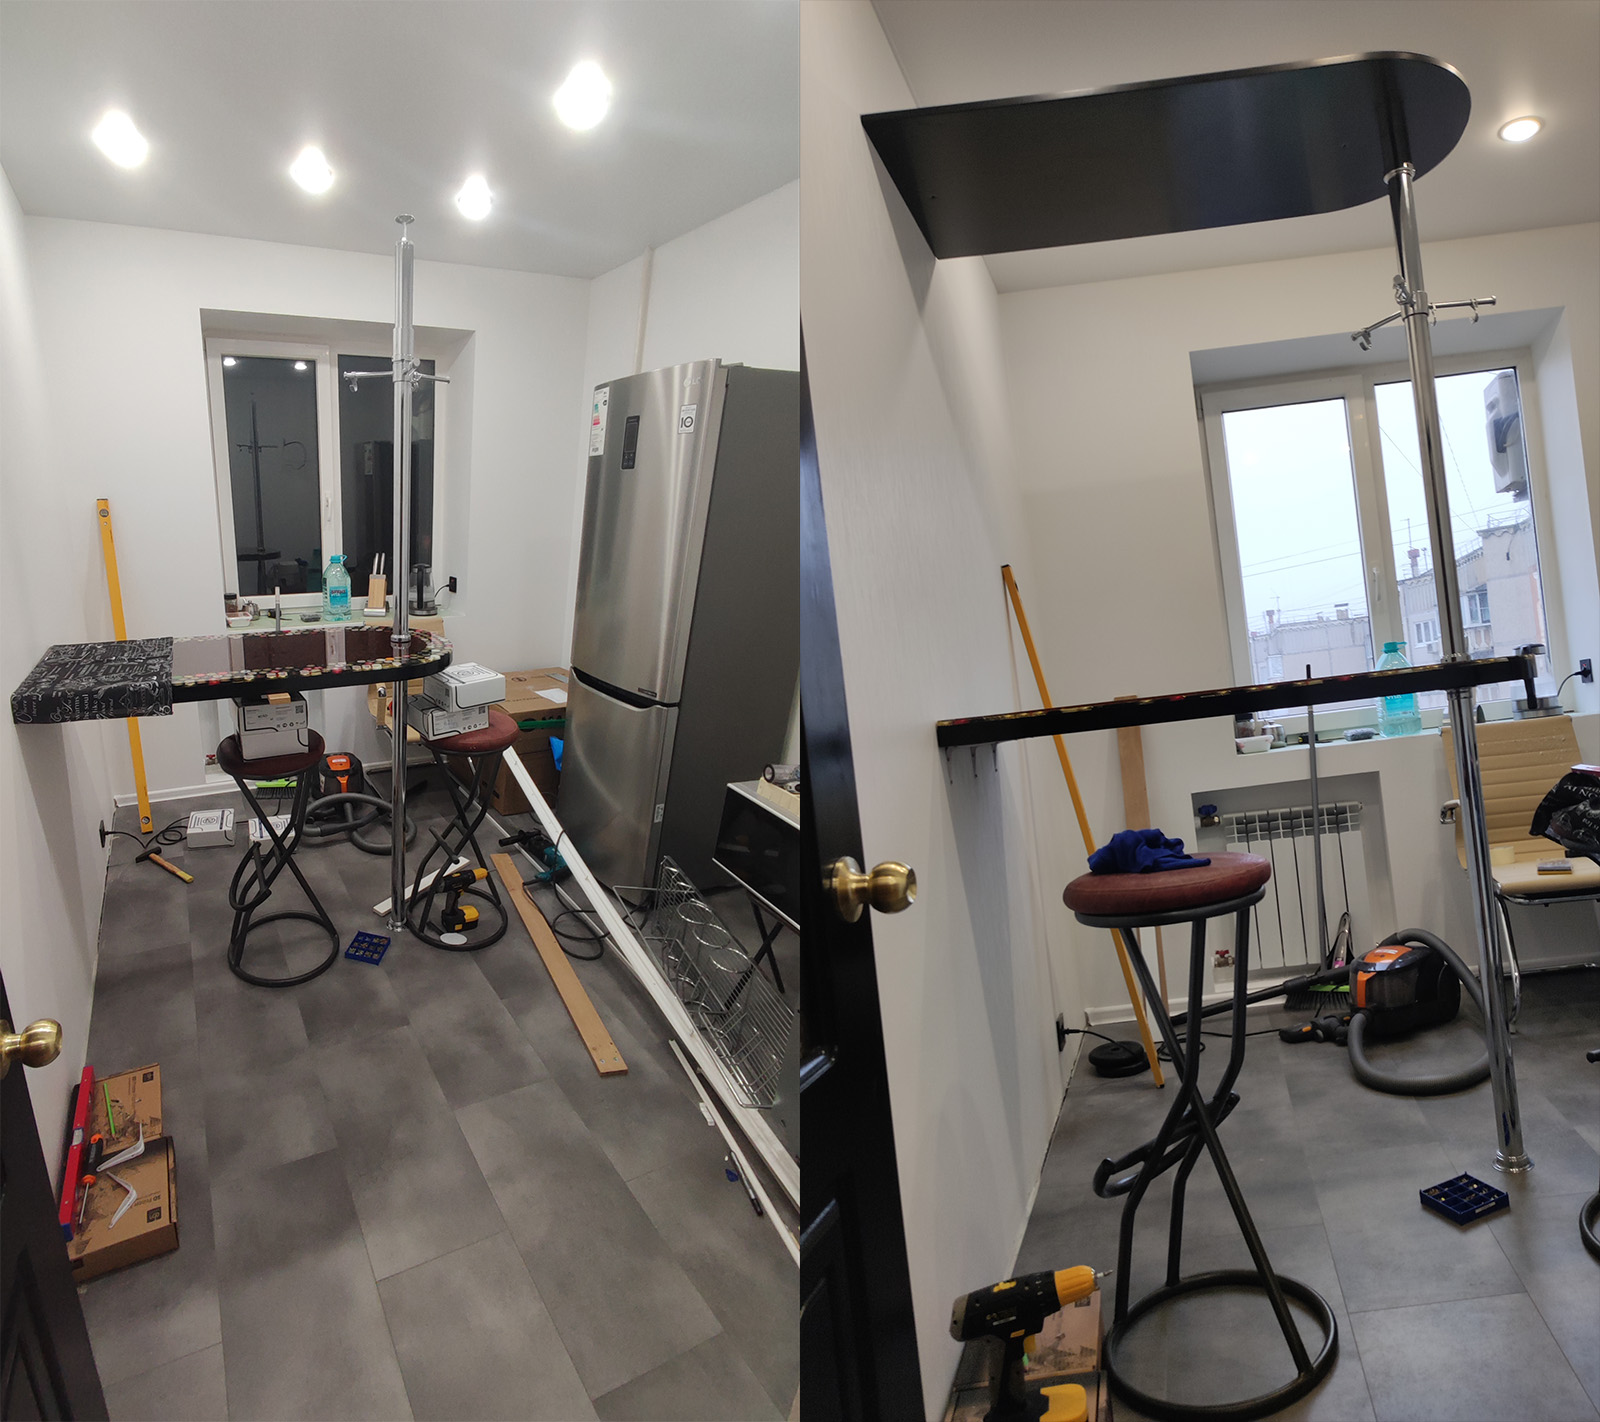
В рамках планируемого ремонта кухни цвет столешницы барной стойки не вписывался в новое видение дизайна комнаты, но в то же время сама барная стойка всем устраивала.
Давно интересовался темой эпоксидных столешниц благодаря ютубу, собирал пробки от сидра около года и вот, пришло их время.
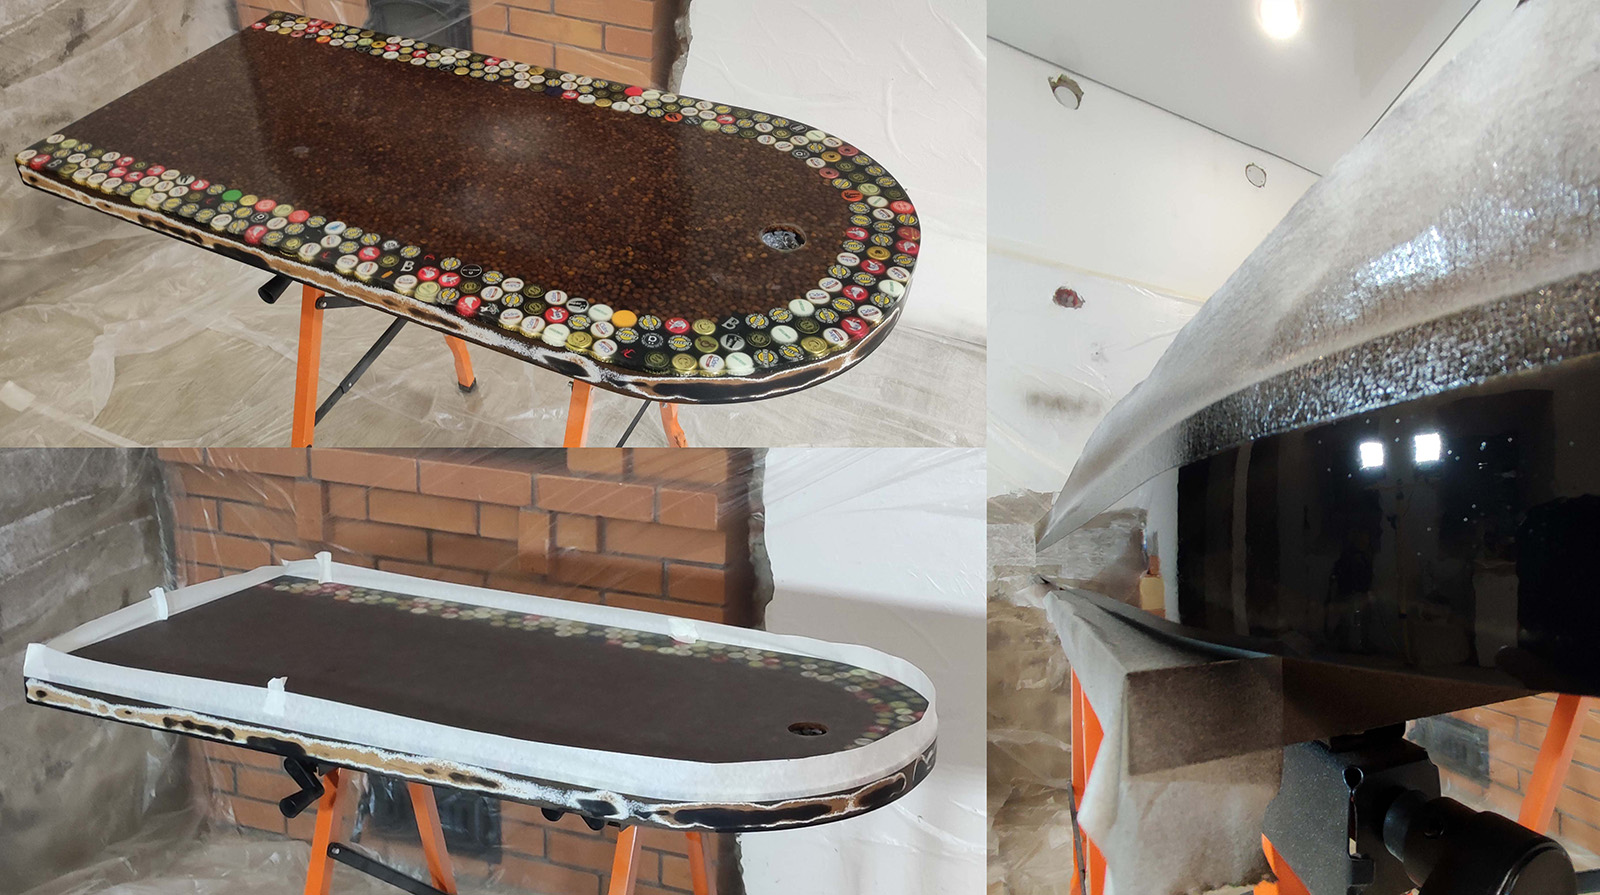
Пробок не накопилось достаточного количества, чтобы закрыть всю площадь столешницы - для этого нужно было бы еще как минимум в 3 раза большее количество. Путем экспериментов решил выложить все текущие пробки по периметру стола - хватило только на 3 ряда пробок.
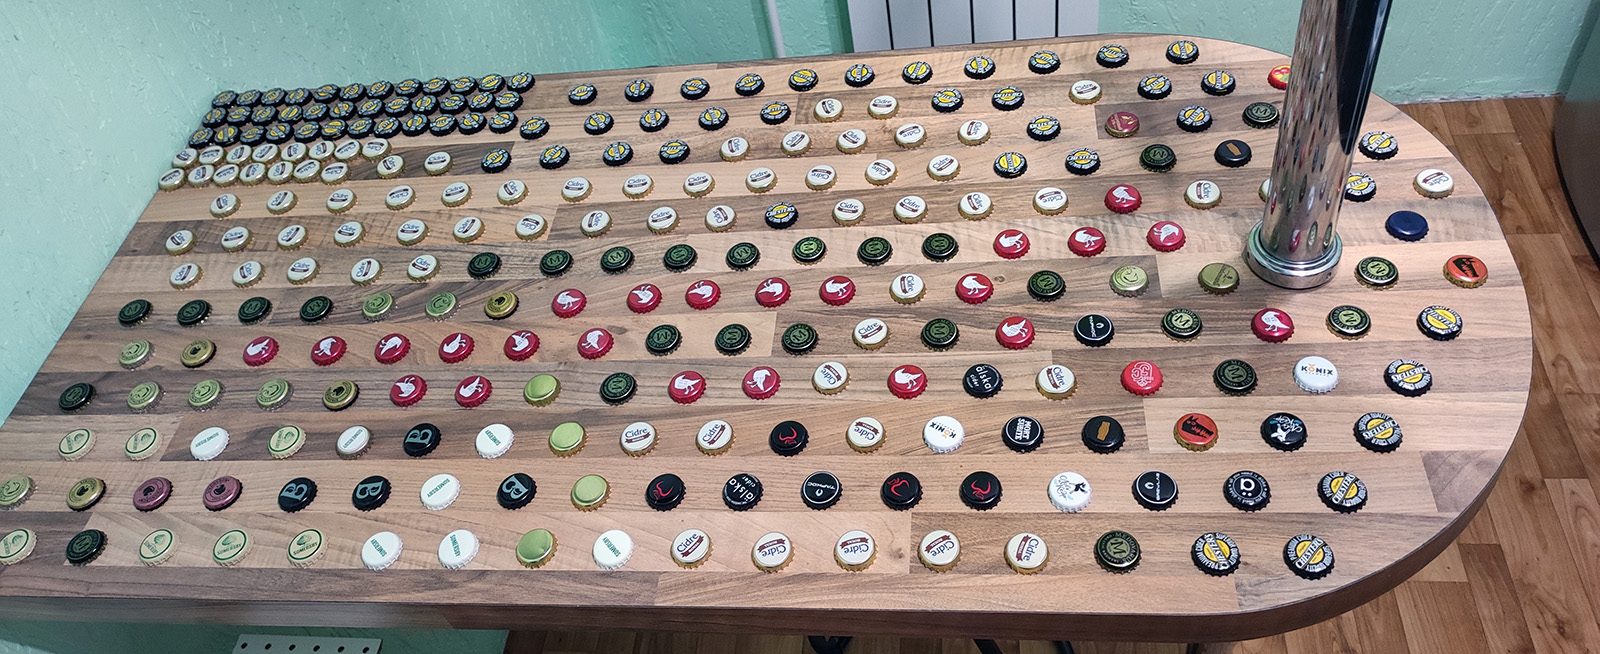
Для остальной площади было также несколько вариантов - битое стекло, мини-бутылки с алкоголем в выфрезерованных нишах, но толщина заливки пробок максимум 10мм и закуплено было ровно такое количество смолы, поэтому остановился на варианте с кофейными зернами - он должен смотреться также весьма неплохо.
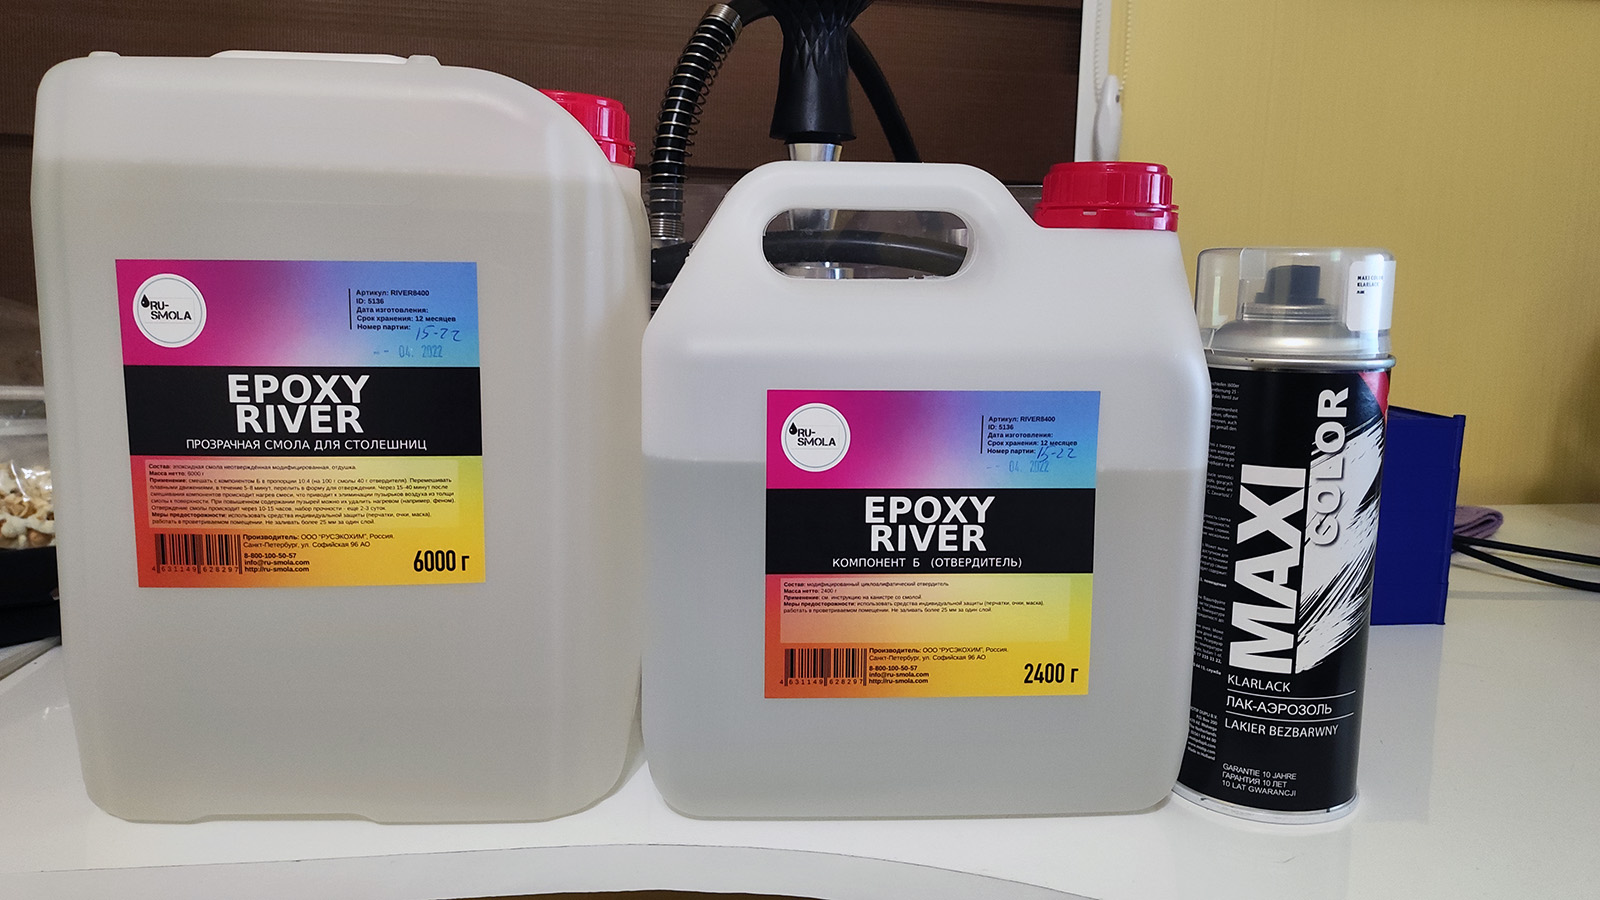
Закупаем эпоксидку - цены конь, на 1 квадратный метр и 1мм толщины нужно примерно 1.1кг состава (суммарный эпоксидка+отвердитель). Для моих целей достаточно 8.4кг состава (Epoxy River) + лак (Jeta Pro 5516) - 10472 р (03.04.2022).
Для начала делаем тестовую заливку, чтобы понять техпроцесс. У меня получилось не очень, застывшая эпоксидка была достаточно резиновой, выяснилось что пропорции, которые я взял по памяти, не сошлись с инструкцией. Но в остальном все хорошо.
Итак, приступаем:
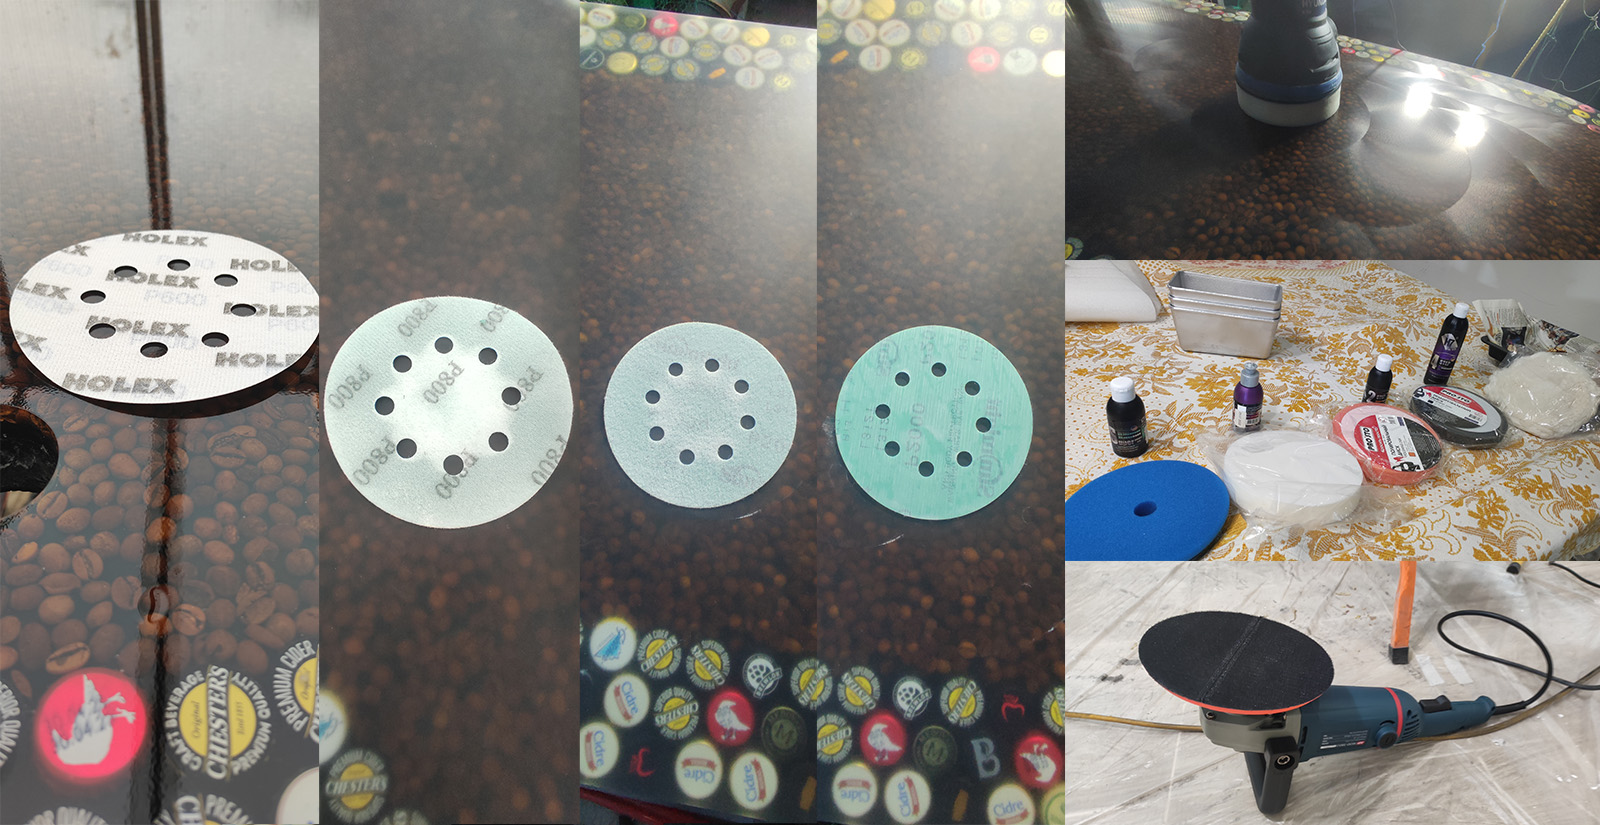
Этап 1 - проходим столешницу эксцентриковой шлифовальной машинкой, 120 и 240 грид.
Этап 2 - обеспыливаем и красим (я использовал балончики с глянцевой краской, покрытие в 3 слоя, полагаю, что проще и лучше могло получиться при использовании обычной эмали и кисти/валика, но это не точно).
Этап 3 - собираем опалубку из пластика (я взял в леруа широкий уголок для обрамления ниш и разрезал по линии сгиба), приклеиваем герметиком и скотчем на всякий случай - как снаружи для фиксации, так и внутри для более лучшего разделения в дальнейшем пластика от эпоксидки (разделитель никакой не использовался банально по причине его отсутствия у меня).
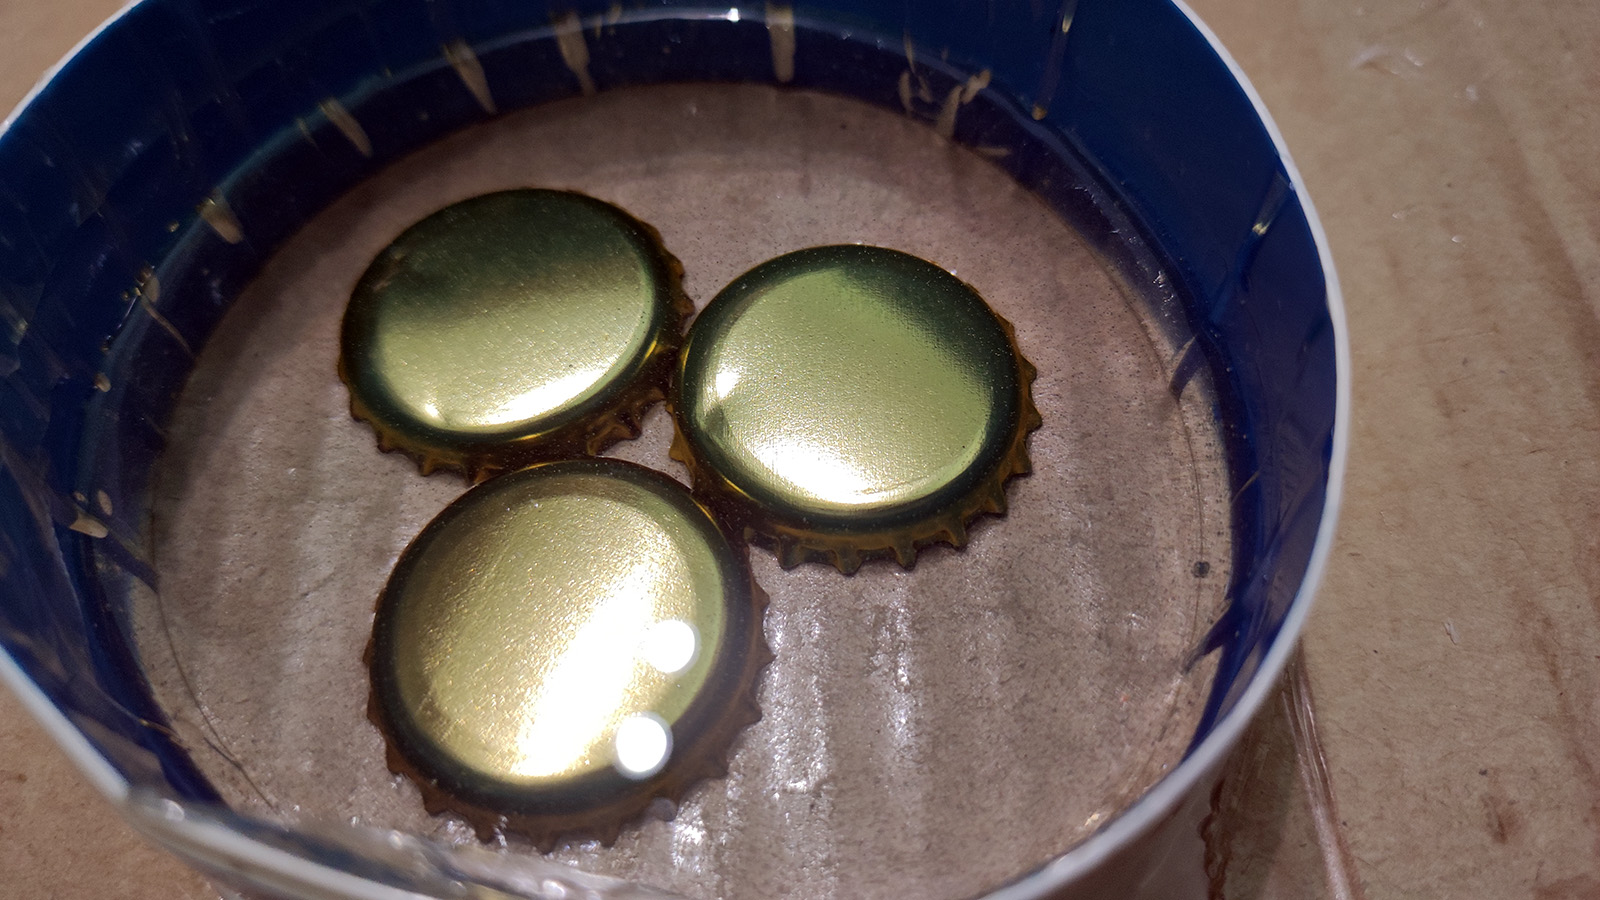
Этап 4 - приклеиваем пробки к столу - возможны варианты от клея до пластилина, я использовал тот же герметик, даем высохнуть герметику (на самом деле оказалось что даже суток для моего герметика было мало на такой толщине, но особо это ни на что не повлияло).
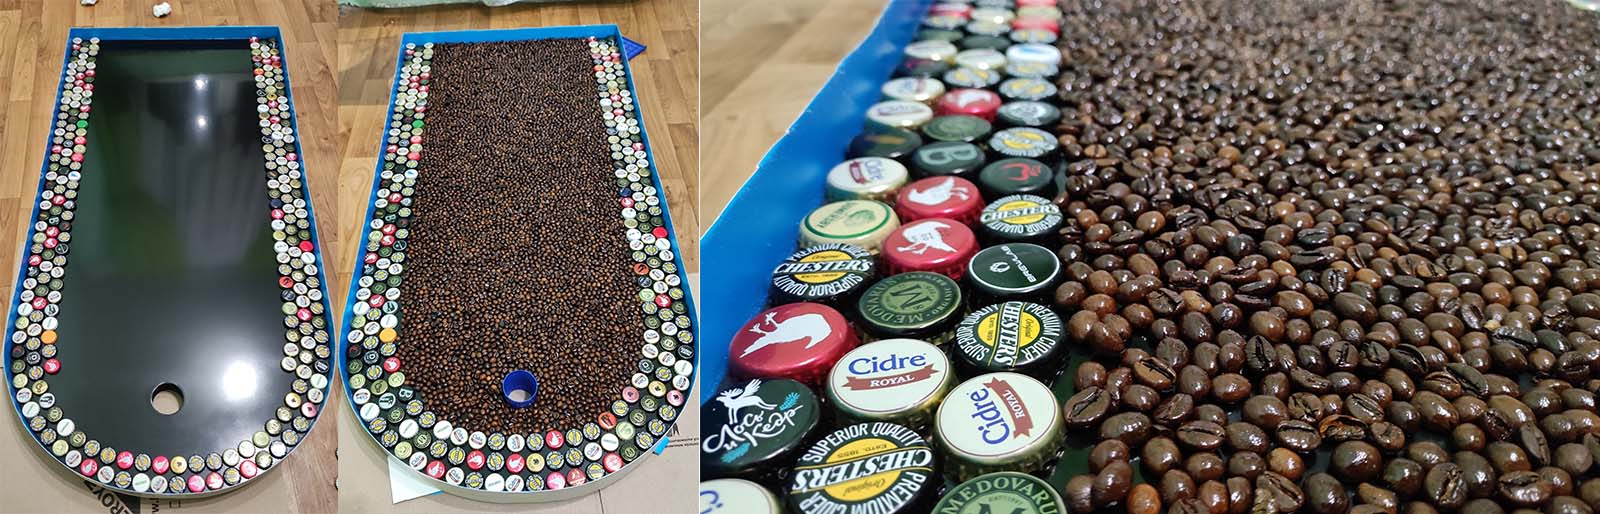
Этап 5 - заливаем первый слой с засыпкой кофейных зерен в основную часть стола. Слой нужен минимальный, чтобы зерна были зафиксированы и не всплывали в массе. Ведра из леруа и мешалка из китайской палочки - топ:
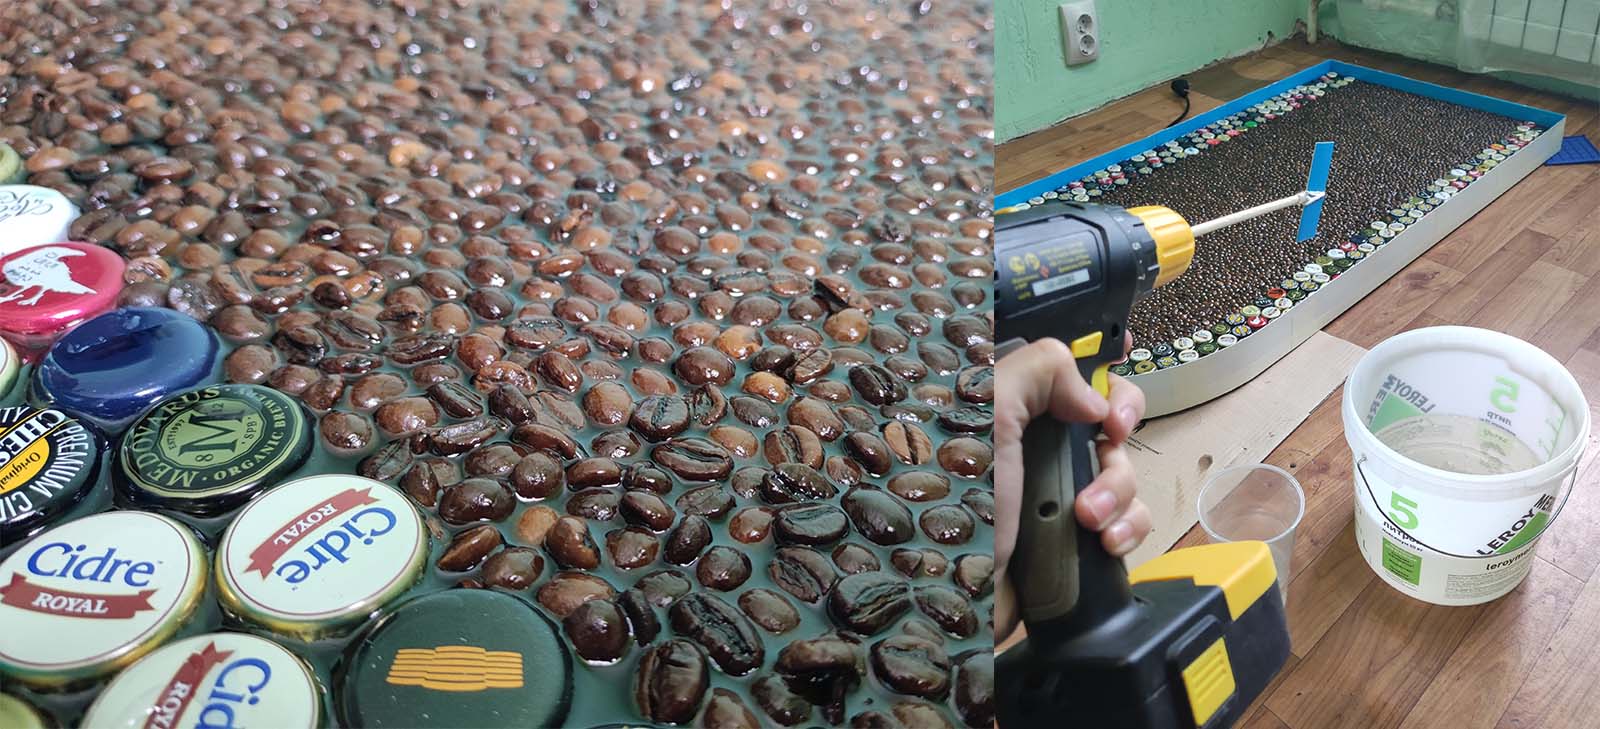
Этап 6 - через ~2 часа заливаем основной заполняющий слой - моя эпоксидка позволяет заливать слой до 4см за раз, но мне столько не нужно, ждем сутки, чтобы все полимеризовалось и застыло. Чем ниже влажность в помещении и чем выше температура - тем лучше результат и тем быстрее этот процесс происходит. Только не замешивайте разные партии эпоксидки в одной емкости, не очистив её.
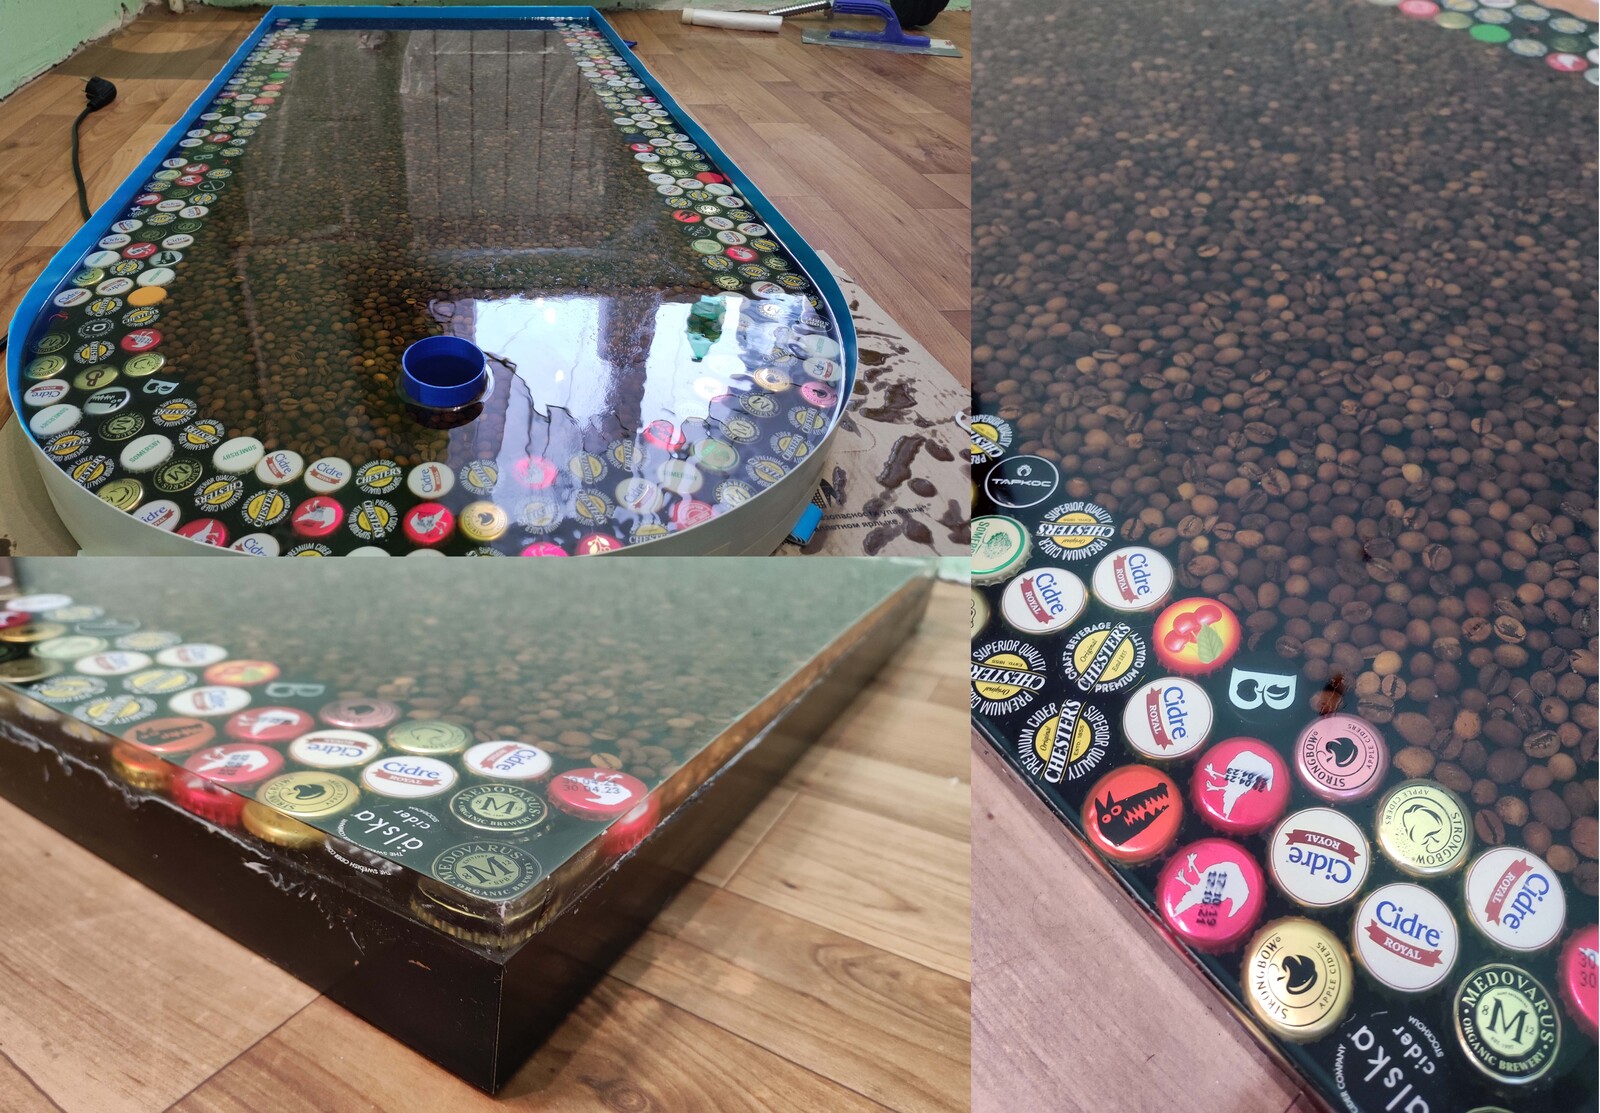
Этап 7 - шлифуем стол эксцентриковой шлифмашинкой, от 240 до 500 грид под покрытие лаком, он должен как раз выступать в роли защитного слоя и защищать от механических / химических и прочих бытовых повреждений.
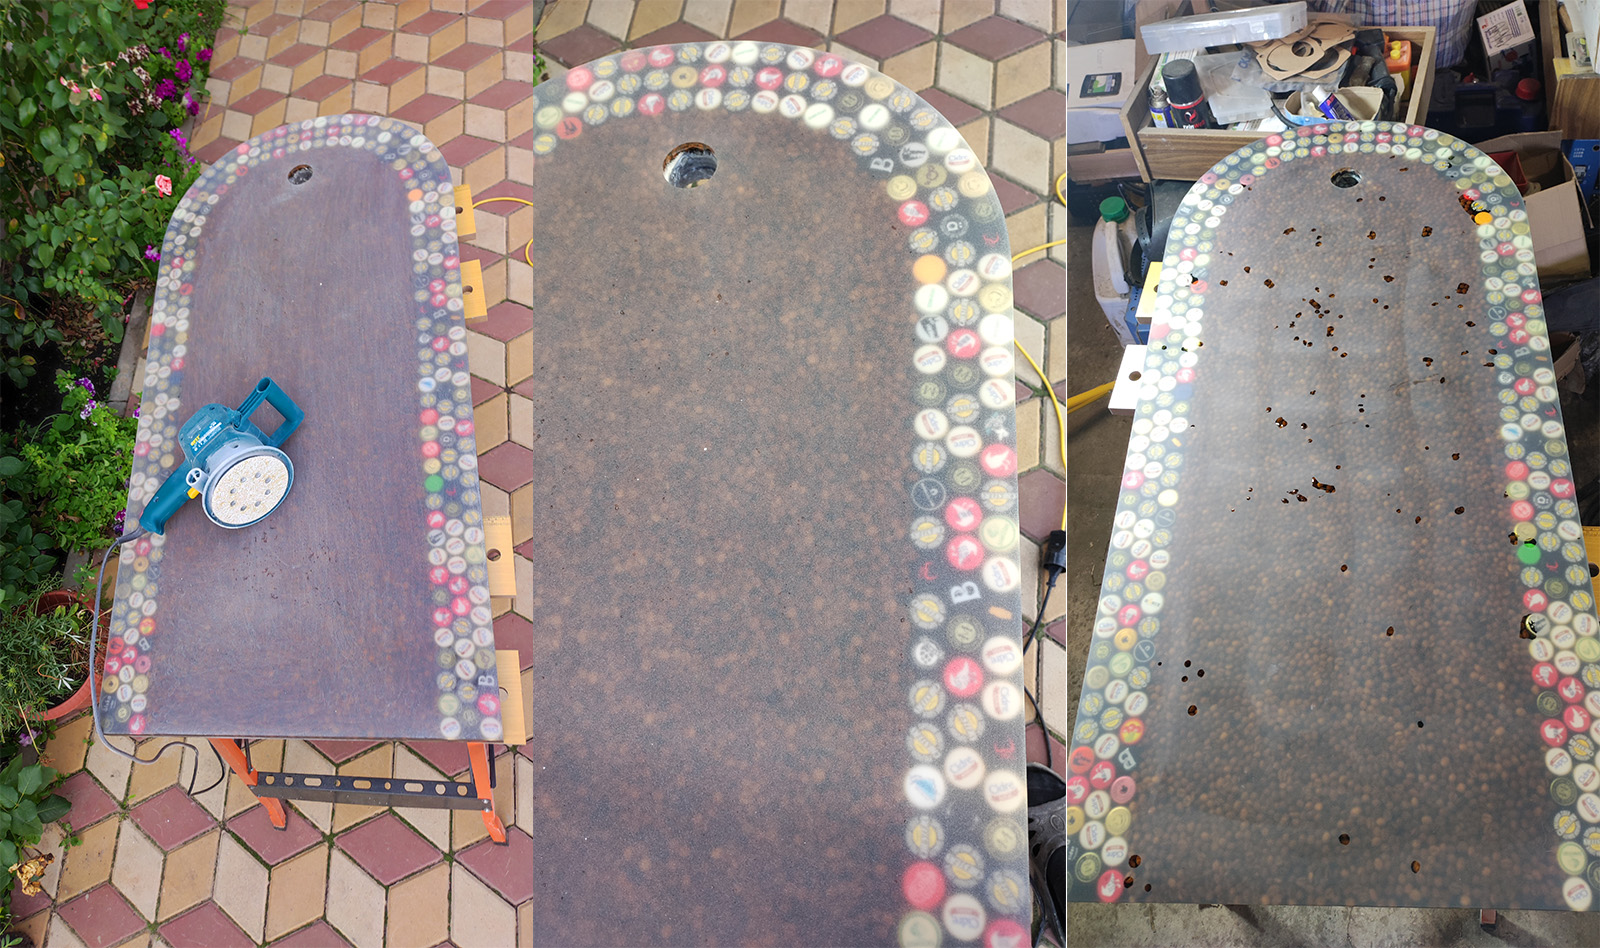
Здесь на последнем фото видны пятна - в процессе шлифовки обнаружились пузырьки воздуха, которые сошлифовать не удалось, залил их эпоксидкой и перешлифовал еще раз.
Этап 8 - задуваем лаком, желательно потолще, т.к. нам нужно будет шлифовать еще и его. Попутно еще и перекрашиваем боковины.
Этап 9 - шлифуем и полируем лак (600-5000 + полировальные пасты), следя за тем, чтобы не снять весь лак до эпоксидки, иначе придется начинать все заново.
Ну и финальный результат:
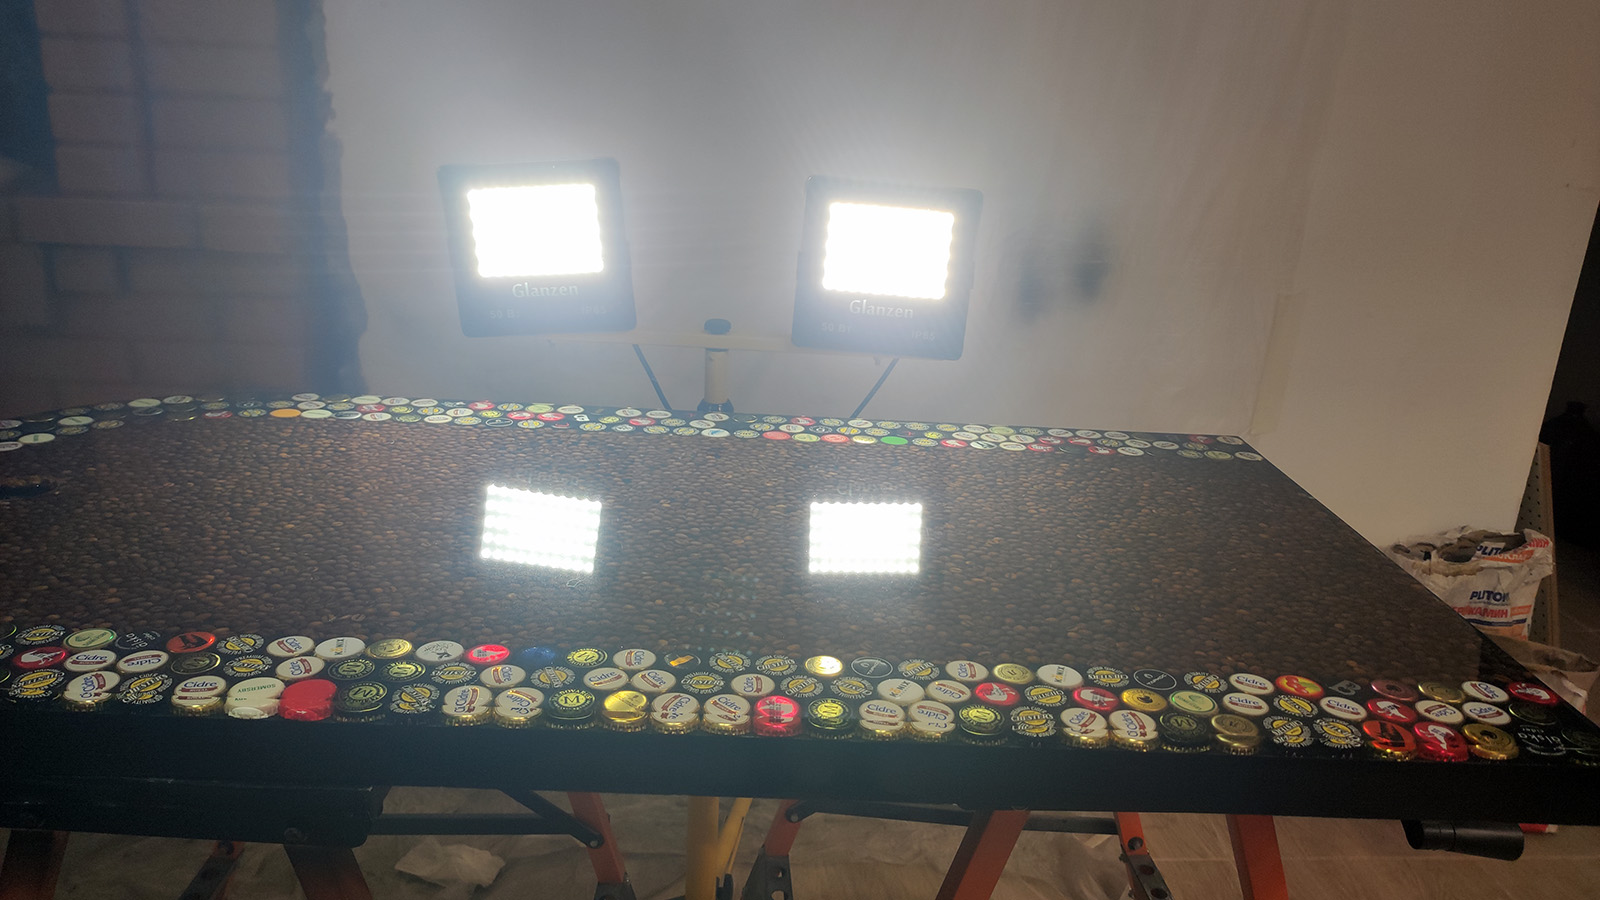
На самом деле за кадром несколько месяцев работы, кучу перешлифовок, перекрасок и покрытий лаком, но все приходит со временем и опытом.
Комментариев пока нет
-

Продолжаем печать после отключения
Печать идет больше суток и в процессе пропадает свет. Знакомо? -

Как я работу в 2026 году менял + бонус
После 10 лет в e-commerce я вышел на рынок -

Goback - простые бэкапы
Решил тут наконец заняться бэкапами. И без самописных утилит не обошлось. -

Проект Наблюдатель
Проект приурочен к хеллоуину - это статуя одноглазого ктулху с механизированным… -

Универсальный AI Telegram Bot
Хотите в пару действий запустить собственного AI бота для Telegram? -

Анализ истории просмотров Youtube
Задумывались, сколько времени вы проводите за просмотром видео? Давайте считать.