
64
Image2model с tripo3d и Blender
Иногда хочется, чтобы нарисованный или сгенерированный персонаж стал настоящим — пусть и небольшим, напечатанным из пластика. Сейчас это проще, чем кажется: из 2D-картинки можно получить трёхмерную модель за несколько минут.
В этом посте — мой процесс: от картинки с дракончиком до готовой фигурки.
Исходная картинка
Генерировал в chatGPT следующим промптом:
an image of something interesting, attractive, unusual, and cute on a white background, which can be easily transformed through text2model AI into a 3D model for easy 3D printingТ.е. буквально первое, что пришло в голову для демонстрации. Причем варианты очень разнообразные, но все по своему интересные. Чего стоит только одна улитка с фантомными глазами:
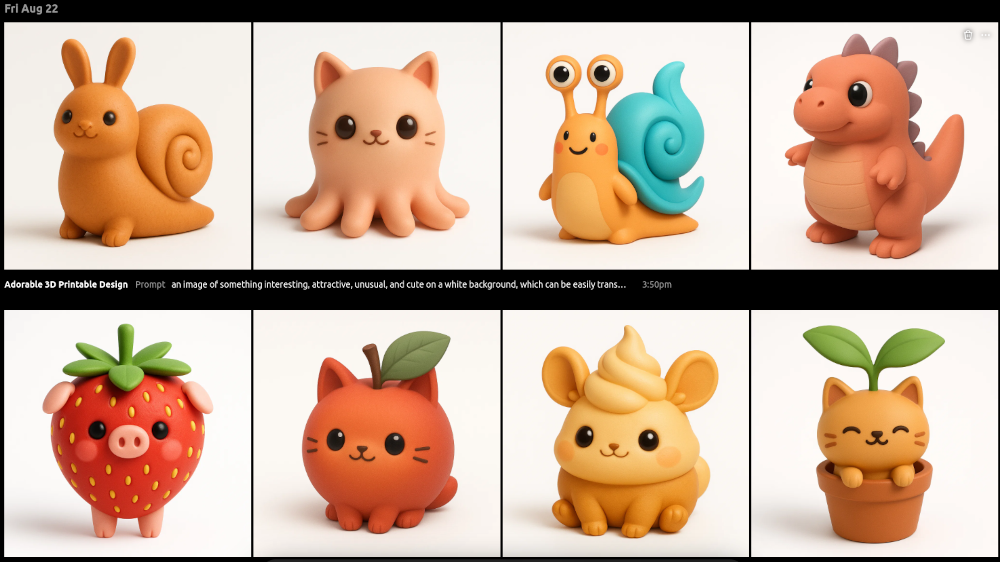
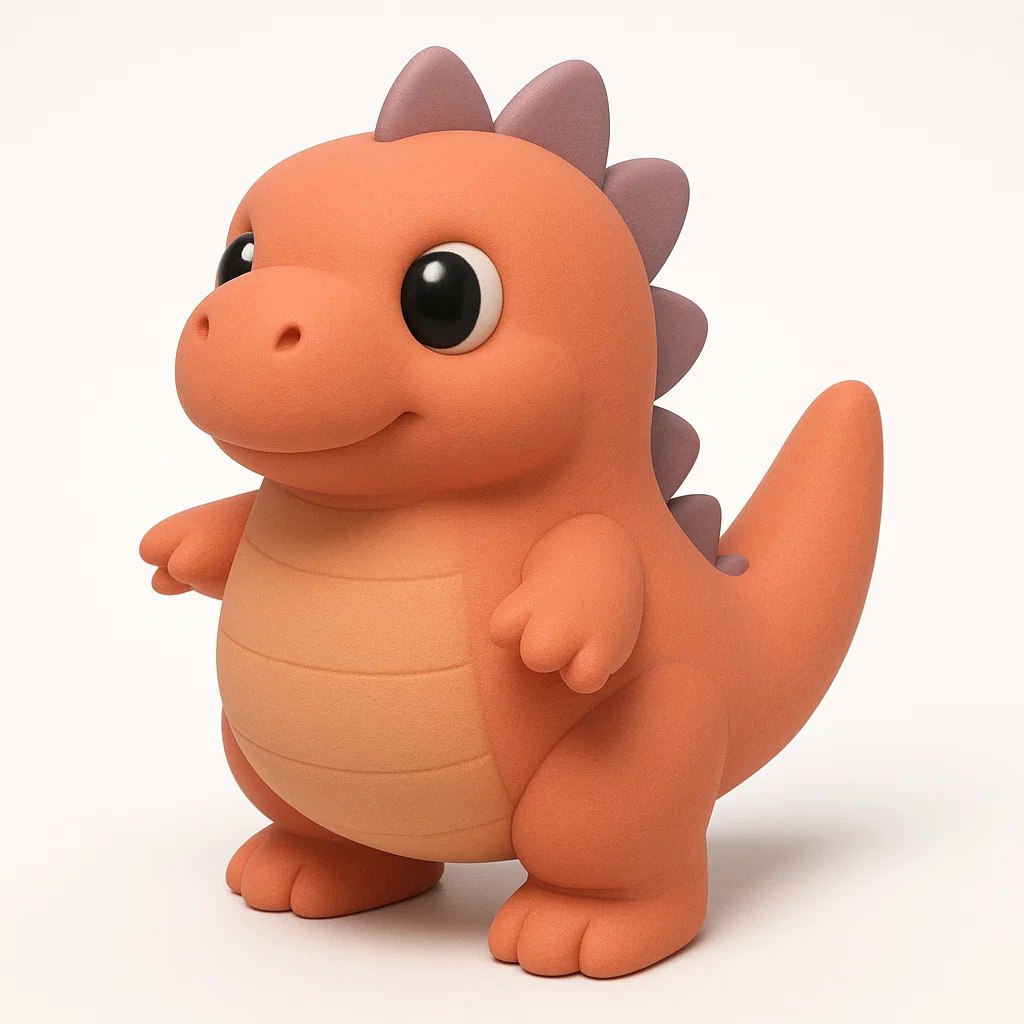
Можно использовать любую картинку, где объект выделен и хорошо виден. Не обязательно белый фон, но если вы создаете новую картинку - это может облегчить следующие шаги. Подойдут скетчи, арты, нейросетевые генерации. Я взял изображение с небольшим мультяшным драконом (потому что девушке он больше всех приглянулся):
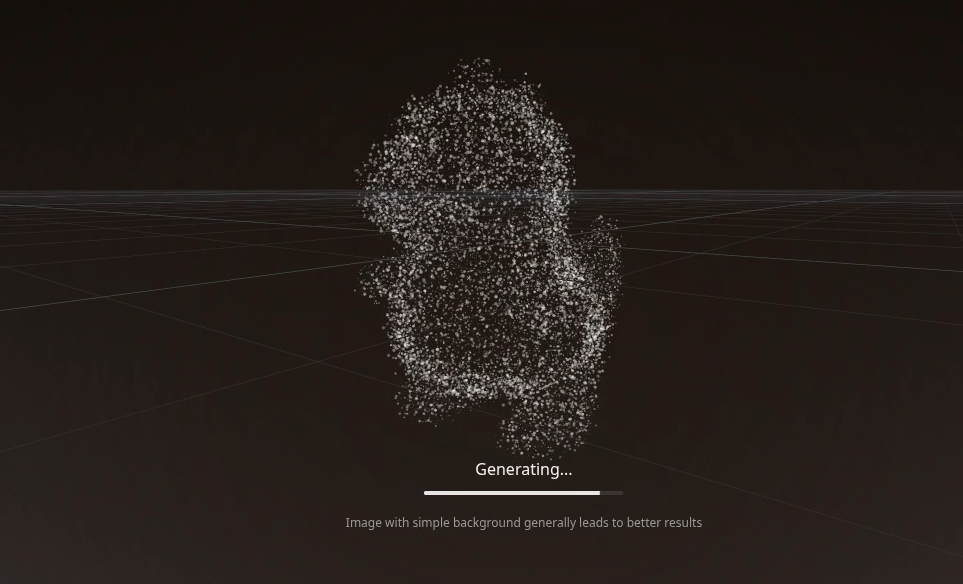
Генерация 3D-модели через tripo3d
Загружаем изображение в tripo3d — это онлайн-сервис, который превращает 2D-картинку в объёмную модель. Причем еще забавно в 3д показывается промежуточная модель в виде облака точек.
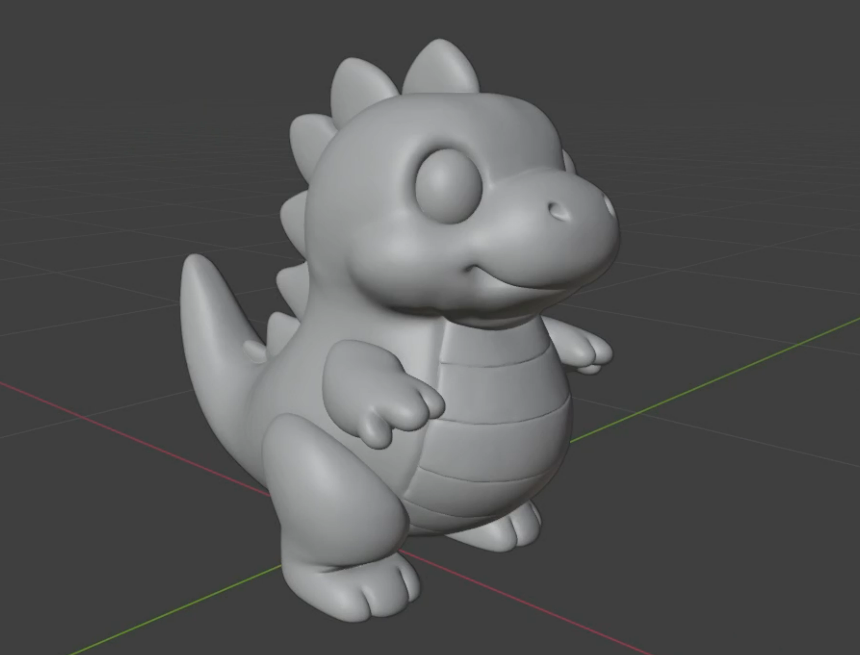
Через пару минут получаем готовую модель:
Её можно вращать, осматривать, и при необходимости скачать.
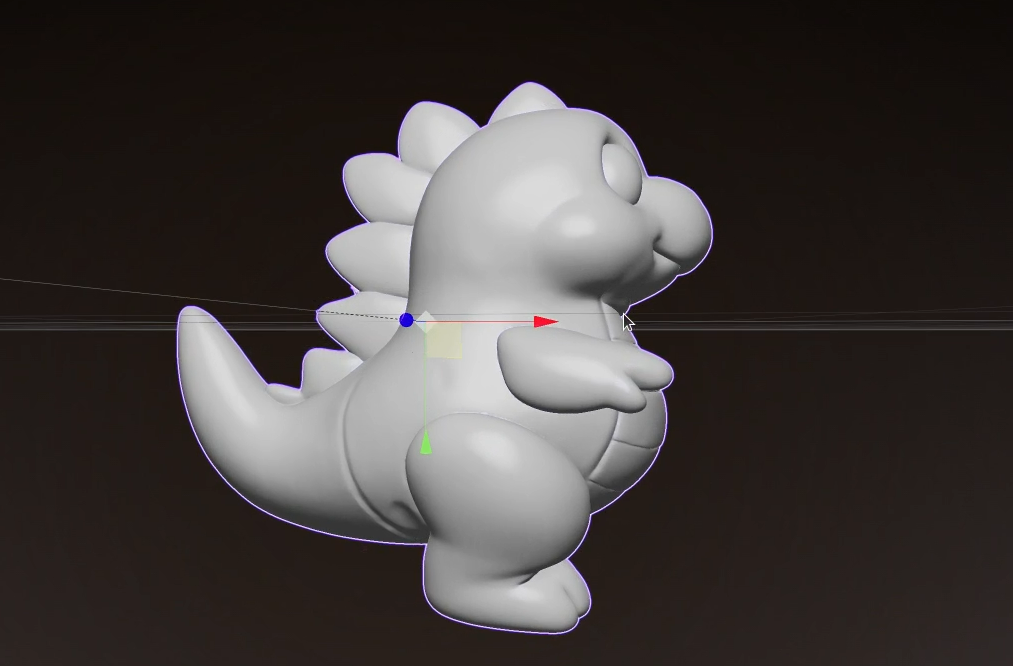
Редактирование в Blender
Скачанная модель часто содержит артефакты: лишние элементы, «висящие» в воздухе, вмятины, незамкнутые поверхности. Их удобно исправить в Blender.
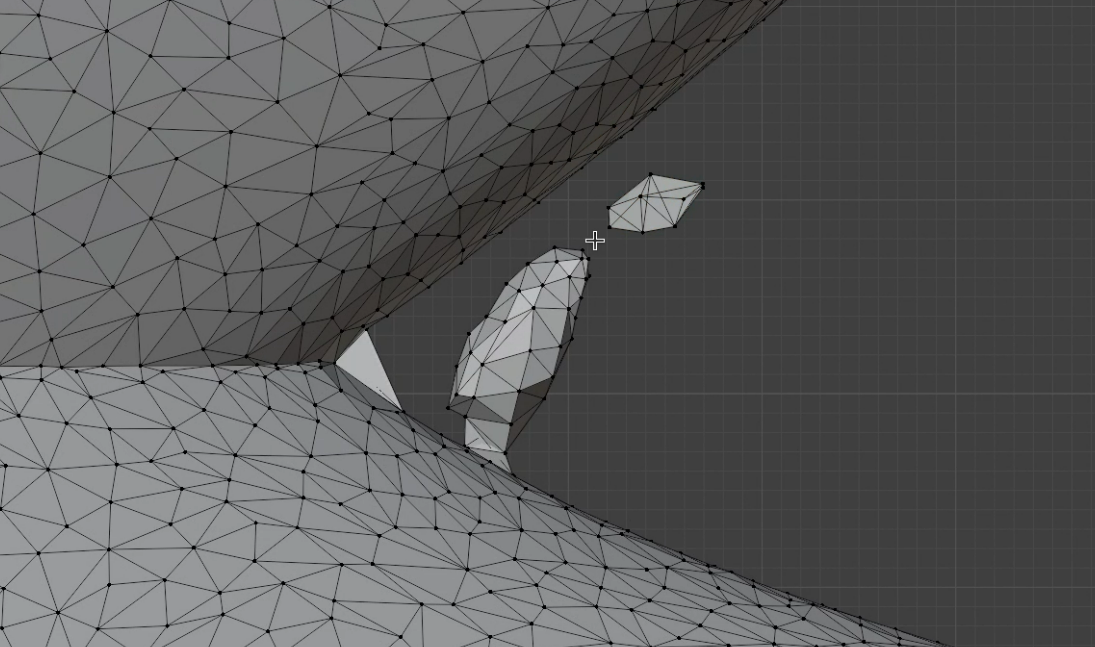
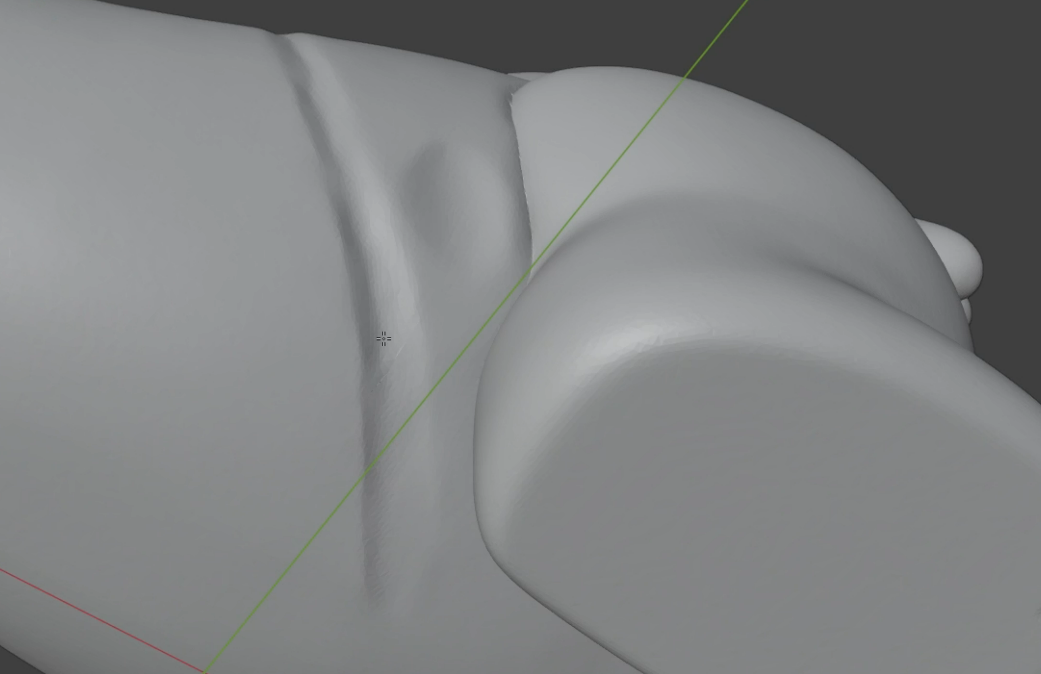
Использовал базовые инструменты: выделение, удаление мешей, скульптинг для сглаживания. Если нет желания править вручную — можно попробовать перегенерировать модель через tripo3d. В целом для 3д-печати такие дефекты не слишком заметны и принципиальны, но меня они не устраивают.
Подготовка к печати и сам процесс
Модель экспортируем в STL, открываем в слайсере, добавляем поддержки и запускаем печать. Если есть мелкие детали — важно настроить высоту слоя и скорость.
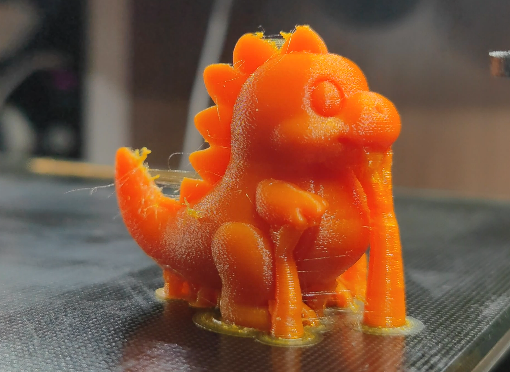
У меня еще и настройки поддержек сбились из-за того, что я печатал модель неравномерной толщиной слоя для уменьшения ступенек, так что пришлось пострадать.
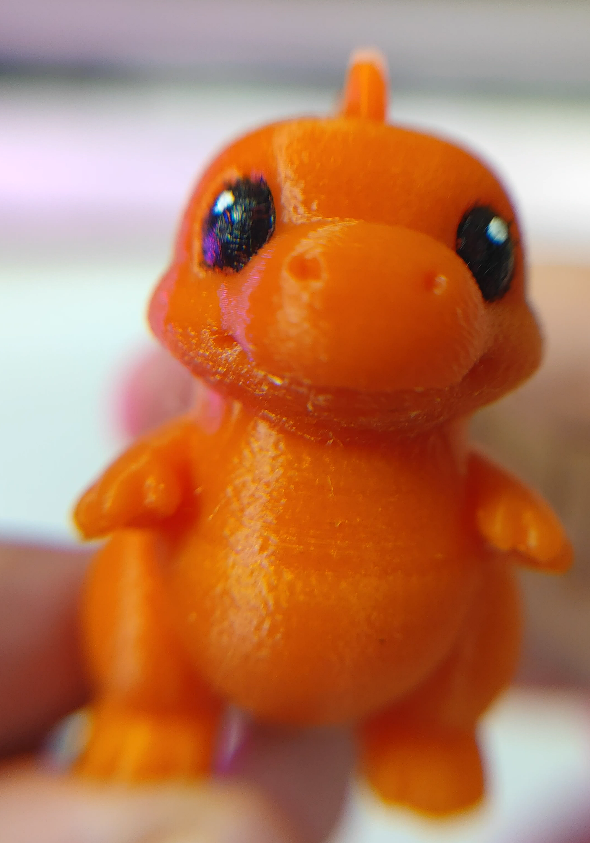
Финальная обработка
Ну и чтобы не выглядело совсем безлико - нарисовал ему глаза:
Вывод
Буквально за час можно превратить любую идею в физический объект. Процесс простой, требует минимального набора инструментов и совсем немного практики.
Порог входа почти в любую область сейчас как никогда низок из-за засилья AI. И будет падать еще ниже - это не может не радовать.
Модель на Thingiverse, если кому приглянулась - https://www.thingiverse.com/thing:7131500
Ну и посмотрите Shorts об изготовлении - https://www.youtube.com/shorts/TdxsQtwRDAo
Комментариев пока нет
-

Продолжаем печать после отключения
Печать идет больше суток и в процессе пропадает свет. Знакомо? -

Как я работу в 2026 году менял + бонус
После 10 лет в e-commerce я вышел на рынок -

Goback - простые бэкапы
Решил тут наконец заняться бэкапами. И без самописных утилит не обошлось. -

Проект Наблюдатель
Проект приурочен к хеллоуину - это статуя одноглазого ктулху с механизированным… -

Универсальный AI Telegram Bot
Хотите в пару действий запустить собственного AI бота для Telegram? -

Анализ истории просмотров Youtube
Задумывались, сколько времени вы проводите за просмотром видео? Давайте считать.