79
Продолжаем печать после отключения
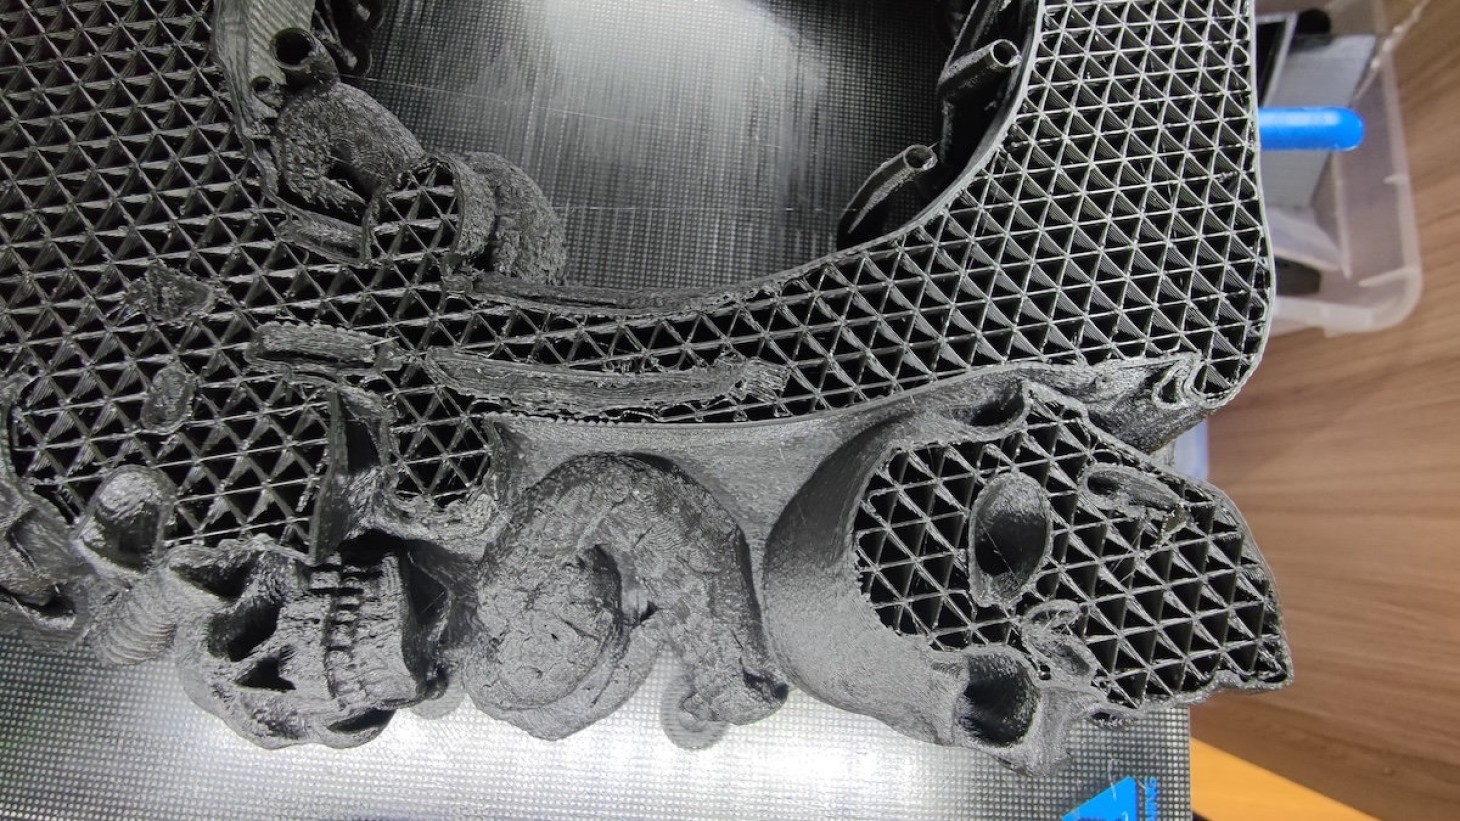
Деталь больше суток и в процессе пропадает свет. Знакомо?
Я вот с таким столкнулся накануне. Несколько часов не было света, функции продолжения печати в принтере тоже нет, а в Klipper я ее не стал настраивать изначально.
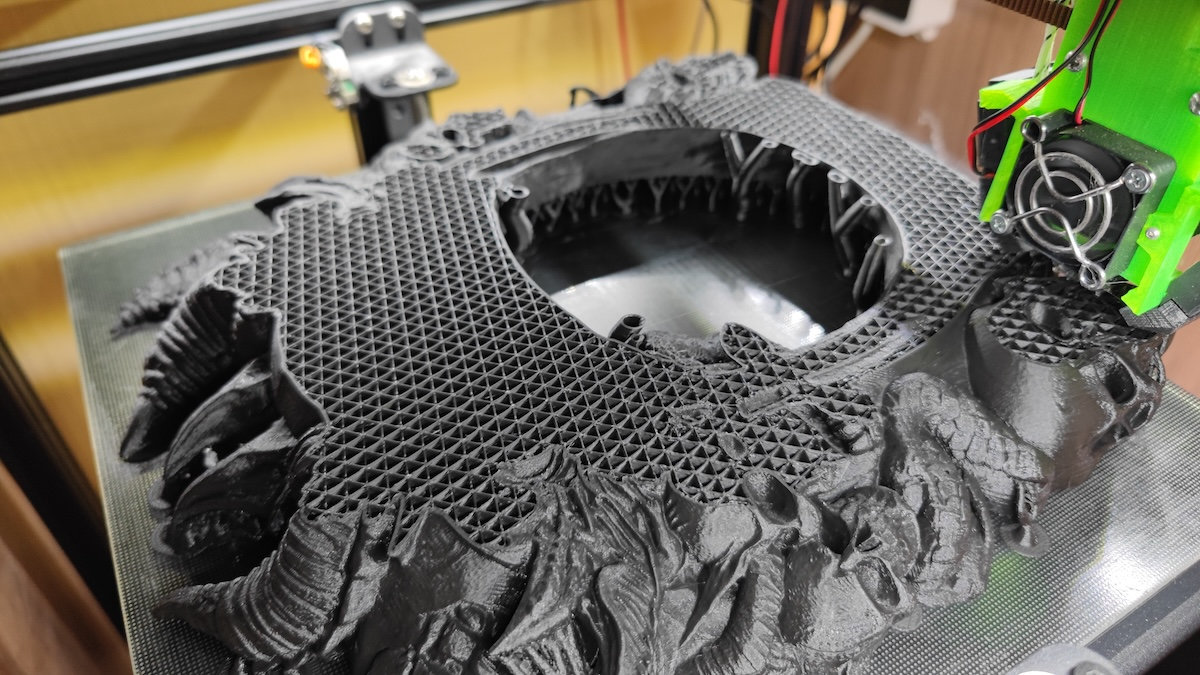
Если деталь не отклеилась от стола - это половина успеха.
Что нужно для продолжения печати?
- Выставить настройки печати (температуру, ускорения и тп)
- Выставить в принтере текущие координаты сопла в обход стандартной процедуры
- Запустить печать с того места, где произошла остановка.
Звучит просто, но на деле есть некоторые нюансы и сложности. Разберем на примере Klipper, но за исключением одного шага подойдет к любому принтеру.
Что делать?
Разберем прям с самого начала - вы обнаружили остановившийся посередине печати принтер. Дальше нужно:
-
Нагреть стол и хотенд, чтобы деталь не отлипла, а сопло расцепилось от детали
-
Отключить моторы, если включены, сдвинуть руками хотенд с модели ближе к дому (не меняя ось Z!)
-
Убрать каплю пластика c vjltkb, если она натекла за время простоя
-
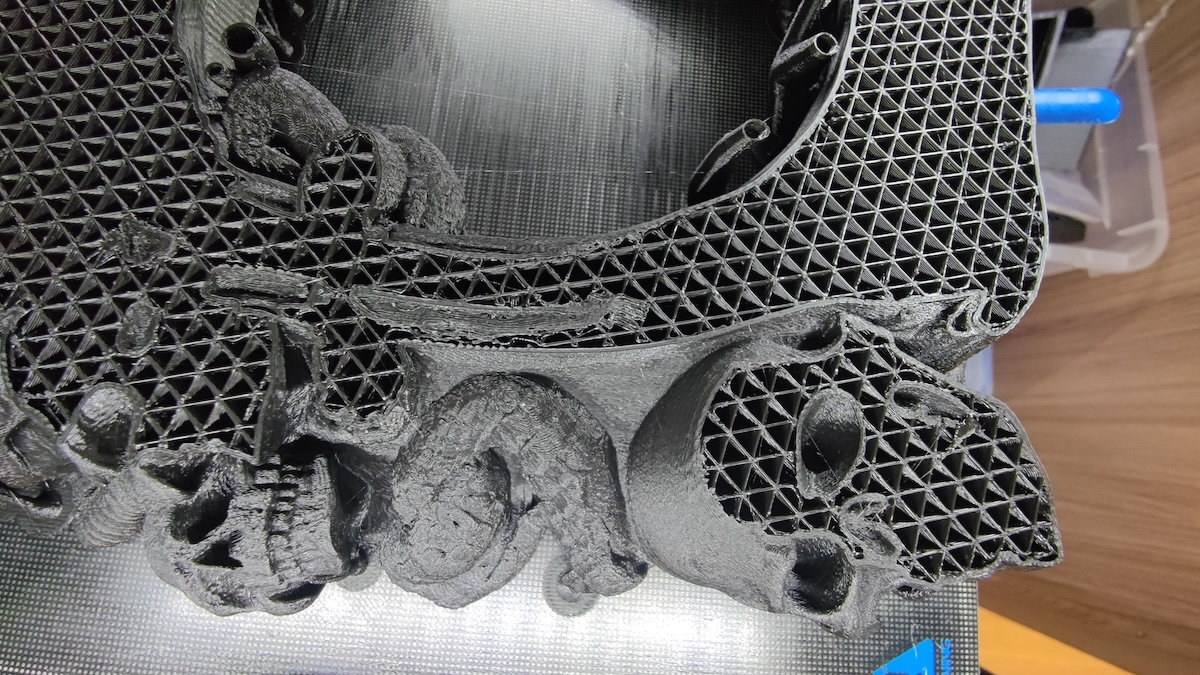
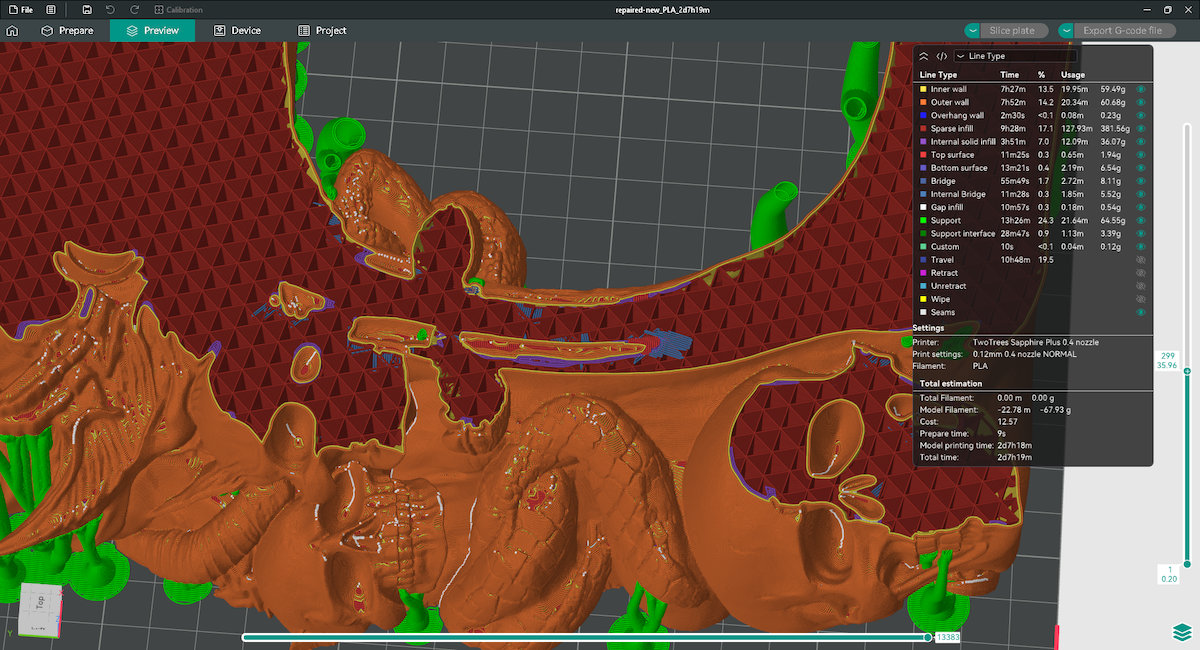
Найти на каком слое (в идеале - в каком именно месте gcode) произошла остановка - это можно сделать относительно просто в слайсере.
Просто сравнивайте напечатанную деталь с конкретными слоями в слайсере (двигаем правый ползунок слоев в OrcaSlicer).
-
Обрезать файл gcode, который вы отправляли на печать до нужной строки руками.
Для начала нужно найти конкретную строку в файле gcode, для этого можно подвигать нижний ползунок и включить отображение gcode:
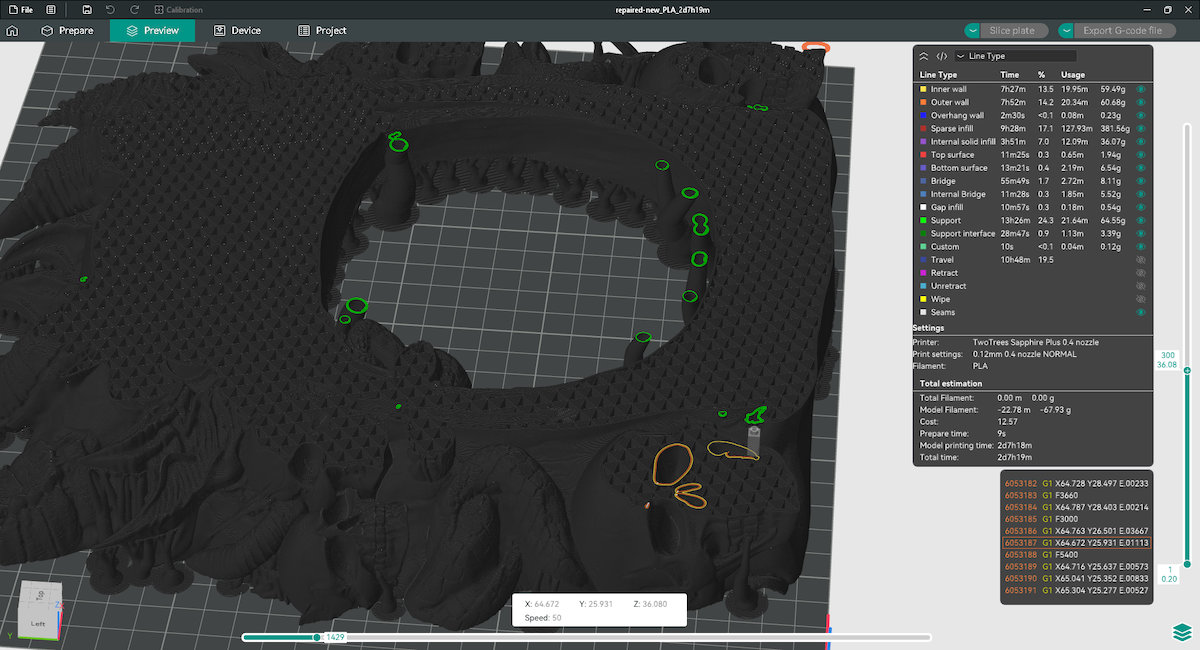
У меня это строка под номером 6053187. Большие текстовые файлы рекомендую открывать через Sublime Text - он с таким справляется хорошо и не вешает систему. Дальше нужно отредактировать наш gcode, но не просто так.
- оставляем в начале файла все строки, относящиеся к настройкам печати (температуры стола и сопла, режим работы с координатами, ускорения и различные коэффициенты). При этом из стартового gcode нужно убрать все что связано с изменением координат - команды отправки хотенда домой, пробная печать и что там у вас еще может быть.
Вот мой начальный gcode с отмеченными строками, которые я удалил:
; EXECUTABLE_BLOCK_START
M73 P0 R3318
M201 X5000 Y5000 Z50 E5000
M203 X250 Y250 Z30 E50
M204 P5000 R5000 T5000
M205 X3.00 Y3.00 Z1.00 E1.00 ; sets the jerk limits, mm/sec

;TYPE:Custom
M107 ; Turn off the fan
G21  ; set units to millimeters
G90  ; use absolute coordinates
M83  ; use relative distances for extrusion

G28   ;home           --delete--
G29   ;bed leveling   --delete--

M104 S210      ; set extruder temp
M140 S60       ; set bed temp
M109 S210      ; wait for extruder temp
M190 S60       ; wait for bed temp

G0 Z2.0 F600     ;  --delete--
G0 X50 Y10 F12000;  --delete--

G92 E0.0              ; reset extruder distance position --delete--
G0 Z0.4 F600          ;                                  --delete--
G1 X100.0 E10 F3000.0 ; intro line                       --delete--
G92 E0.0              ; reset extruder distance position --delete--
G1 X200.0 E15 F3000.0 ; intro line                       --delete--
G92 E0.0              ; reset extruder distance position --delete--
G0 Z0.8 F600          ;                                  --delete--
G1 X100.0 E15 F3000.0 ; intro line                       --delete--

G1 Z0.4 F600     ;Wipe  --delete--
G0 Y12 F6000    ;Wipe   --delete--
G1 X100 F6000    ;Wipe  --delete--
G0 Y8 F12000   ;Wipe    --delete--
G1 X200 F6000    ;Wipe  --delete--
G1 X190 Y12 F6000 ;Wipe --delete--
G1 X180 Y8 F6000 ;Wipe  --delete--
G1 X170 Y12 F6000 ;Wipe --delete--
G1 X160 Y8 F6000 ;Wipe  --delete--
G1 X150 Y12 F6000 ;Wipe --delete--

;G0 Z2.0 F600;
G92 E0.0 ; reset extruder distance position

SET_VELOCITY_LIMIT ACCEL_TO_DECEL=10000
G90
G21
M83 ; use relative distances for extrusion
; filament start gcode
M900 K0.04; Override pressure advance value
M106 S0
;LAYER_CHANGE
;Z:0.2
;HEIGHT:0.2
;BEFORE_LAYER_CHANGE
;0.2
G92 E0

;AFTER_LAYER_CHANGE
;0.2
;_SET_FAN_SPEED_CHANGING_LAYER
M204 S3000
; printing object repaired-new.stl id:0 copy 0
Все что начинается с ; - комментарии, не влияющие на печать. Дальше вставляем весь gcode, идущий сопределенной нами строки. Желательно взять немного выше начиная с команды для установки координаты Z и команды для экструдера, у меня получилось так:
G92 E0
G1 E.5
;TYPE:Outer wall
G1 F5280
G1 X66.366 Y33.417 E.00339
G1 X65.82 Y33.812 E.01299
G92 сбрасывает координату экструдера в 0 (используется относительное управление)
G1 - непосредственно команды для управления координатами X,Y,Z,E.
Полученный текстовый файл сохраняем и загружаем на принтер, но не запускаем.
-
Захоумить только X и Y. Если у вас ноль по координате Z соответствует положению соплу у стола - не хоумьте стол по Z! Исключение - если положение дома - максимально поднятое сопло (или опущенный стол) либо если вы абсолютно уверены в том, что при отправке домой хотенд не заденет модель.
-
Если все же захоумить Z нельзя, как и у меня - выход есть. Нужно установить координату Z без движения. Для этого в Klipper нужно включить эту фичу в конфиге (Configuration > printer.cfg):
[force_move]
enable_force_move: True
Перезагружаем Klipper, чтобы изменения вступили в силу.
Устанавливаем высоту на ту, на которой находится принтер (можно посмотреть в слайсере какая высота в месте остановки).
SET_KINEMATIC_POSITION Z=36.08-
Установить низкую скорость печати (30%, например)
-
Запустить на печать обрезанный файл (мы удалили все до момента остановки, так что ни home ни пробной печати произойти не должно).
-
Смотреть все ли ок, не печатает ли принтер в воздухе, правильно ли мы угадали с слоем и местом остановки и не сдвинулась ли модель. Если все ок - поздравляю, ваша долгая печать спасена!
Если продолжить невозможно с того же места прямо по модели (оторвалась от стола etc) не унывайте. Можно обрезать низ модели до нужного вам места, напечатать отдельно заново только верхнюю часть и приклеить затем к нижней. Возможно, получится даже аккуратно.
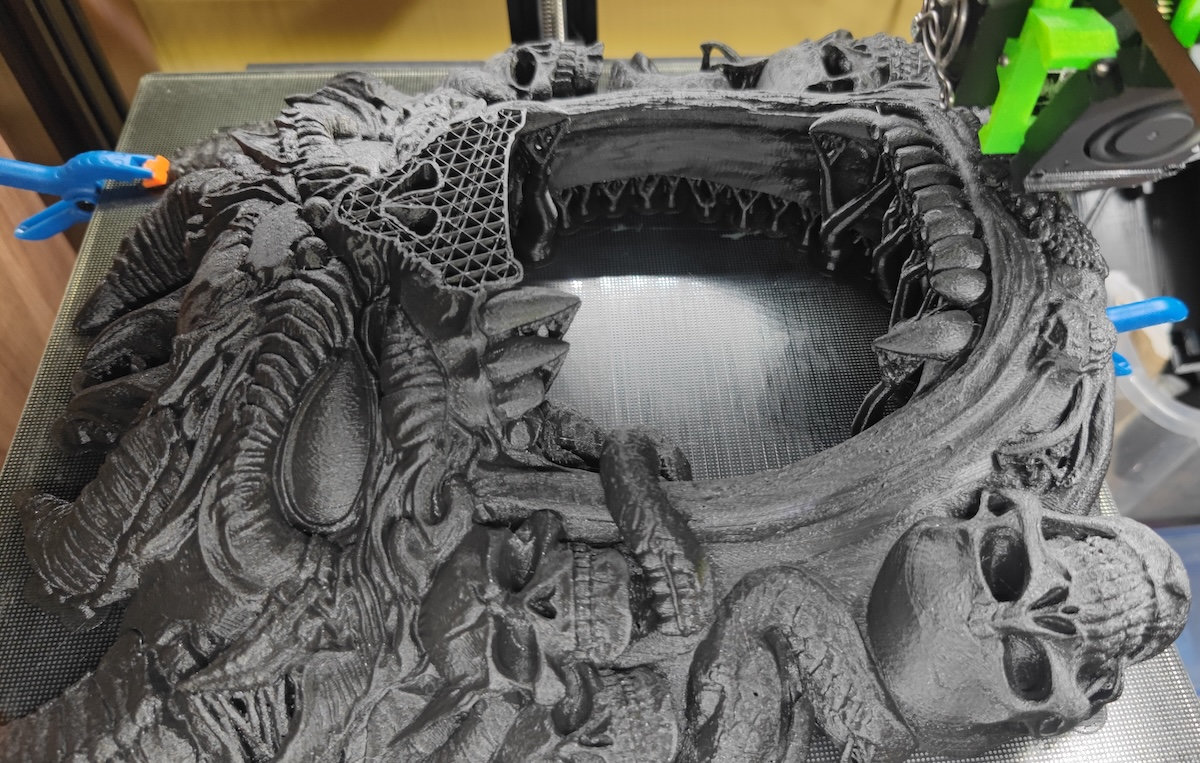
У меня все продолжилось без проблем, стыка не видно, если прям супер близко не приглядываться, да и его легко спутать с обычными полосами на детали.



test 23.06.2026 09:11
nice workAnother test 23.06.2026 09:12
very interesting