490
Klipper on Two Trees Saphire Plus
Something that was long overdue has happened - the stock Marlin firmware stopped meeting my needs.
The latest printer upgrade (a DIY direct hotend housing based on Biqu h2 v2s) led to a significant increase in printing speed (previously I had a stock Bowden setup). At this speed, Marlin with the stock MKS Robin Nano board caused defects at the corners of parts, which completely disappeared when the speed was reduced. There was also significant vibration.
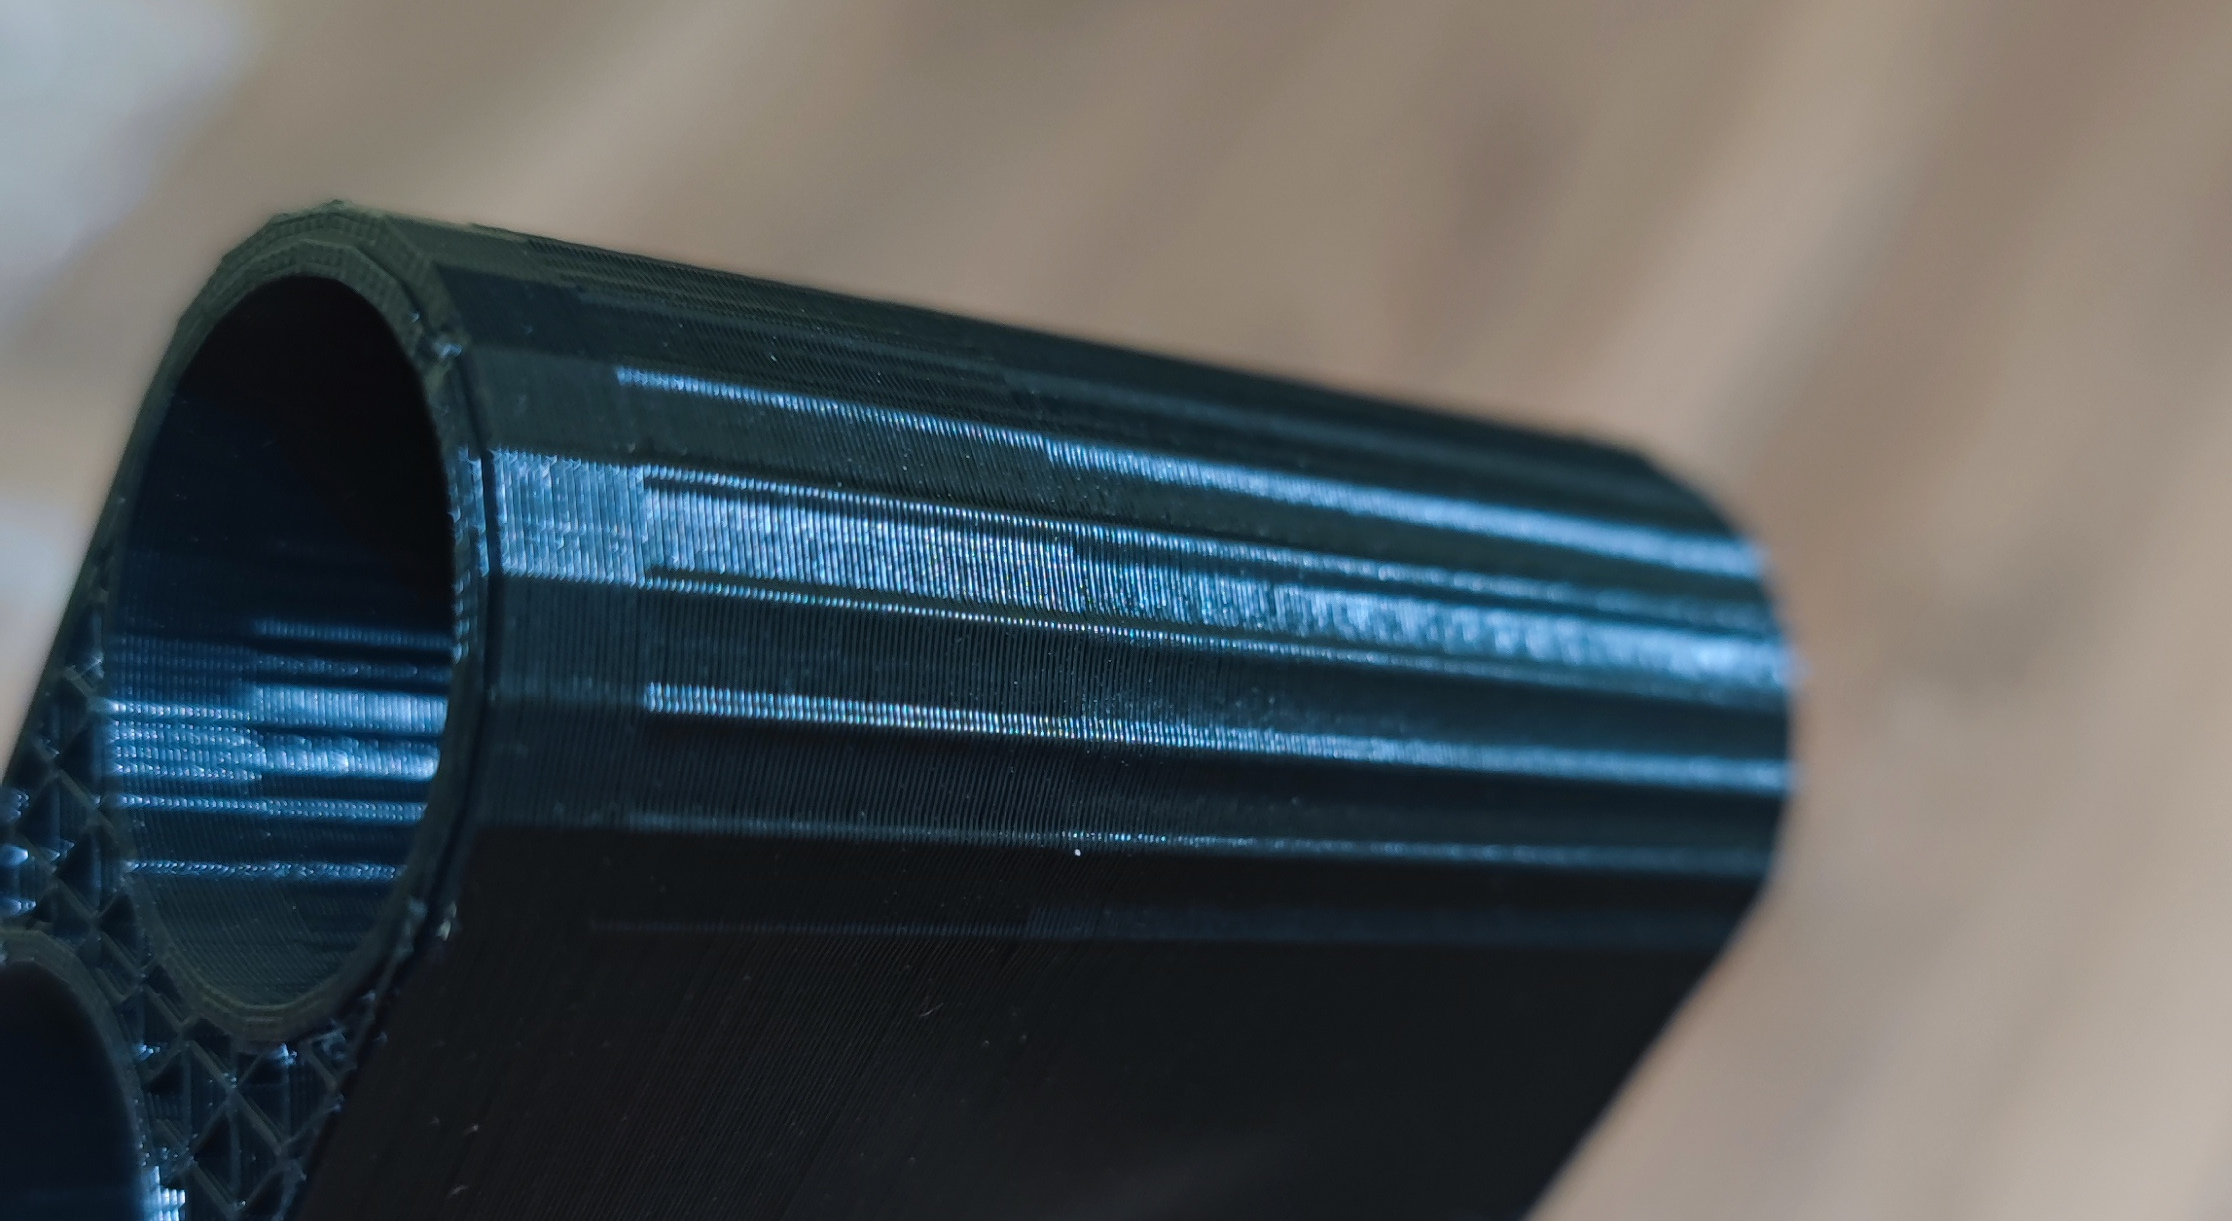
This is what appeared at the "corners" - in fact, the defect appears on all small changes in movement direction at high speed (~100 mm/s), including demonstrative prints of circles (which are essentially polygons). At lower speeds, everything is fine (~30mm/s).
Initially, I had an Orange Pi PC PLUS, on which everything was configured, but due to age, its MMC died, and then the memory card failed.
Therefore, a Raspberry Pi 4B 4Gb RAM was purchased (slightly future-proofed for recording 4K timelapses), and the setup instructions will be for it.
Raspberry PI
OS Installation
We install Raspberry OS Lite (server build without GUI) via Raspberry Pi Imager. When writing the image to the flash drive, you can also immediately set up login/password and WiFi connection parameters to avoid struggling with the board's ethernet connection.
Insert the SD card with the recorded image into the board, connect a sufficiently powerful power source via Type C (at least 5V 3A) - wait until the board connects to WiFi and your client appears in the router.
Then connect via ssh to the assigned IP address (and make the address static in the router interface).
ssh user@192.168.0.101Klipper
Here everything follows the manual through kiauh:
sudo apt update && sudo apt upgrade -y
sudo apt install git -y
git clone https://github.com/th33xitus/kiauh.git
cd kiauh
./kiauh.sh
Next, you need to install components through the interface. For me, these are:
- Klipper (essentially, the printer control program)
- Moonraker (API layer on top of Klipper)
- Fluidd (Web UI)
- Mainsail (Web UI - I want to try everything new)
Klipper on the printer
Connect the printer via USB, check that the device is recognized:
user@raspberrypi:~$ ls /dev/serial/by-id/
usb-1a86_USB_Serial-if00-port0
Add our device to printer.cfg (I edited it through the web UI):
[mcu]
serial: /dev/serial/by-id/usb-1a86_USB_Serial-if00-port0
The printer is still not visible at this point because it doesn't have the firmware.
Flashing the printer
You should refer to the official config - at the top there is a description of additional actions (configs for all supported printers are located nearby - https://github.com/Klipper3d/klipper/blob/master/config/printer-twotrees-sapphire-plus-sp-5-v1-2020.cfg).
cd ~/klipper
make menuconfig
Here you need to specify the firmware parameters. My printer is on MKS Robin Nano v1.2:
enable "extra low-level configuration setup"
Micro-controller Architecture:  STMicroelectronics STM32
Processor model:                STM32F103
Bootloader offset:              28KiB bootloader
Communication interface:        Serial (on USART3 PB11/PB10)
GPIO pins to set at micro-controller startup: !PC6,!PD13
Next, build the firmware and prepare it for Robin Nano (necessarily through the script):
make
./scripts/update_mks_robin.py out/klipper.bin out/Robin_nano35.bin
The firmware binary is created in out/Robin_nano35.bin, next you need to download it. I moved it to a folder accessible in the web UI and downloaded it through fluidd:
cp out/Robin_nano35.bin ~/printer_data/config/Then write it to the SD card under the name Robin_nano35.bin, insert it into the powered-off printer, wait - the screen should first display "Booting...", then "TFT Updating 0..100%" with a progress bar, and after successful flashing, the screen will go dark - this is normal, Klipper doesn't need it.
Screen didn't go dark
Check that in make menuconfig you set extra low-level configuration setup and GPIO pins to set at micro-controller startup: !PC6,!PD13.
Also check the flash drive - the file should be renamed to *.CUR - this is a sign that the firmware update was successful.
Klipper doesn't see mcu
Make sure you've connected the USB correctly, that your cable is not just a charging cable with only power lines, and that your Orange Pi sees your USB as a serial port.
Also make sure that in make menuconfig you specified Communication interface: Serial (on USART3 PB11/PB10) - Robin Nano uses usb-uart, so you shouldn't specify USB.
Klipper Configuration
Sapphire Plus Config
I based my setup on the config from the official repository. Since I don't have the native extruder (I have a Biqu H2 V2S with an E3D nozzle), I also had to calibrate the plastic feed.
Other differences from the repo config include inverted direction pins (dir_pin) for z/z1 steppers and extruder (they were turning in the wrong direction), inverted enable pin (enable_pin) for the extruder stepper, and for some reason all the direction steppers moved exactly half the distance they should (i.e., instead of 300mm they traveled 150mm), although the TMC 2225 drivers have 3 jumpers, which gives 16 microsteps. I had to set rotation_distance to half for all of them.
The final config for my Saphire Plus with Biqu H2 V2S is as follows (all changes are marked with the comment #modified):
[stepper_x]
step_pin: PE3
dir_pin: !PE2
enable_pin: !PE4
microsteps: 16
rotation_distance: 20
endstop_pin: !PA15
position_endstop: 0
position_max: 300
homing_speed: 50

[stepper_y]
step_pin: PE0
dir_pin: !PB9
enable_pin: !PE1
microsteps: 16
rotation_distance: 20
endstop_pin: !PA12
position_endstop: 300
position_max: 300
homing_speed: 50

[stepper_z]
step_pin: PB5
dir_pin: !PB4
enable_pin: !PB8
microsteps: 16
rotation_distance: 4
endstop_pin: !PA11
position_endstop: 0
position_max: 340

[stepper_z1]
step_pin: PA6
dir_pin: !PA1
enable_pin: !PA3
microsteps: 16
rotation_distance: 4

[extruder]
step_pin: PD6
dir_pin: PD3
enable_pin: !PB3
microsteps: 16
rotation_distance: 3.5
nozzle_diameter: 0.400
filament_diameter: 1.750
heater_pin: PC3
sensor_type: EPCOS 100K B57560G104F # Stock
sensor_pin: PC1
min_temp: 0
max_temp: 250
control: pid
pid_Kp: 17.48
pid_Ki: 1.32
pid_Kd: 57.81
max_extrude_cross_section: 999999

[heater_bed]
heater_pin: PA0
sensor_type: EPCOS 100K B57560G104F # Stock
sensor_pin: PC0
min_temp: 0
max_temp: 130
control: pid
pid_Kp: 325.10
pid_Ki: 63.35
pid_Kd: 417.10

[heater_fan extruder]
pin: PB0

[fan]
pin: PB1

[mcu]
serial: /dev/serial/by-id/usb-1a86_USB_Serial-if00-port0
restart_method: command

[printer]
kinematics: corexy
max_velocity: 250
max_accel: 4500
max_z_velocity: 15
max_z_accel: 100

[bed_screws]
screw1: 35,35
screw2: 275,35
screw3: 275,275
screw4: 35,275

[static_digital_output reset_display]
pins: !PC6, !PD13

[virtual_sdcard]
path: ~/printer_data/gcodes

[pause_resume]
[display_status]

[gcode_macro CANCEL_PRINT]
description: Cancel the actual running print
rename_existing: CANCEL_PRINT_BASE
gcode:
  TURN_OFF_HEATERS
  CANCEL_PRINT_BASE
Simply paste the config into Fluidd through the interface, save it, and restart.
Camera Connection
I use an Android smartphone with the Ip Webcam app installed as my camera - it starts a video stream server from the camera. It also provides various protocols for obtaining images. Add the camera to mainsail.conf:
 [webcam phone]
stream_url: http://192.168.0.54:8080/video
snapshot_url: http://192.168.0.54:8080/photo.jpg
enabled: true
After saving and restarting, a window with the camera image should appear on the Fluidd home screen.
Pay attention to snapshot_timeout - if you have a slow WiFi camera (or a phone connected via WiFi, like mine) - it makes sense to increase the value to 5-6 seconds, otherwise there will be frame drops and an "Error taking timelapse frame" error in the Fluidd interface.
Timelapse
There's nothing out of the box, you need to set it up through a third-party plugin from moonraker-crew:
cd ~
git clone https://github.com/mainsail-crew/moonraker-timelapse.git
cd moonraker-timelapse
make install
Add a section to moonraker.cfg to have access to updates from the interface:
[update_manager timelapse]
type: git_repo
primary_branch: main
path: ~/moonraker-timelapse
origin: https://github.com/mainsail-crew/moonraker-timelapse.git
managed_services: klipper moonraker
Include it in the printer config (printer.cfg):
[include timelapse.cfg]Timelapse recording is tied to the gcode generated by the slicer, so we need to somehow place the frame recording command (TIMELAPSE_TAKE_FRAME) in it. The official instructions have examples for Prusa, Ultimaker, and Ideamaker. I use Orca Slicer, where the command for layer change is inserted as follows:

Next, you need to activate the component in moonraker.conf by inserting:
[timelapse]
##   Following basic configuration is default to most images and don't need
##   to be changed in most scenarios. Only uncomment and change it if your
##   Image differ from standart installations. In most common scenarios
##   a User only need [timelapse] in their configuration.
#output_path: ~/timelapse/
##   Directory where the generated video will be saved
#frame_path: /tmp/timelapse/
##   Directory where the temporary frames are saved
#ffmpeg_binary_path: /usr/bin/ffmpeg
##   Directory where ffmpeg is installed
Now you can view the timelapse configuration at http://192.168.0.101/machine/timelapse/settings:
{
    "result": {
        "enabled": true,
        "mode": "layermacro",
        "camera": "",
        "snapshoturl": "http://192.168.0.54:8080/photo.jpg",
        "stream_delay_compensation": 0.05,
        "gcode_verbose": false,
        "parkhead": false,
        "parkpos": "back_left",
        "park_custom_pos_x": 10,
        "park_custom_pos_y": 10,
        "park_custom_pos_dz": 0,
        "park_travel_speed": 100,
        "park_retract_speed": 15,
        "park_extrude_speed": 15,
        "park_retract_distance": 1,
        "park_extrude_distance": 1,
        "park_time": 0.1,
        "fw_retract": false,
        "hyperlapse_cycle": 30,
        "autorender": true,
        "constant_rate_factor": 23,
        "output_framerate": 30,
        "pixelformat": "yuv420p",
        "time_format_code": "%Y%m%d_%H%M",
        "extraoutputparams": "",
        "variable_fps": false,
        "targetlength": 10,
        "variable_fps_min": 5,
        "variable_fps_max": 60,
        "rotation": 0,
        "flip_x": false,
        "flip_y": false,
        "duplicatelastframe": 5,
        "previewimage": true,
        "saveframes": false,
        "blockedsettings": []
    }
}
The GitHub documentation has a description of the main parameters. If you need to change something, you need to do it again through the config in moonraker.conf. For example, by setting parkhead: True, you'll get timelapses without the printer head hanging over the product (it will park before taking a photo, and you specify where to park in parkpos). Parking will increase print time and may add quality issues if retracts are not configured, so enable it at your discretion. I set up parking in the far corner so the head is visible in timelapses but not in the way.
[timelapse]

#enabled: True
#mode: layermacro
#snapshoturl: http://localhost:8080/?action=snapshot
#gcode_verbose: True
#parkhead: False
#parkpos: back_left
#park_custom_pos_x: 0.0
#park_custom_pos_y: 0.0
#park_custom_pos_dz: 0.0
#park_travel_speed: 100
#park_retract_speed: 15
#park_extrude_speed: 15
#park_retract_distance: 1.0
#park_extrude_distance: 1.0
#hyperlapse_cycle: 30
#autorender: True
#constant_rate_factor: 23
#output_framerate: 30
#pixelformat: yuv420p
#time_format_code: %Y%m%d_%H%M
#extraoutputparams:
#variable_fps: False
#targetlength: 10
#variable_fps_min: 5
#variable_fps_max: 60
#flip_x: False
#flip_y: False
#duplicatelastframe: 0
#previewimage: True
#saveframes: False
#wget_skip_cert_check: False
That's it, timelapses should be created after successful printing in ~/timelapse/, and you can also view/download them in the corresponding tab in fluidd. Individual photos are stored in /tmp/timelapse/ until printing is complete and the video is generated.
It wasn't without issues – some frames in the timelapse were skipped due to an error. There’s an issue (https://github.com/mainsail-crew/moonraker-timelapse/issues/173) on GitHub reporting the same problem with a similar stack – people were also using IP Webcam on a phone as the camera source.
This led me to the idea that the root cause lies in the timeout for downloading the snapshot image.
I had a bit of free time and tried to dig into the error myself. I cloned the repository, opened it in Cursor (an IDE with AI), pasted the text from the issue, and asked it to fix the problem. The first prompt already gave me working changes. It turned out to be trivial — the timeout was hardcoded to 2 seconds, so I added a configurable parameter for it.
I set it to 5 seconds and did a test print with 80 layers — not a single frame was dropped.
The issue is resolved now, so I submitted a Pull Request (https://github.com/mainsail-crew/moonraker-timelapse/pull/188) to the repository. Unfortunately, I doubt it’ll get merged, the project seems to have been abandoned for a couple of years now.
4K video:
No comments yet
-

How I Changed Job in 2026
After 10 years in e-commerce, I went back to the market -

Goback - easy backups
I finally decided to properly tackle backups. Once again, I had to rely on cust… -

Project Watcher
This Halloween-timed project is a one‑eyed Cthulhu statue with a mechanized eye… -

Universal AI Telegram Bot
Want to launch your own AI Telegram bot in just a couple of steps? -

YouTube Watch History Analysis
Ever wondered how much time you spend watching videos? Let's count it. -

Image2model with Tripo3D and Blender
Sometimes you want a drawn or AI-generated character to become real.